CNC 3018 Z-Axis Upgrade
thingiverse
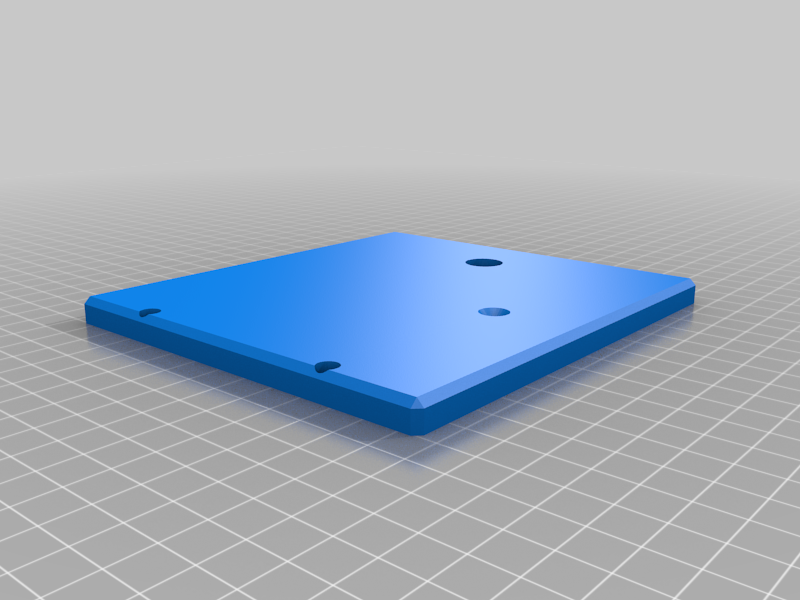
Since thingiverse is not able to run a freakin website in a proper way, you can find the whole stuff at prusaprinters.org, Those guys kick it, while thingiverse does not. https://www.prusaprinters.org/prints/45497-cnc-3018-z-axis-upgrade I had enough of this freaking spindle delivered with the CNC 3018. So I ordered a 500W spindle, and took the opportunity to to some upgrades. Result: - More rigidity of the whole Z-Axis - No wiggling - More accurate toolpaths - More Z range - More Power - No need to disassemble the whole Z-Installation just to replace the Z-Servo to something better - Small case to house the power supply - Keep the new spindle cool by using the aluminium bracket that came with the spindle. A 3d printed bracket melted once the spindle ran for 30 minutes full power. Buy a 500W spindle, can be found on the usual sites and costs between 60 and 150 Euros, based on where you purchase it. I was able to get the kit with power supply, spindle and mounting bracket for 63 Euros on Aliexpress, delivered from within the EU within 2 days to Germany. Just mount the Power Supply to the "bottom", the poti to the "front", do all the wiring. The hole in the "back" is for a power socket C14 with fuse and switch. Pay attention, messing with high voltage makes you the loser, usually. Close the whole case with the parts "left", "right", "top". You will need cylinder head screws M3x14. For mounting the supply to the bottom case, you will need M3 by 14, and 2 M3 nuts. Now, with the new spindle ready to go, we need to prepare the new Z. Unmount the old spindle, the old Z stuff. Purchase 1 new T8 rod 20mm. The original was a T8-2, but I was able to purchase T8-4 only. I had to buy a set of new brass backlash free nuts as well. Buy a 30cm 8mm linear rod. And buy 2 LM8LUU bearings. Yes, the 45mm long ones, this is important. Now print the parts ServerAdapterNEMA17, SpindleAdapter and zAxis. Use some more dense print settings, rigidity is key. I was going with +15 degrees temperature on my PLA, 5 shells, and 50% infill. Remove the old 10mm bearings from your old X-carriage. Do not destroy them. Of course you can purchase new ones as well, you will need 4x LM10UU. I was not able to remove the brass nut, so I purchased a new T8-4 rod 40mm, and another set of these backlash free nuts. Mount the LM10UU in the ZAxis. Install the backlash free nut as well, you can secure it using 4 M3 screws. Put some grease in the bearings. Mount the bracket that came with the spindle to your Spindle Adapater. You will need 4 M6x90 screws, 4 spacers, and 4 M6 nuts. You need to insert the 2 LM8LUU, and the set of the backlash free brass nut. Again you can secure the nut using M3 screws. Do not forget the grease. Now, shorten the 300mm 8mm linear rod. Just cut it into 2 150mm pieces. Shorten the T8 rod as well, just measure how long it needs to be. to fit in your servo adaptor. Make sure not making it too long. Put the whole stuff together, but do not mount the servo yet! Does it fit well, can be moved easily along the rods? Great! The original servo was a bit weak, so I replaced it with another NEMA17 servo, having more torque. Mount the servo to the ServoAdapter instead the servo. Use the holes that are slightly out of the 90 degree angle. Now mount the servo assembly on top the ZAxis, but putting the screw in there from the top. Use some M3 nuts to secure it. The opening goes to the back for easy access of the adaptor.This means, whenever you need to switch the servo, you do not need to disassmble the whole Z anymore. Put your CNC together, and check some things like stepper directions, and stepping. I had to change the stepping for X and Z, since the rods have a different lead compared to the original ones. As well I enables $1=255, so the servos lock as long as under power. On top the new servo had reversed cables, so I had to reverse the Z in the GRBL settings as well. Result: all goals from the top achieved. Most important: improved Z-Height and much less wiggling. Attention: there are different versions out there of this CNC toy. Mine had a distance of 72mm between the linear rods of the X. And, the distance between the M6 holes of the bracket was 40mm. If your dimensions are different, this here is not for you. Measure before printing. Credits: the zAxis was a remix from an STL I found on the web, but it had wrong dimensions and no creator information. My bom: 1 T8-4 rod, 400mm (new x) 1 T8-4 rod, 200mm (new z) 2 sets of backlash free brass nuts 1 linear rod M8 300mm 4 LM10UU 2 LM8LUU 4 M6 screws 90mm 4 spacers M6 4 M6 nuts several M3 nuts and screws 1 NEMA17 servos 59 Ncm 1 500W spindle kit with power supply, spindle and bracket Tools: angle grinder, saw, solder stuff, 3d printer, and the usual stuff
With this file you will be able to print CNC 3018 Z-Axis Upgrade with your 3D printer. Click on the button and save the file on your computer to work, edit or customize your design. You can also find more 3D designs for printers on CNC 3018 Z-Axis Upgrade.