Cocoa pod silicone mold
thingiverse
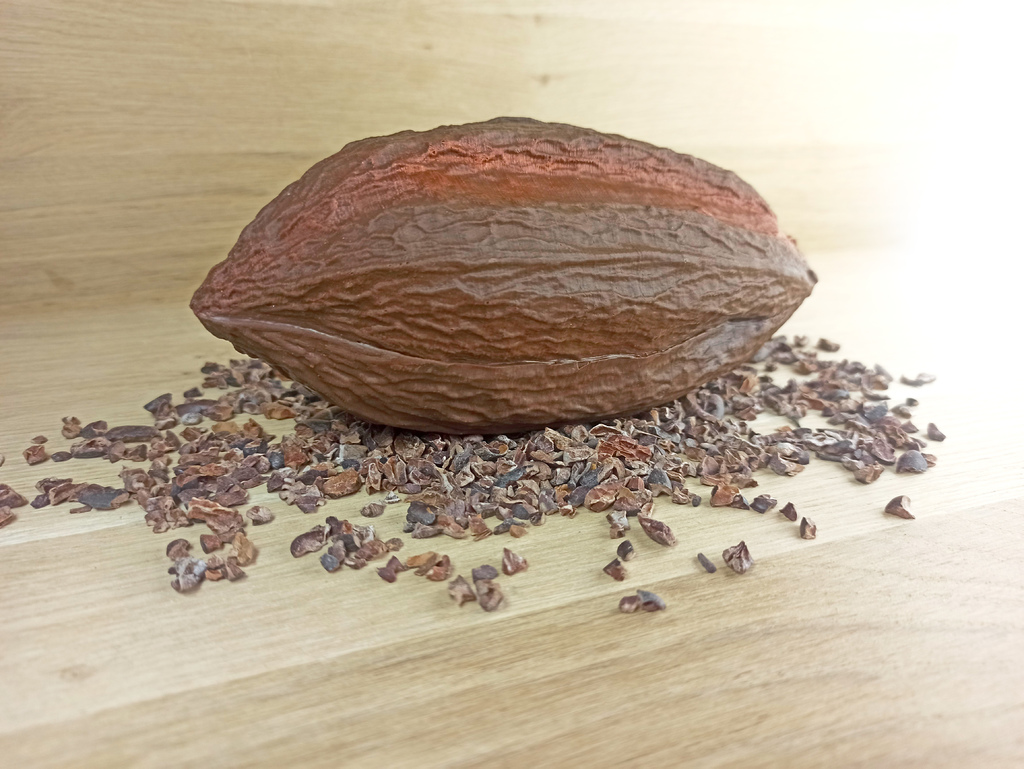
A mold to make a chocolate cocoa pod. You will need to buy some silicone to make it. <font color=red>Note : It's NOT an easy project but the result is very satisfying. <center><b>How to : </b></center> The 2 parts A and B should be printed with 0.1 up to 0.2mm layers, it's to reduce layers visibility on the final cocoa pod mold. The 2 parts will be easier to fit together too. In my case, I chose to print these parts in PLA with 2 shells and 2% cubic infill. ( = +/- 9h printing for each). You can add some spray varnish to reduce the layers visibility. The silicone should have specific properties : - A slow curing time - A low viscosity => This will allow the silicone to go down to the bottom of the mold and the air bubbles to come up. I chose a dental/ food grade silicone " WAGNERSIL® 26 LE ", with 5200 mPas viscosity and full curing time arround 6h, I added the technical specifications below. I recommend tilting the assembled mold when pouring (I added a 3D support for this), this will allow the silicone to slide down the wall without trapping any bubbles on the surface of the cocoa pod. (see last picture) You should pour the silicone in 2 or 3 times because with a single pour the bubbles should rise all the way up the mold. Note : it will be a bit messy, because some silicone will pass between the 2 parts due to the assembly tolerance. The final mold weight 115g (one cocoa pod side), I recommend adding an extra 20g for losses. Another way would be to pour all the silicone at once into part A, let the bubbles rise, then gently close part B to crush the silicone and push it all the way up. I didn't try.
With this file you will be able to print Cocoa pod silicone mold with your 3D printer. Click on the button and save the file on your computer to work, edit or customize your design. You can also find more 3D designs for printers on Cocoa pod silicone mold.