CoffeeCam: a Shutter for Large Format Pinhole Can Cameras
thingiverse
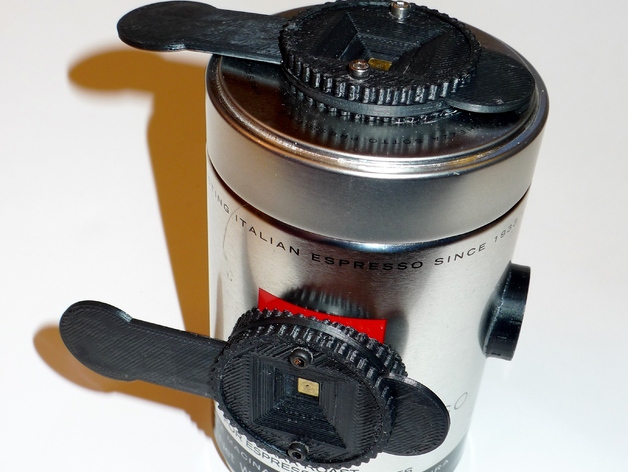
Create an espresso or oatmeal box pinhole camera with this simple design. The OpenSCAD script "coffeecam.scad" allows easy modification for various cylindrical containers, while the "coffeecam_tripod.scad" generates tripod mounts. For anamorphic photography, use two shutters on a container or mount on a flat surface like a cigar box lid. Don't forget to paint the inside of your can black and ensure light-tightness when assembling. Experiment with exposures and enjoy your unique pinhole camera creations!
With this file you will be able to print CoffeeCam: a Shutter for Large Format Pinhole Can Cameras with your 3D printer. Click on the button and save the file on your computer to work, edit or customize your design. You can also find more 3D designs for printers on CoffeeCam: a Shutter for Large Format Pinhole Can Cameras.