Combination Safe
prusaprinters
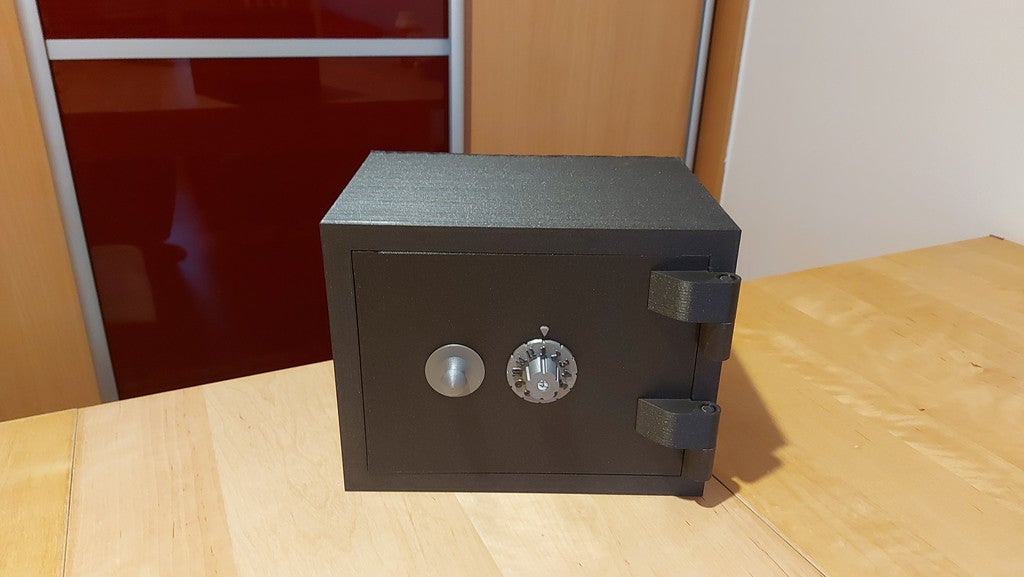
<p>This is a remix of Combination Safe by ChuTec_Engineering_Solutions (<a href="https://www.thingiverse.com/thing:1939676">https://www.thingiverse.com/thing:1939676</a>).<br/>I liked the idea of the combination lock. But the box itself looked too much as a toy, too much simple. So I created my own model of the safe (based on real one) and used the combination lock.<br/>All parts from the original model were a bit modified. Parts were to loose, not possible to fit and fine tune. Except for a couple of small screws no additional parts needed, all is printed.</p><p>Warning: This safe will eat almost the whole roll of filament. For this money you can buy probably a metal one. So take it only as a fun. </p><p>You will need printer with printing space of 240x190x190mm (Prusa MK2/3) is fine.</p><h3>Print Settings</h3><p><strong>Printer Brand:</strong></p><p>Prusa</p><p><strong>Printer: </strong></p><p>Mk2.5s</p><p><strong>Rafts:</strong></p><p>No</p><p><strong>Supports: </strong></p><p>Yes</p><p><strong>Resolution:</strong></p><p>0.2mm</p><p><strong>Infill: </strong></p><p>5%</p><p><strong>Filament:</strong><br/><br/>Prusament PLA Galaxy Black <br/> </p><p><strong>Notes: </strong></p><p>I printed the box with 5% infill, but for the bottom part and top part use better 20% infill, because for the printer is difficult to bridge such a big infill holes when start to print solid layers. You risk warping and damage of the print. So with PrusaSlicer use variable height for infill.<br/>The small lock coding parts and rings are usually printed on 0.1mm, the rest with 0.2mm layer height.</p><p>O-rings are from PETG (to be a bit more flexible).</p><p>Supports are mostly not needed, but still some details on the main body and door will need it (hinges on the body for sure).</p><p>Each part you need once except for:<br/>IK - 3x<br/>OR - 3x<br/>IKP - 2x<br/>IKPS - 2x<br/>Part KC-x is specific, it defines the fourth number of the combination. X means the combination's last number. For different last number you have to print a different part.</p><h3>Post-Printing</h3><p>Coding rings sand first to be smooth and grease before inserting to the holder.</p><p>If you want to have your own lucky code number, I wish you a good luck. Setting the pins to create your own combination is a hell. You can read through the original model discussion. But finally I set some pins, rotate the coder so I can see which combination belongs to this pins and remember it.</p><p>I used screws to mount hinges to the door, it would be difficult to print in one piece and I do not believe in glue in this part (I used powder coated bed for nicer look, so the surface is not flat). Hinges are loose, you can remove the whole door when opened. Once closed, the door is secured with locking mechanism, hinges are not necessary for the door to keep locked.</p><p>The coding mechanism must be quite precise, it can not be loose, but also not prevent smooth movement. I played a day with tuning dimensions. But different printer or filament might need adjustments.<br/>Take a look to the original model youtube video about how the coding mechanism is build. This lock works on turning the coding wheel alternating left and right till your number is reached. For first number you need to rotate four times your number arround, for second three times, for third twice and the last number is just one rotation. Depending if you start to rotate left or right, the combination to reach open state is different, so do it the same way. I chose the to start the right way ;-)</p><p> </p>
With this file you will be able to print Combination Safe with your 3D printer. Click on the button and save the file on your computer to work, edit or customize your design. You can also find more 3D designs for printers on Combination Safe.