Commodore 128 RGBI-to-RGBA adapter project
prusaprinters
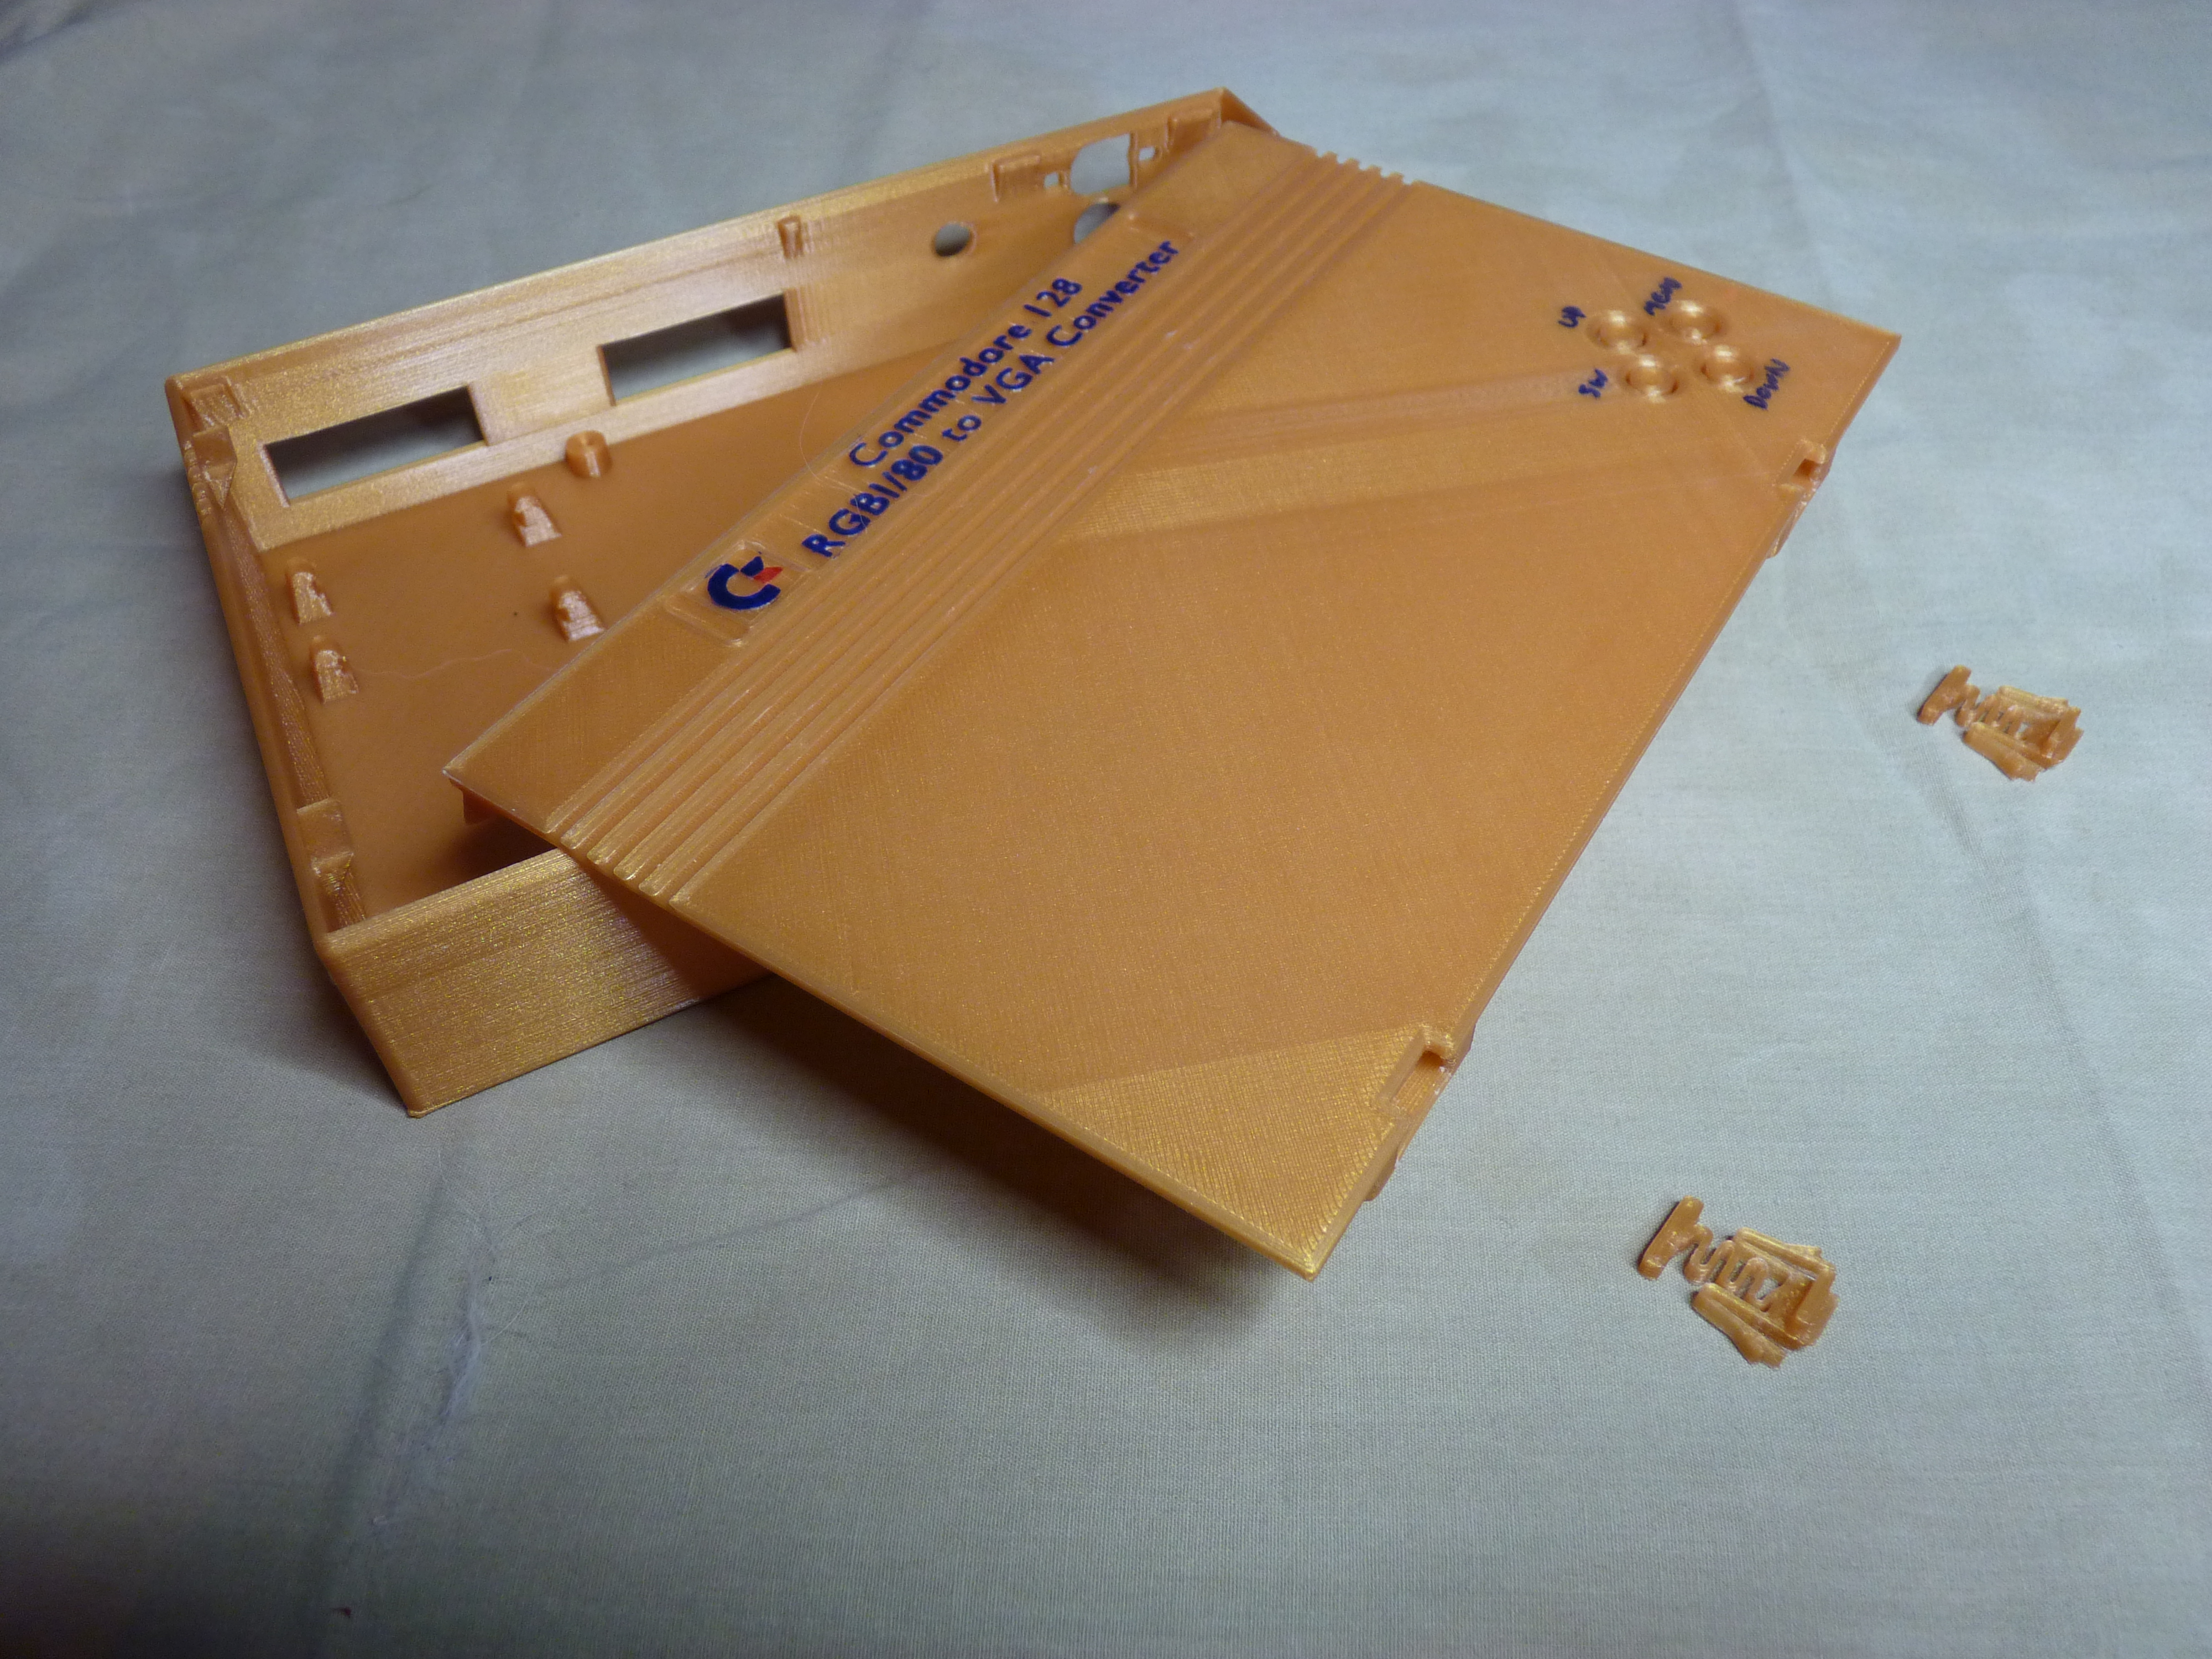
<p>This is a case designed to hold a GBS-8200 video board and my Commodore 128 RGBI-to-RGBA converter board.</p> <p>The bottom half features cooling vents, holes for the two video connectors and the power connector, and extra holes for a switch and secondary power jack (since the GBS board has no provision for one), mounting studs for the GBS-8200, and clip-in mounts for the RGBI board.</p> <p>The top cover features an inset design with snap-in spring-loaded latches, raised text/logo nameplate on top, button extensions with integrated retainer/return springs, and a retainer "wedge" to hold the back end of the RGBI board in place when the whole thing is assembled. The spring-loaded latches can be removed once inserted, if necessary, but they may be a tight fit depending on your printer's output quality.</p> <p>As this is designed for use with a Commodore 128, it features the Commodore logo on the top cover, and ridges on top near the back that represent the cooling vents found on most Commodore computers and peripherals.</p> <p>It is designed to be printed without slicer-generated supports. The springs on the underside of the cover have their own removable supports, but you can of course tell your slicer to print them with soluble material if you have the hardware for it.</p> <p>Although I designed the top cover receiver slots with adequate gaps for the retainer clips to fit well, you need good bridging performance with your hardware and filament, or you'll need to fill the slots with soluble support material.</p> <p>All parts should be printed as oriented in the STL files (no need to rotate/flip anything).</p> <p><strong>You will need:</strong></p> <ul> <li>the bottom "main body" part,</li> <li>one of the "retainer clips" files,</li> <li><p>one of the "top cover" files.<br/> It's preferable to use the AMF/XML versions of the latter two, as parts therein are already aligned as needed, and they contain Slic3r modifier meshes and settings tweaks to force your printer to slow down and take extra care in some places. If you choose to use the individual STL files, there are little squares off to one side, which will line up and form a solid rectangle when the parts are aligned properly.</p> <p>If you have the hardware for it, you may want to consider colorizing the text and logo on the nameplate. The colors in my photos were just drawn on with a couple of Sharpie markers.</p> </li> </ul> <p><strong>Update, 2017-10-18</strong></p> <ul> <li>Hollowed-out the wedge in the case top that holds the RGBI board in place</li> <li>Added countersinks to the GBS board's mounting holes to make screws easier to center</li> <li>Added a hole for a secondary power jack from my junk box, and moved the hole for the switch over to the side, near it.</li> <li>Cleaned up a lot of excess polys/faces in both parts of the case, including removing the previously-mentioned "marker" polys.</li> <li>Added a cut to each of the springs' supports opposite the little vertical "post" that holds them together, should make them easier to split apart and remove.</li> <li>Beveled the edges of the RGBI board's mounting posts, to make it easier to slide the RGBI board into place.</li> <li><p>Oh, I also greatly improved the detail of the GBS and RGBI board models, just for the sake of a better rendered image. ;-)<br/> Update, 2016-05-28</p> <p>Big redesign of the case!<br/> ◦ Got rid of the GBS-8220-specific features, since I can't actually test that. This case is for GBS-8200 only. I've left a few "marker" polys for these in the .blend file, for possible future use.<br/> ◦ Moved the RGBI sub board down to the bottom of the case.<br/> ◦ Made the whole thing slightly wider, a bit longer to accommodate the RGBI board, and less tall/thick.<br/> ◦ Rounded all of the sharp edges/corners.<br/> ◦ Revised the clip-in setup for the RGBI board so that it slides (grudgingly) into clips in the bottom of the case and is then held in by a large wedge sticking down from the top.<br/> ◦ Reworked the springs - they're much shorter now, and the support material is easier to remove.<br/> ◦ Greatly reduced the amount of pressure the button extensions exert on the GBS's buttons.<br/> ◦ Fixed the placement of the hole for the power socket.<br/> ◦ Improved the accuracy of the GBS-8200 "model" in the .blend.</p> </li> </ul> <h3>Print instructions</h3><h3>Licence: Creative Commons - Attribution - Non-Commercial Category: Computer Print Settings</h3> <p><strong>Printer Brand:</strong> RepRap</p> <p><strong>Printer:</strong> Prusa i3</p> <p><strong>Rafts:</strong> No</p> <p><strong>Supports:</strong> No</p> <p><strong>Resolution:</strong> 0.1 mm</p> <p><strong>Infill:</strong> 30%</p> <p><strong>Notes:</strong></p> <p>Additional information regarding this project, including EDA data files (in gEDA format) for the RGBI board, can be found on my website: <a href="http://daconcepts.com/vanessa/hobbies/projects.html#RGBI">http://daconcepts.com/vanessa/hobbies/projects.html#RGBI</a></p> <h3> Post-Printing</h3> <p>Consider sanding down all of the external surfaces. This sort of design might look best with a "matte" finish. Some minor trimming of the retainer clips may be necessary if your printer leaves strings or the like.</p> <h3> How I Designed This</h3> <p>Just used Blender to model it. I took careful (but not perfect) measurements of my GBS-8200 board, and used a carefully-scaled photo of it along with a rendered image of the RGBI board for size and position references.</p>
With this file you will be able to print Commodore 128 RGBI-to-RGBA adapter project with your 3D printer. Click on the button and save the file on your computer to work, edit or customize your design. You can also find more 3D designs for printers on Commodore 128 RGBI-to-RGBA adapter project.