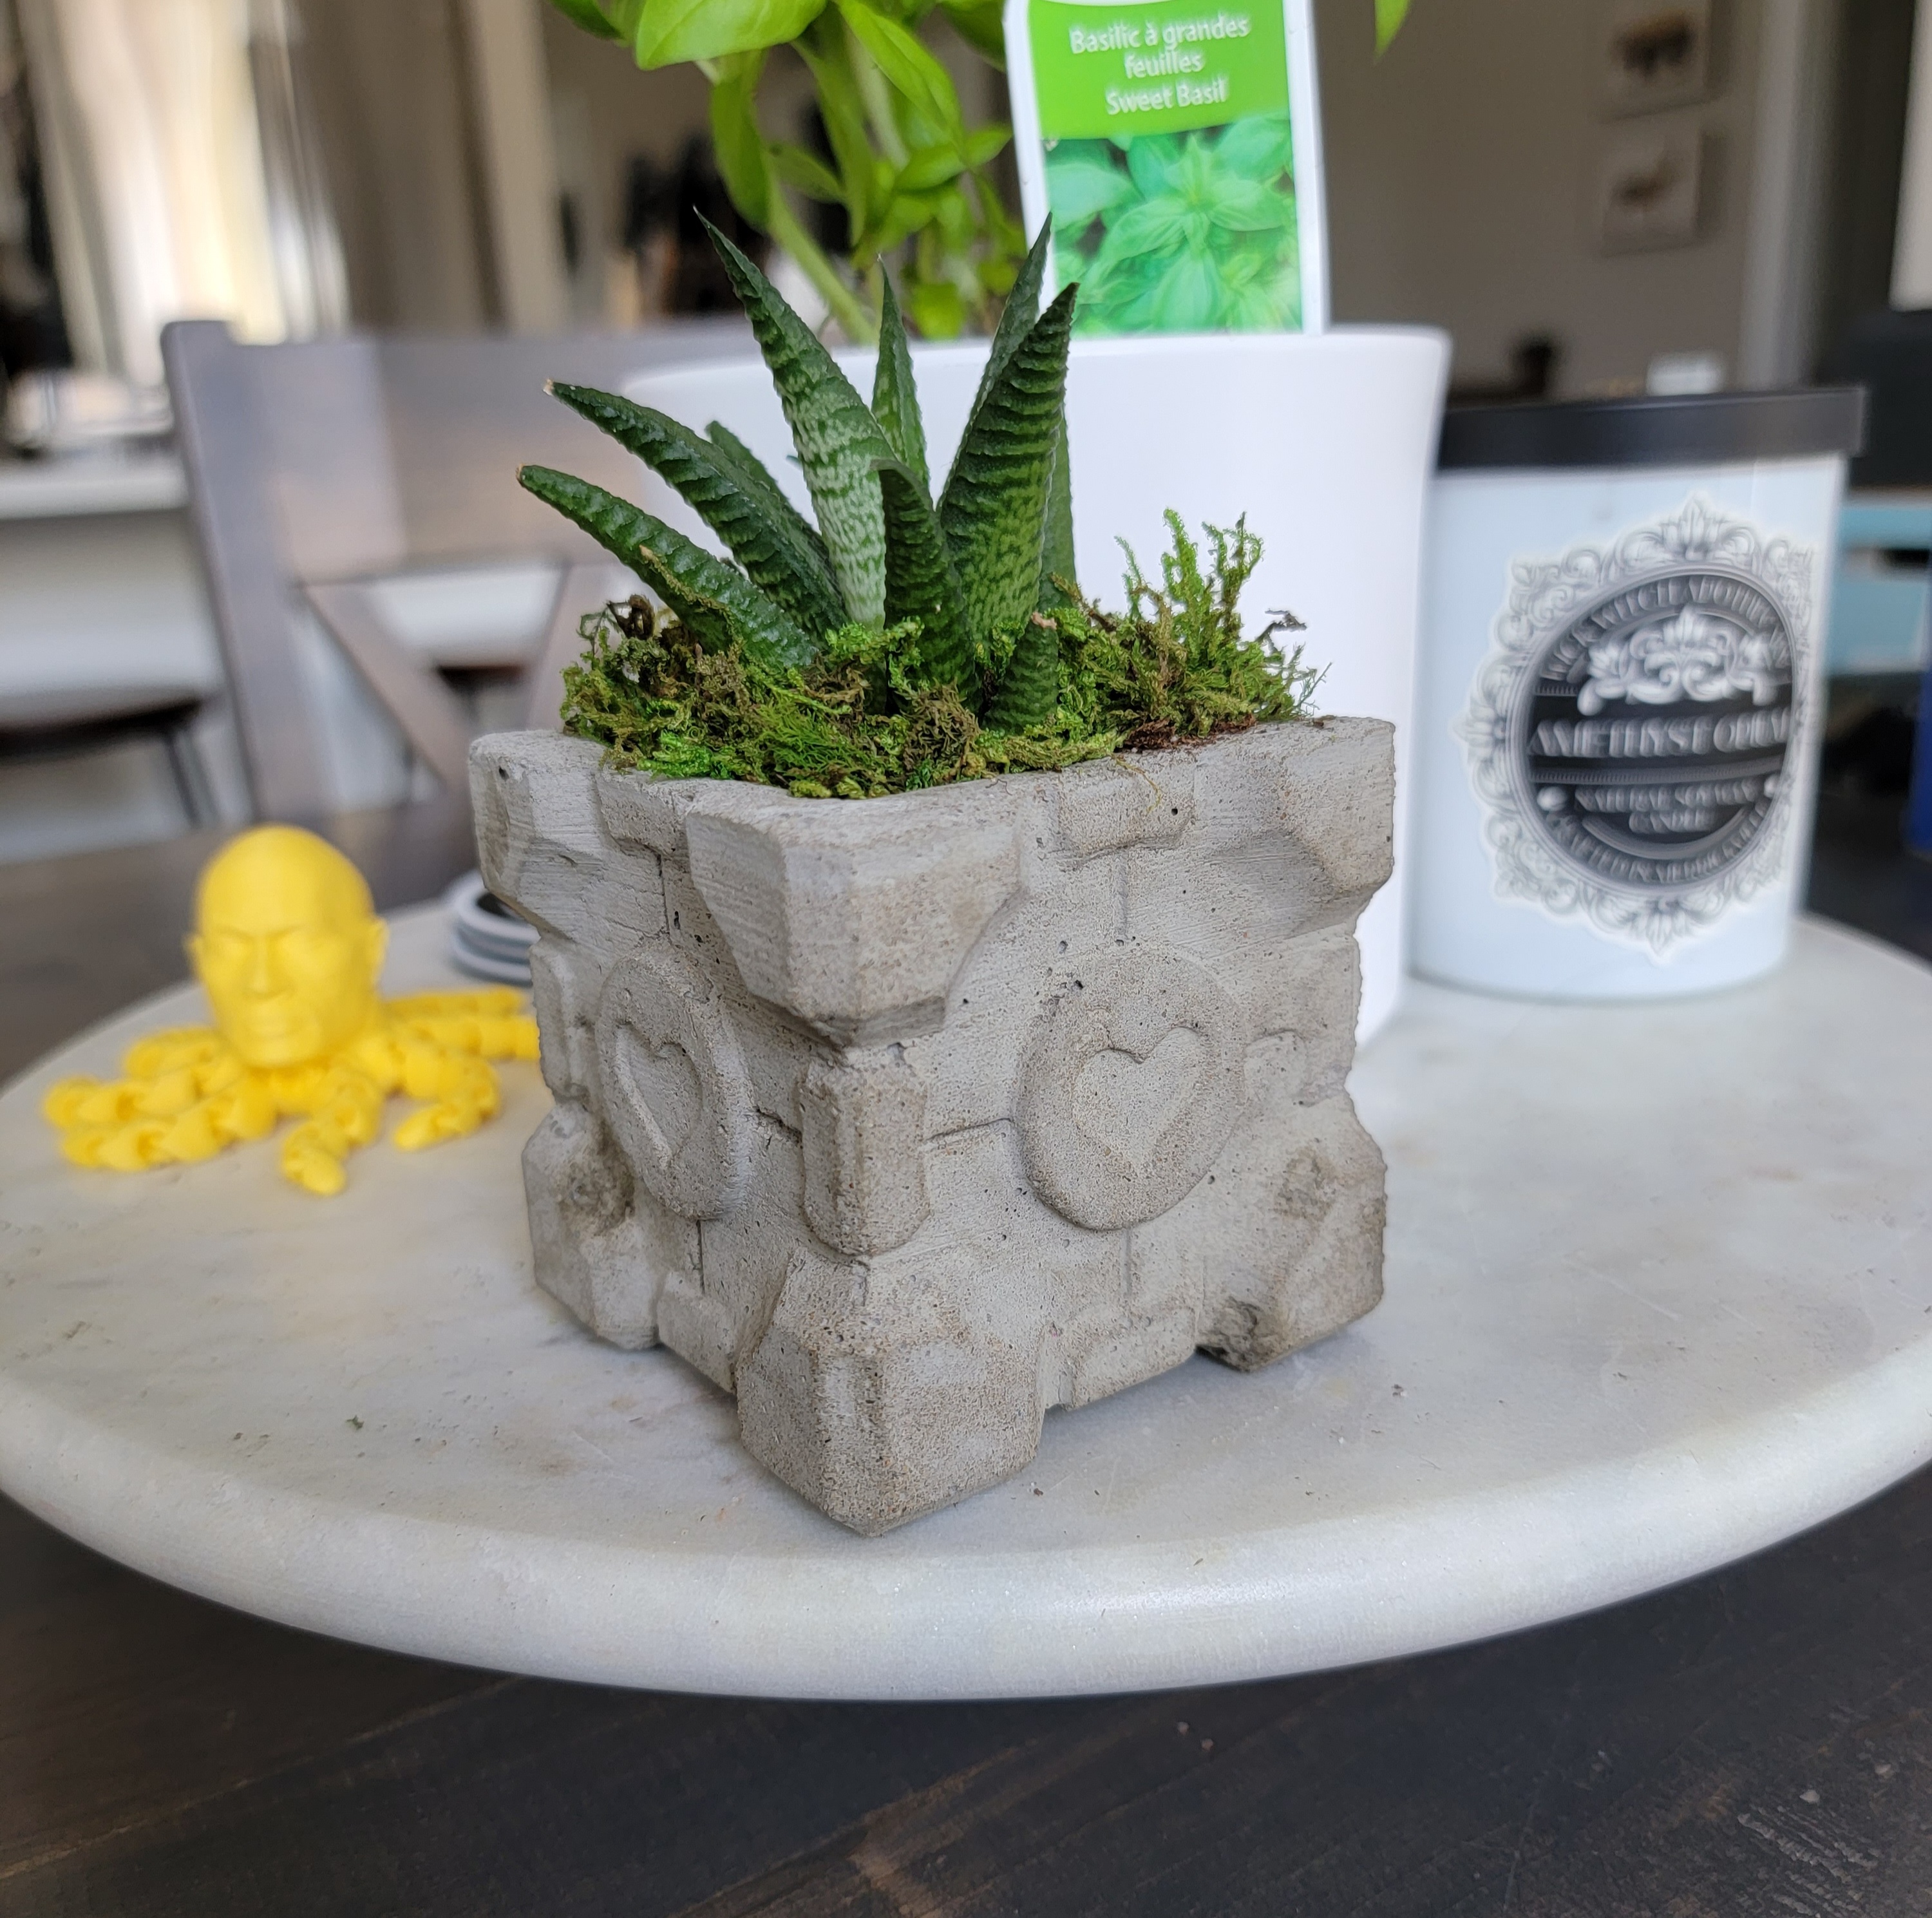
Companion Cube planter mold
prusaprinters
<p>A simple mold for creating a companion cube succulent planter.</p><p>To create a concrete planter:</p><ol><li>Print the mold pieces - I used PLA with 3 walls minimum and 30% infill, but lower infill is probably ok. The mold should separate after curing without breaking.<br> </li><li>Coat the mold pieces in some form of mold release - I simply used Pam with some success.<br> </li><li>Assemble the mold and secure it together with clamps or tape - electrical tape works great here.<br> </li><li>Recommended: wrap the mold insert in a balloon - this makes taking out the insert after curing much easier!<br> </li><li>Fill the mold roughly halfway with mixed concrete, and slowly add the mold insert. Top up any low spots. The mixture should come to the top of the mold at this point. Do not fill the insert itself, the hollow area is merely to allow for pulling the insert out afterwards.<br> </li><li>Vibrate out any bubbles - this can be done by tapping a draft surface below the mold with a hammer or something similar.<br> </li><li>Once cured (typically 24-48h), separate the mold and voila!<br> </li><li>Optional: sand, coat in sealant to improve water resistance, paint</li></ol><p> </p><p>Update: the model now comes in 4 pieces for easier separation after curing</p>
With this file you will be able to print Companion Cube planter mold with your 3D printer. Click on the button and save the file on your computer to work, edit or customize your design. You can also find more 3D designs for printers on Companion Cube planter mold.
