Concrete Bracket for Prusa Lack Enclosure
thingiverse
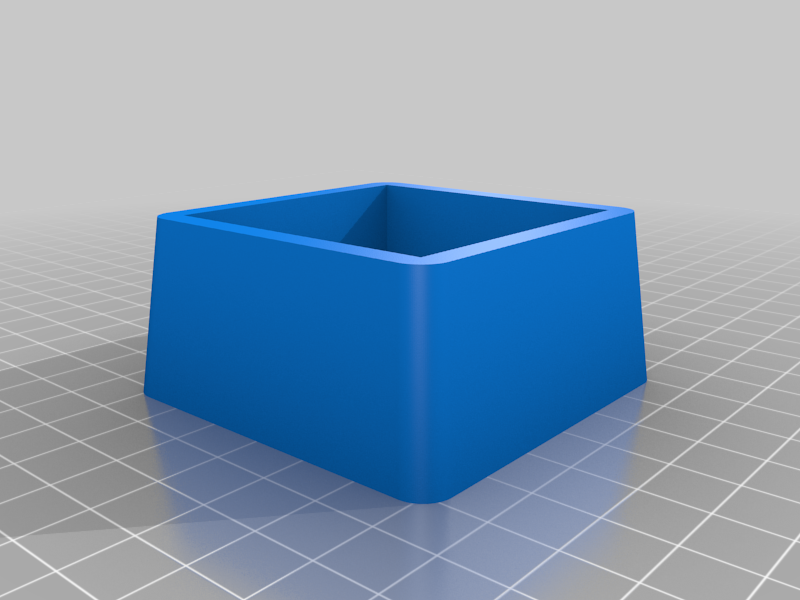
Warning! I haven't actually put it together yet as I'm still waiting for parts. If you somehow put it together before me and a concrete slab cracks your floor I'm not responsible. Proceed at your own risk. Bracket for affixing a 16" concrete paver to the underside of the Prusa Lack enclosure, and tpu feet. Should help dampen vibrations. Materials: 14 M6 x 10mm threaded inserts for plastic 14 threaded inserts for wood; 6 washers 6 65mm m6 bolts 8 20mm M6 bolts 16" x 16" x 1.75" Concrete Paver Tools: Drill Soldering Iron Pencil Position the brackets against the legs of the lack enclosure, then mark the drill holes with a pencil. Drill the holes then insert the wood inserts. Insert the plastic inserts into the holes on the bracket, then melt into place with the soldering iron. Place the brackets back in position, then screw everything together with the washers positioned on the bolts screwed into the underside of the table. Scad files included if you want to remix or laugh at how I don't know how to use multimatrix.
With this file you will be able to print Concrete Bracket for Prusa Lack Enclosure with your 3D printer. Click on the button and save the file on your computer to work, edit or customize your design. You can also find more 3D designs for printers on Concrete Bracket for Prusa Lack Enclosure.