Cooling Duct for Colido 2.0
thingiverse
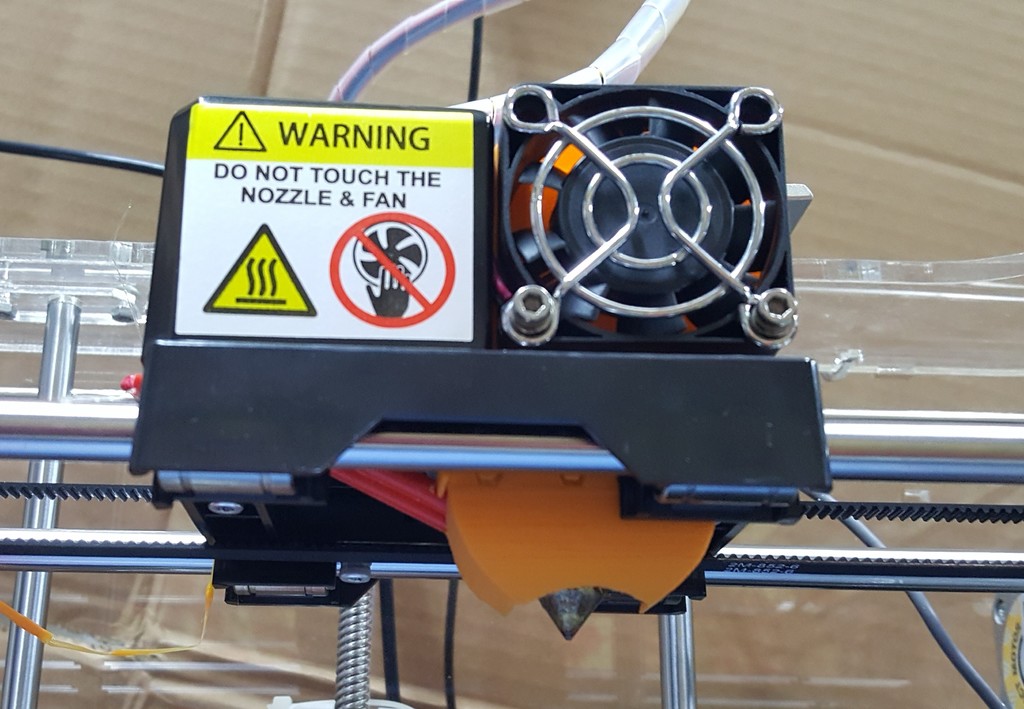
The Colido 2.0 is a nice machine but it doesn't have effective cooling (not my model anyway). There is an existing fan that cools the mounting bar via a heat sink, the motor somewhat and the electronics by air exiting the heat sink leftwards but most of the air is wasted by being directed rightwards from the heat sink. None is directed near the component. This duct replaces the heat sink. The bar and electronics are now air cooled with the majority of air directed around the nozzle. The motor is hardly cooled and I am hoping this will be okay, but after long prints it doesn't feel hot and most steppers work okay even when very hot. Anyone reading this, feel free to ask me if I've had any subsequent problems. This duct is also much lighter at 10 g than the heat sink which was 19 g. To fit the duct, it's necessary to partially dismantle the head assembly. 1. Remove the electronics cover and the spring for the filament loading lever 2. Unplug the motor 3. Remove screws from the fan and take motor and heat sink away 4. Remove the 2 screws holding the bar to the frame from underneath After that it should be a straightforward fit and reassemble. NOTE: Because of the cooling effect on the nozzle, you will need to increase the nozzle temperature setting.
With this file you will be able to print Cooling Duct for Colido 2.0 with your 3D printer. Click on the button and save the file on your computer to work, edit or customize your design. You can also find more 3D designs for printers on Cooling Duct for Colido 2.0.