Cooling test - Overhang test
thingiverse
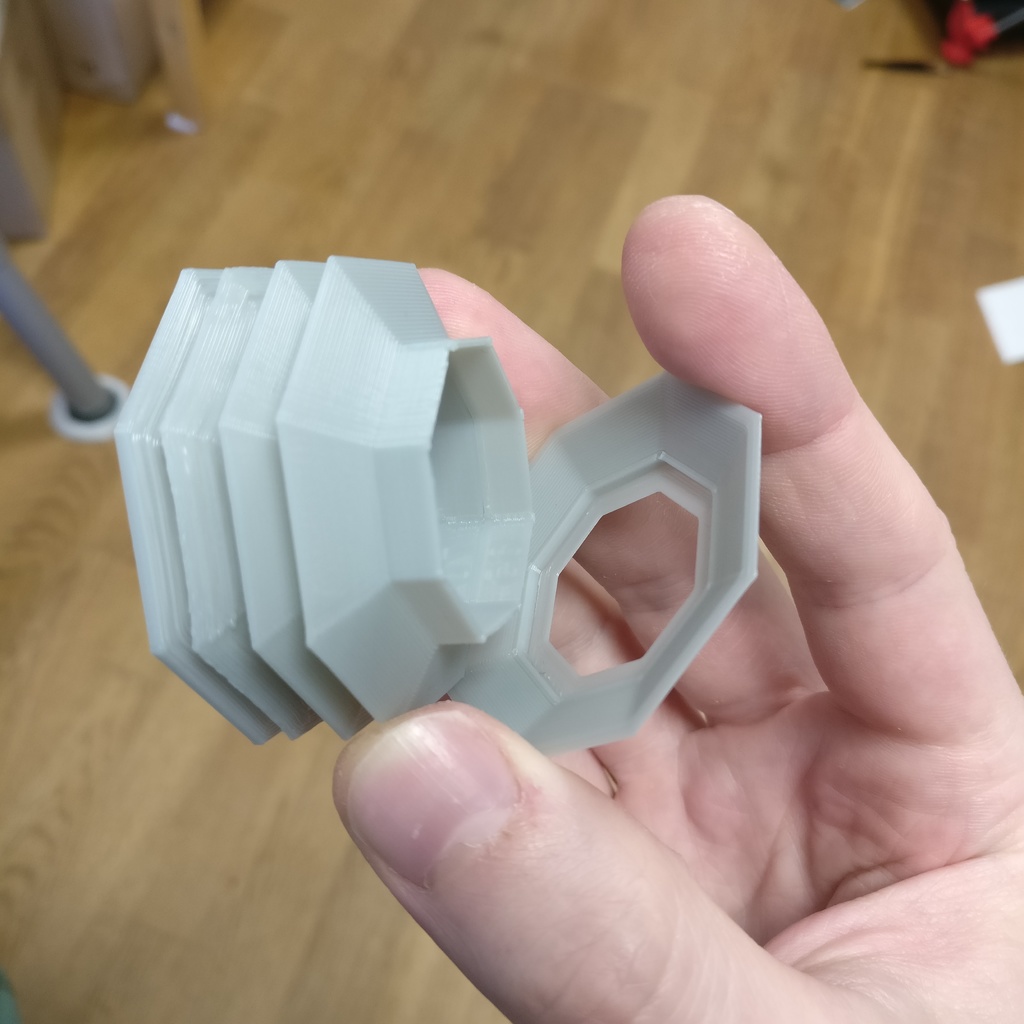
A test to see how well your part cooler performs mainly on overhangs prints in less than one hour. The print can be taken apart at each level when it is done with two versions, with and without text on the overhang surface. Check out this curved overhang test: https://www.thingiverse.com/thing:2151369 Or my remix of it: https://www.thingiverse.com/thing:3071469 Analyse how well you cooler prints overhangs and if it cools evenly over 360° I made this to help me design and evaluate my Opticooler cooling solution for Wanhao Di3 It's what I used for the print in the pictures https://www.thingiverse.com/thing:2927210 To compare with my pics use 100% cooling at 0,2mm layer height and 30mm/sec overall make sure other settings do not adjust Print with enough walls and top/bottom layers that everything prints solid Experiment with different layer heights speeds and temps Look for upwards curling on edges Compare the curling on all corners to see how well your cooler handles full 360° Look for how well the overhang surfaces looks at different angles experiment with slower speeds and lower layer heights to improve But do not go lower than necessary in my experience a too low layer height causes more upwards curling on difficult overhangs Watch the layer preview to find a layer height that works for the overhangs you are printing but do not choose lower than necessary layer heights I'm still learning the relationship for this if you don't agree please tell me If you run into a case where your cooling is just not enough no matter what slow down and if possible lower temp Some delicate prints will be easier to print if you print more of them at the same time allowing more time for each parts layer to cool
With this file you will be able to print Cooling test - Overhang test with your 3D printer. Click on the button and save the file on your computer to work, edit or customize your design. You can also find more 3D designs for printers on Cooling test - Overhang test.