Cornerstone for Kossel reinforcement
thingiverse
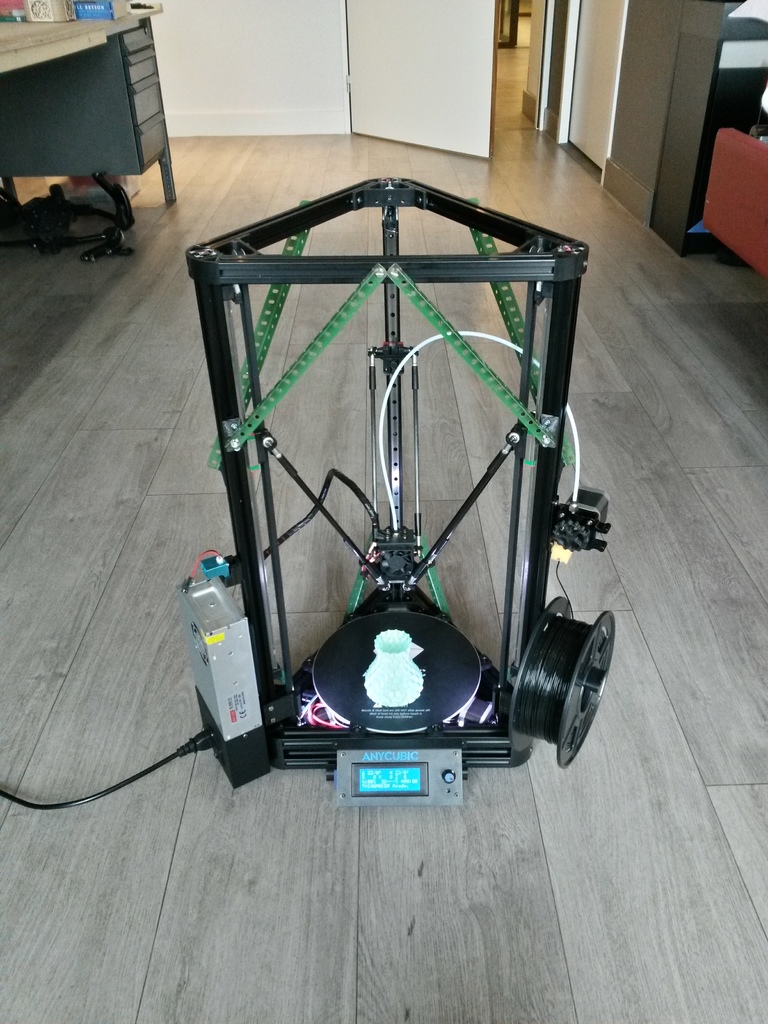
__Motivation__ I found the Anycubic Kossel Linear Plus frame a bit low on stiffness. In an effort to increase this, I've designed a 'cornerstone' so that I can attach some Meccano angle profile beams. This solution is superior to any of the printed braces I've found, since the distance from the 'rotation point' can be much bigger, hence the force on the reinforcement is lower at a given bending moment and the stiffness of the meccano beam is very high, since it's made from steel vs. plastics for other braces. __Partslist for one _lower_ frame reinforcement__ - 1x Meccano angle profile beam of 19 cm (15 holes) - 1x cornerstone - 4x M4 T-nut for 2020 profile - 3x M4*10 allen screw - 2x M4*6 screw - 3x M4 washer __Partslist for one _upper_ frame reinforcement__ - 1x Meccano angle profile beam of 24 cm (19 holes) [1] - 1x Meccano angle profile beam of 31,5 cm (25 holes) [2] - 1x cornerstone - 2x M4 T-nut for 2020 profile - 3x M4*10 allen screw - 1x M4*6 screw - 2x M4 washer [1]: Use for _front_ of the frame [2]: Use for _left and right_ sides of the frame __Assembly__ For a _lower_ frame reinforcement, use the slotted holes of the Meccano beam. For a _upper_ frame reinforcement, use the circular holes. - First mount the cornerstone to the vertical frame profile, using two M4*10 screws and two T-nuts. Be careful of the orientation of the flat spot, this should be flush with horizontal frame profile. For the lower frame reinforcements, keep a space of 75 mm clear between the horizontal frame and the underside of the cornerstone. - Loosely assemble the Meccano beam onto the two horizontal frame profiles with the T-nuts, washers and the M4*6 screws. Keep three empty slotted holes in between the screws. An _upper_ frame reinforcement only needs one screw and T-nut here. - Mount the Meccano beam _loosely_ onto the cornerstone using a M4*10 screw and a washer. Screw in very slowly to prevent PLA melting due to friction! - Place the T-nuts into the frame profiles, find the right position for them to fit. - Finally, firmly tighten the Meccano beam to the frame profiles and the cornerstone. __Remarks__ - For the upper frame reinforcements, on the front side I use two Meccano beams (symmetrically) and on the sides of the frame I use only one for each side. - Make sure the bowden tube is not obstructed by the reinforcement. I placed the extruder a bit higher up the frame. Now the upper screw of the extruder bracket is about 27 cm below the top side of the upper horizontal frame profile. - I have not had the opportunity to measure the increase in stiffness yet. However, eyeballing the effector vs the bed and by hand deflecting the frame It looks way more rigid! - Just to be sure, re-calibrate the printer (delta auto calibration) since by tightening the screws of the reinforcements, the frame may have deflected somewhat. __Happy printing! I would love to see a Make!__
With this file you will be able to print Cornerstone for Kossel reinforcement with your 3D printer. Click on the button and save the file on your computer to work, edit or customize your design. You can also find more 3D designs for printers on Cornerstone for Kossel reinforcement.