Corsair Virtuoso Suspension Headband
thingiverse
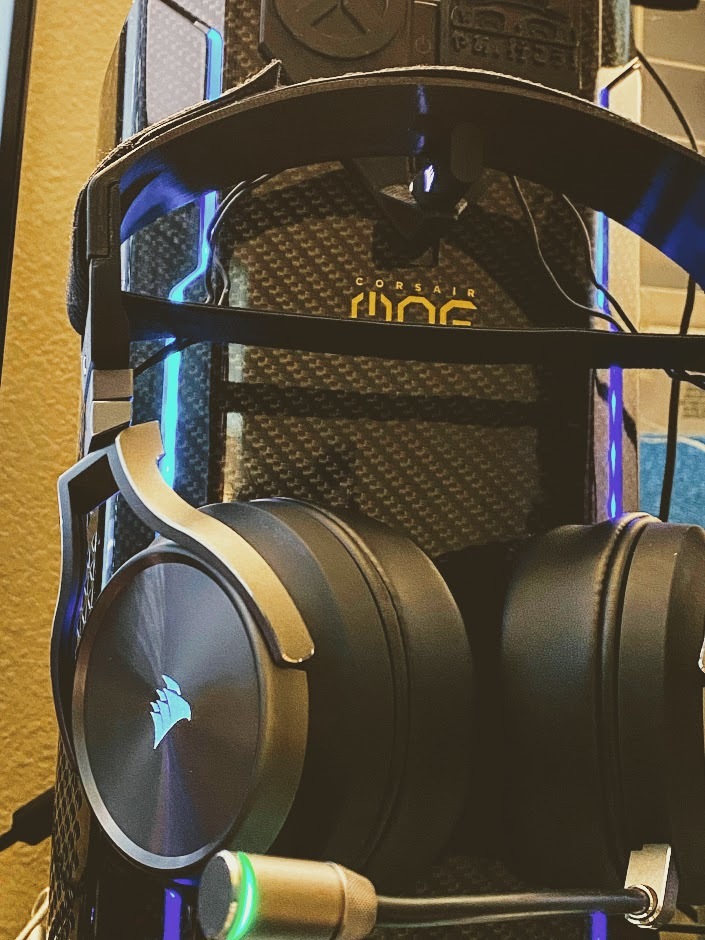
Corsair's Virtuoso headset is an amazing piece of kit, and the microphone is one of, if not the, best on the market for a headset. While I love most things about the Corsair Virtuoso headset, there are a couple minor things I wanted changed: earpads and headband. For the earpads, I picked some up from a third-party on Amazon - https://www.amazon.com/gp/product/B08HXVD5RJ For the headband, it's much more involved, and requires some irreversible destruction to the cloth and padding. Because I don't want to be held liable for any damage done to your headset, I will omit the process of disassembly. Do this mod at your own risk! I printed this in polycarbonate, but any filament with strong layer adhesion will work, such as PETG or PCTG. Supports for the earcup mount will need to be printed, and you'll need to be patient with clearing out the supports. The mounting tabs are the weak points in this design, so if you have an extremely large head, this may not work for you. please understand the risks involved before proceeding with this modification. A stiffer material like PLA could be suitable, but I worry about the brittle nature of that. Thus far, everything has been printed in PC and is working well. BOM: - 1x Corsair Virtuoso (Base or SE) - 1x SteelSeries Arctis 7 elastic band (https://www.amazon.com/gp/product/B08RHK2ZMK) - 8x 4mm M3 countersunk screws - 2x 6mm M3 countersunk screws - 10x M3 nuts - 1x hook and loop cable tie, cut to between 25-30mm Printing: - Use supports for all components (everywhere) - Print headband on its sid - Print earcup mount with the single hex deboss flat on the bed - Print tab with flat side on bed Assembly: - Screw tab to earcup with original headset screws - Lay wires in tab channel - Slide cover over tab and exposed mounting hardware and affix with original screws - Slide opposing cover over the other side of the tab, carefully pulling the wires through with it - Insert tab in earcup mount - Affix with 6mm M3 screw and nut - Affix headband to that assembly with four (4) M3 screws and nuts - Repeat process for other side - Using the hook and loop cable tie, attach headset wires to the holes in the top-middle band - Thread elastic headband through and connect it to itself - ENJOY! :) Changes I may make in the future: - Simpler, easier to post-process design - Add various widths of headband - Modify design to use original metal earcup tabs
With this file you will be able to print Corsair Virtuoso Suspension Headband with your 3D printer. Click on the button and save the file on your computer to work, edit or customize your design. You can also find more 3D designs for printers on Corsair Virtuoso Suspension Headband.