Counter Top Herb Garden
thingiverse
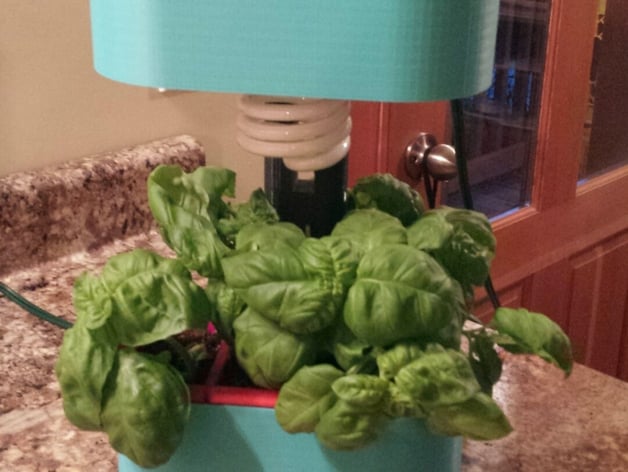
This is my Counter-top Herb Garden It has three removable pots, a drip tray and a height adjustable light. I've got mine plugged into a timer to keep the light on the right amount of time every day. It's designed to print without any supports. The slopes on the inside of the pots and in the mid support of the base are fairly aggressive but don't worry if you get a few dangling pieces of plastic there you won't be able to seem them once it's all put together. I printed everything with 2 shells and 10% infill. Make sure you use at least two shells on the drip tray so it doesn't leak. Everything should click together fairly firmly, but I recommend glueing the back bar into place once you've test fit everything. Fresh herbs make all the difference in cooking. Instructions You'll need to print out two side pots and one of everything else. Assembly Everything should snap together fairly firmly but you may want to glue to back bar for extra stability. I use methylene chloride to join PLA parts, it works like Acetone with ABS dissolving the plastics and then evaporating allowing them to become one piece. If you decide to use Methylene Chloride wear gloves and avoid breathing it in. Covering the inside of the hood To finish off the hood cover the inside with Aluminum tape. This is NOT the same as Duct tape, you should be able to find it at your local hardware store. It's sort of a pain to work with but the adhesive is good up to over 100C and it is reflective so it will reflect the light back down to your plants. Cover all the internal surfaces except the inside of the area meant to hold the lamp socket. Aluminum tape is conductive and you wouldn't want it shorting your wiring. Wiring I cut the end off an old extension cord to use as the wire you'll want to put a lamp rod nut over the end of your wire, then run the wire through the hole at the top of the hood through the lamp rod and connect it to your lamp socket. Use the shortest lamp socket you can find where the power is wired to the bottom of the socket. I bought mine at Home Depot. Once everything is wired together with your lamp rod attached to your socket screw the lamp rod through the hole at the top of your hood as far as it will go and secure it with the lamp rod nut. Lighting I used a 24W Compact florescent bulb which puts out light equivalent to a 100W incandescent bulb. It's probably a bit overkill. WARNING!! never use an incandescent bulb, or any bulb greater than 24W in your herb garden. Grow! Plant some seeds and watch them grow. You can poor water into your herb garden pots without moving them. When you're done pull out the drip tray and dump out the run off. Happy Growing!
With this file you will be able to print Counter Top Herb Garden with your 3D printer. Click on the button and save the file on your computer to work, edit or customize your design. You can also find more 3D designs for printers on Counter Top Herb Garden.