CQ Trophy
thingiverse
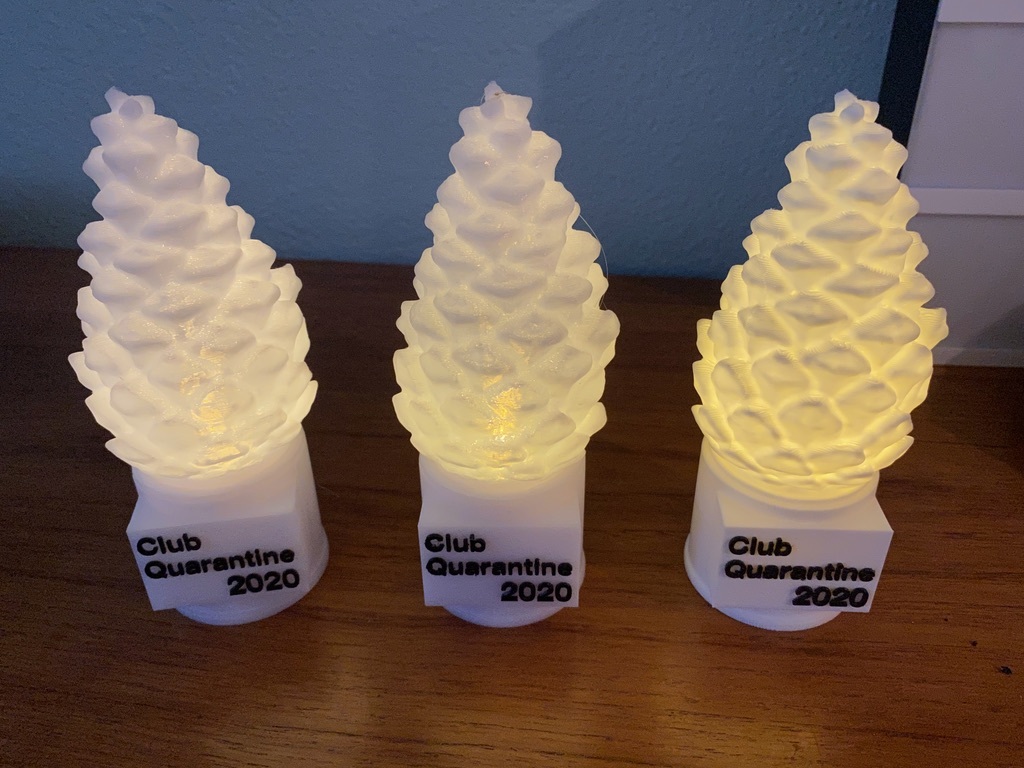
HEY YOU there's a new version of this trophy, I'm just leaving this up as an archive. But you should probably get the new version. ## https://www.thingiverse.com/thing:4598189 # Club Quarantine Trophy ## Digga digga dun, fam. This is a very specific trophy for a Twitch channel called Club Quarantine. If you're not part of that, you might not be interested! This is a trophy you can print and display in your home to remember all the great times listening to Dave Dresden's Club Quarantine on Twitch. This can be a complex print depending on how you want to do it, but I'm going to describe your options in order from easy to harder. # Notes from V2 Illuminated version: ## Filaments * Cone - Any white PLA * Base - Any white PLA * Base letters - Any black PLA ## Light I used "Homemory LED Tea Light Candles" from Amazon to illuminate the cone. I imagine any LED tea light would work, but you might need to scale or file or sand the base a bit if the size is different. ## Easiest option - print the two gcode files * If you have a Prusa i3 or a Prusa Mini, you should be able to just download the two V2 gcode files and go. The cone top is simple and should print with no problems. The trophy base is coded to print the base with supports and with the letter side up. It will prompt you to change the filament when it reaches the letters. * The gcode will go higher resolution as it gets to the top. It will pause for a filament change. ## Medium option - print the two 3mf files * Open the cone 3MF and print, should be easy. Draft resolution is fine for the cone. * Open the base 3MF file. It's set for an adaptive print so it gets higher resolution as it gets to the letters. * It will pause for a filament change at the letters. ## Advanced option - print the STL * Open the cone STL, set your options, and print. * Note: Because I used modifiers in Prusa Slicer and they don't export to STL, you'll need to modify the print to not have a top in the hole part at the bottom. Alternatively, you could just cut the hole out. Whatever works for you! * Open the base STL. Make sure it is oriented with the letters on top. Add support. Add a filament change where the letters start. If you want and know how, you can print the bottom in draft resolution and change the resolution to detail when you reach the letters. * Note: Because I used modifiers in Prusa Slicer and they don't export to STL, you'll need to modify the print to not have a top in the hole part at the bottom. Alternatively, you could just cut the hole out. Whatever works for you! ## More advanced options * Download the Open SCAD file and customize the text however you want. * Double the scale (which is 4x the volume) for a truly impressive cone. See the uploaded pictures for an example. Any even multiplier should work for the model. Reducing the size of the base will probably mess up the text and isn't recommended.
With this file you will be able to print CQ Trophy with your 3D printer. Click on the button and save the file on your computer to work, edit or customize your design. You can also find more 3D designs for printers on CQ Trophy.