CR-10 Frame Upgrade
thingiverse
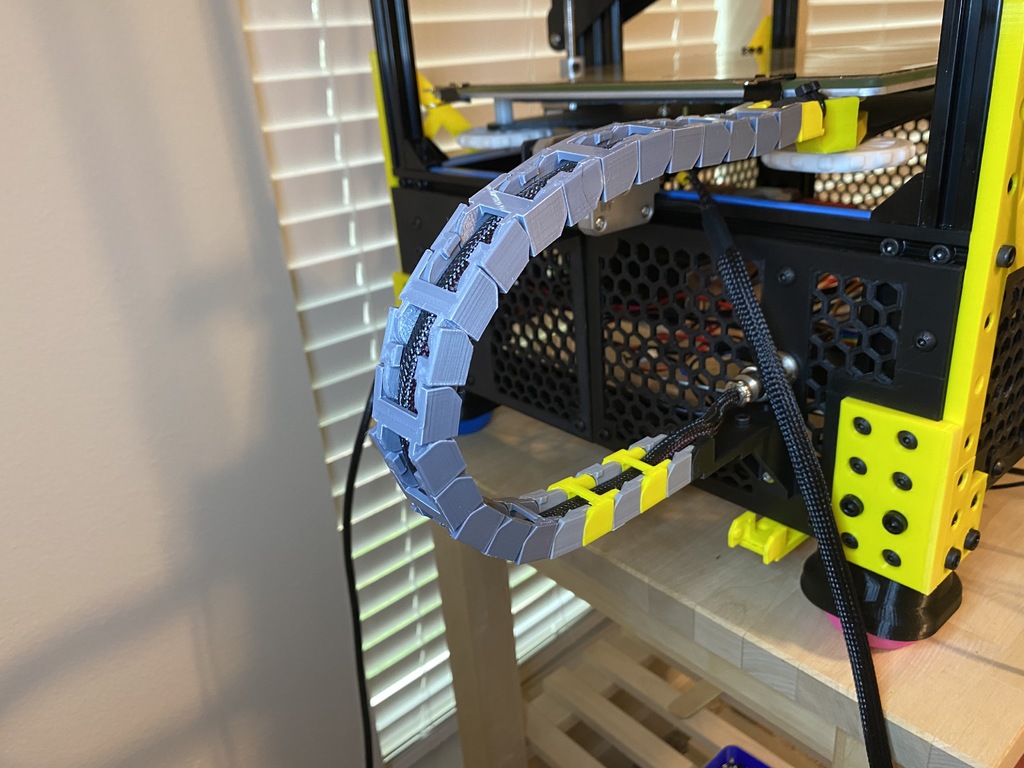
21 July 2020 Update - I've finished crafting and refining all necessary components made from plastic. Most of it is quite straightforward. However, I still need to update the documentation (readme file) to provide a clear explanation of every part. This will be done soon. Additionally, I printed everything using Carbon Fiber PLA. Sorry about my abbreviations - "RF_BL" means Right Front and Back Left, while "LF_BR" represents Left Front and Back Right. The terms "_LF" and "_RT" simply indicate left and right, viewed from the front of the printer. 5 Mar 2020 Update - I've renamed the two "Panel_Sides_?" pieces and added the second panel component for the sides. When referring to "Front/Back," it's based on how they fit into place when looking at the printer from its front side. Hopefully, that made sense. 3 Mar 2020 Update - I noticed an error in my previous writing: I mentioned standoffs between the original frame and the new frame should be 91mm long... this is incorrect. The correct length for the standoffs is 98mm, allowing the braces to butt up against each other perfectly. This project is still a work in progress. I created this frame because I wanted to gradually move the contents of my CR-10 control box underneath the printer. I'm using 2040 aluminum extrusion. Two pieces were cut for the entire length of the "Y" axis, and two more were cut for the entire length of the "X" axis. This setup creates a new base for the printer. If you also want to add braces to support the Z-Axis, simply measure and cut your 2020 aluminum according to your current frame's dimensions. I also used a saw to cut out a small portion of the 2020 aluminum where it crosses over the top of the Z-Axis, as I plan on having my lead screw stick out slightly. You may want to do the same thing or leave it as is. For connecting all the top support pieces, you will need 8 right-angled braces for 2020 extrusion - enclosure by techwit (http://www.thingiverse.com/thing:1799079). I had to file down the guides a bit because they were slightly too wide to fit onto the 2020 profile as is. After sanding, everything snaps into place easily. The six pieces used for standoffs between the original frame and the new frame are each 98mm long. This length was chosen because I had leftover pieces from another project that happened to be exactly 6 inches long. Some support braces were designed to butt up against each other, so if you want higher clearance, you'll see a gap between a couple of supports. On the other hand, if you prefer shorter clearance, there's limited wiggle room, and you might need to design your own 90-degree brackets. The pictures provide a clear illustration of how everything fits together. The printed braces appear black with silver M5 screws in the initial photos. However, I've since replaced them with yellow braces and black M5 screws (as seen in the final pictures). I'm currently working on creating panels to cover the new bottom portion of the frame.
With this file you will be able to print CR-10 Frame Upgrade with your 3D printer. Click on the button and save the file on your computer to work, edit or customize your design. You can also find more 3D designs for printers on CR-10 Frame Upgrade.