CR-10 V3 x axis chain link
thingiverse
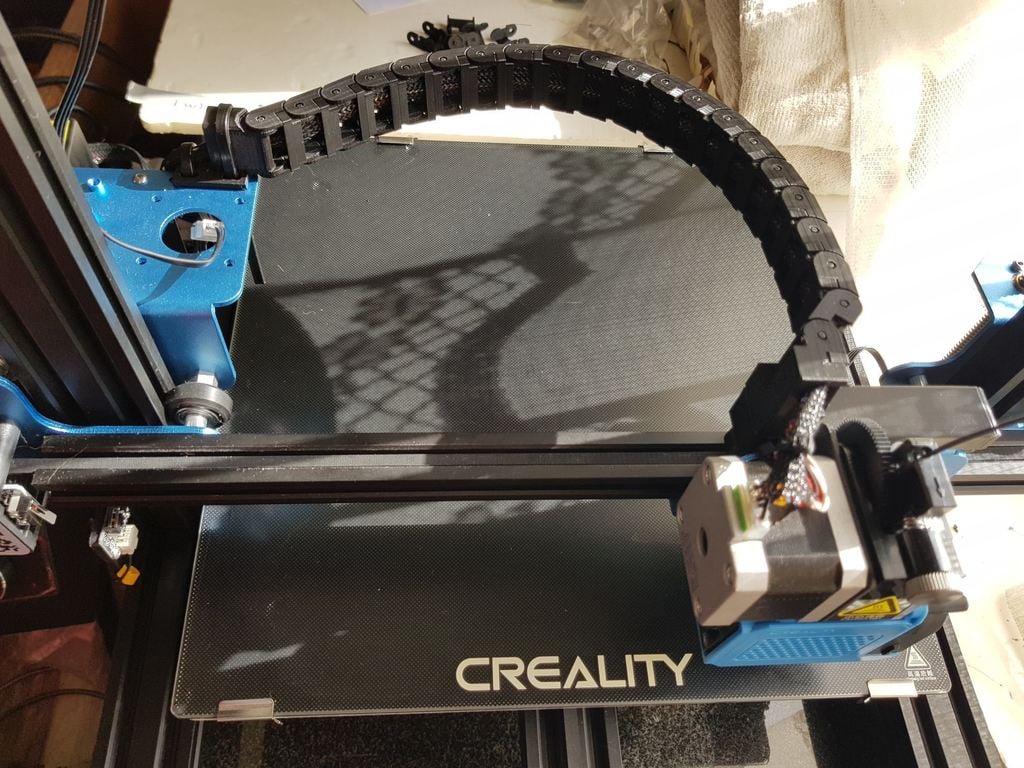
This was made because the cable on the x-axis was set too low and kept dragging or catching onto what you're printing. In this print, I used 100% infill for the drag links and control box end bracket, but you can adjust it to a lower percentage if you prefer. The control box will require supports; I simply used the "touching build plate" type. You'll need approximately 20 drag links, some cable ties, and glue for this project. For the Hot End, I offer two options: Option 1: A fully assembled hot end bracket that may necessitate supports and potentially become messy when removing them (depending on your slicing program). Option 2: A two-part assembly with minimal support, using "touching build plate" type; simply glue the parts together once printed. Settings for the Hot End parts: Resolution: .16 Infill: 20% or up to you When assembling mine, all drag link locking clips faced inward toward the x rail. You'll need to rotate the last link before the hot end bracket so that the clip faces outward and is left out, providing some wiggle room for the cable. You may find that the bracket fits snugly into the slot of the machine; if necessary, use a fine file or other tool to adjust the fit. Completed photos will be uploaded soon.
With this file you will be able to print CR-10 V3 x axis chain link with your 3D printer. Click on the button and save the file on your computer to work, edit or customize your design. You can also find more 3D designs for printers on CR-10 V3 x axis chain link.