CR10S Pro - Raspberry Pi + Buck Converter Installation
thingiverse
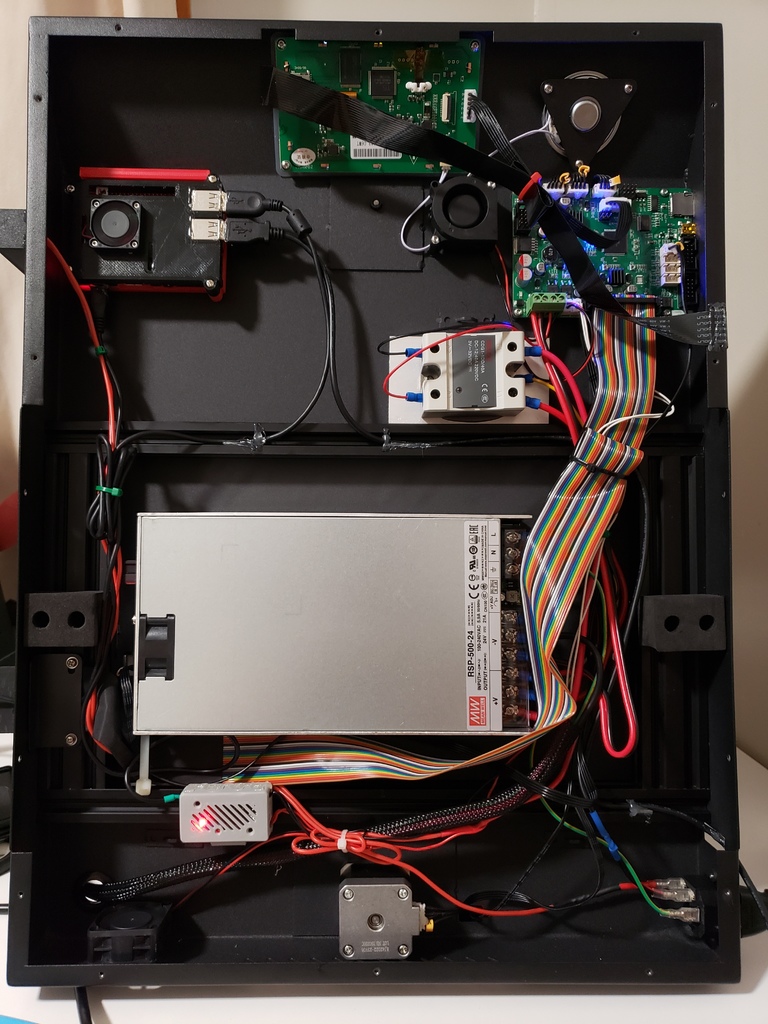
I installed a raspberry pi and a buck converter onto the CR10S Pro while concealing all components under the base compartment. The Buck Converter is powered using the rear fan's constant 12V output, which is then stepped down to 5.2V. I secured the buck converter to the frame using double adhesive tape. I disconnected the red and black wires from the rear fan and connected them both to the positive input of the converter. I did the same for the black wire but connected it to the negative input instead. Now, power from the supply connects directly to the buck converter and also to the fan. I cut a Micro-USB cable and connected the red wire to the positive output of the buck converter. I connected the black wire to the negative output and then plugged that cable into the Pi. The Buck Converter is secured in place. The Raspberry Pi draws power from the buck converter and is installed on the front of the printer using double adhesive tape. I completely removed the rear switch, relocating it to the front left of the printer for easier access. This allowed me to route the USB Cable through the opening and plug it into the Pi. A Logitech camera is currently connected to the Raspberry Pi, which powers it. After this installation, I have printed many objects without any issues, indicating that everything works as expected. **You are welcome to perform these instructions as you wish, but I will not be held responsible for any consequences if something goes wrong.**
With this file you will be able to print CR10S Pro - Raspberry Pi + Buck Converter Installation with your 3D printer. Click on the button and save the file on your computer to work, edit or customize your design. You can also find more 3D designs for printers on CR10S Pro - Raspberry Pi + Buck Converter Installation.