CR6 se fan spacer and vent.
thingiverse
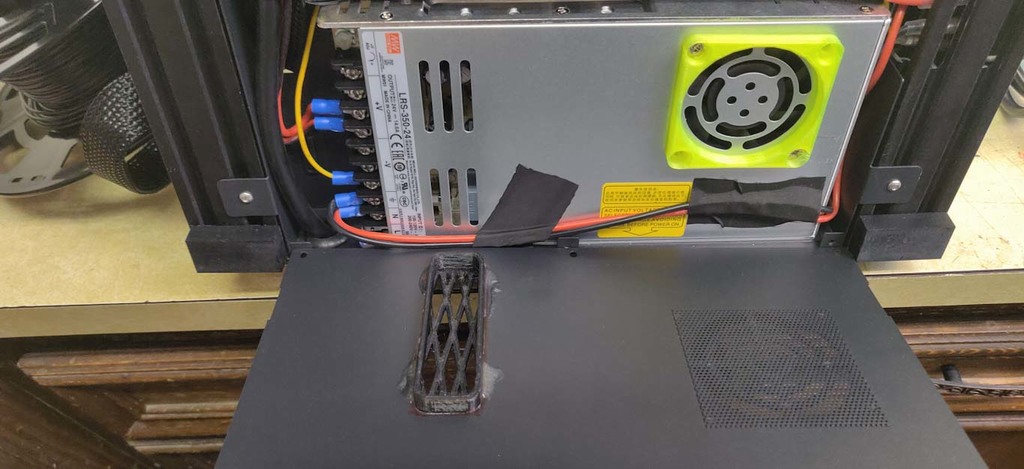
The Power supply is enclosed with only one inlet and no outlet for hot air to escape. I Tinkered this to fit between the power supply and the cover. You will have to cut a hole in the cover for the exhaust I used glue to install it or you could use screws . When installing the inlet side remove one screw and install the spacer at an angle with that screw then remove the other screw and straighten out the spacer to align the second screw hole and install the screw and tighten both screws. This way you will not lose the fan inside of the power supply. You may need to enlarge the screw holes to fit. The airflow in the controller board compartment leaves a lot to be desired also. Print 2 of the fan spacers one for the power supply and one for the board cooler. I also had a spare 30mm fan and installed it on the side of the cover to exhaust the hot air. There is a spare fan header on the board to plug it in. You will have to drill 2 small holes and use screws and nuts to install.
With this file you will be able to print CR6 se fan spacer and vent. with your 3D printer. Click on the button and save the file on your computer to work, edit or customize your design. You can also find more 3D designs for printers on CR6 se fan spacer and vent..