CR6-SE Sherpa Mini Direct Drive Extruder Adapter — Updated
thingiverse
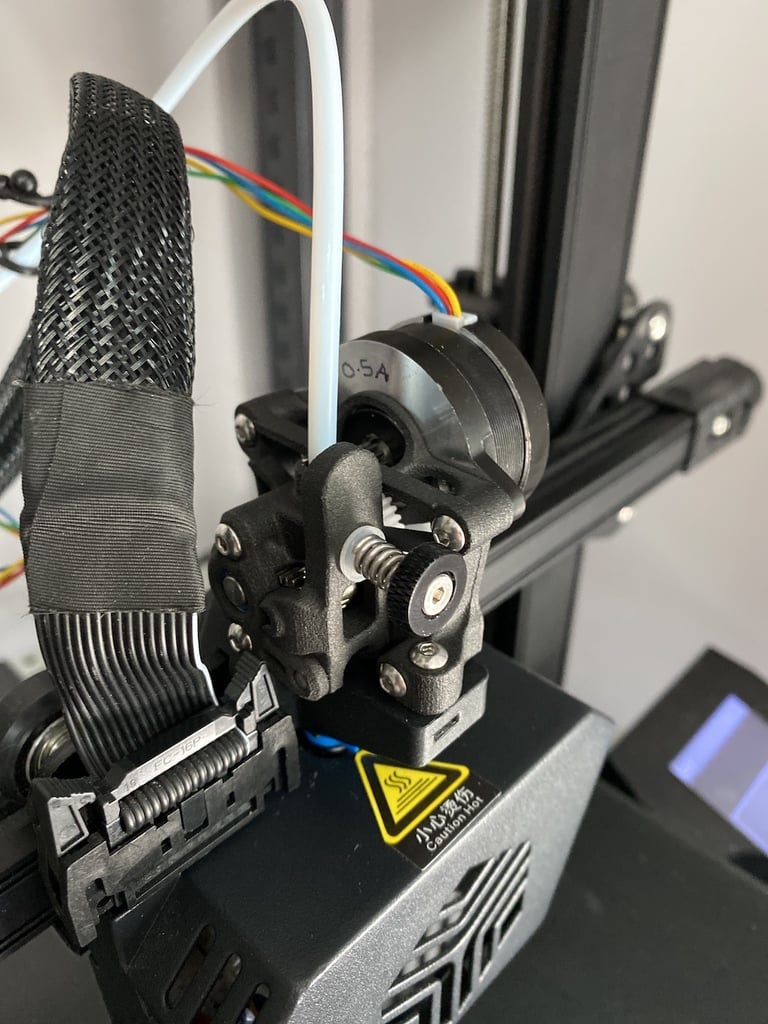
I found the original version of this had two issues with the strain gauge and therefore the automatic bed levelling: 1) Not enough clearance around the Bowden connector 2) Not enough clearance around the Bowden tube to allow it to move freely Both of these issues meant there was friction on the hot end, which needs to move freely for the strain gauge and automatic bed levelling to work. You’ll need two square thin M3 nuts for the adapter. Removing the support plastic from the nut holes is an art - just keep scraping and you’ll get there. Check that there’s good clearance for a Bowden tube on the main hole. Also check that M3 screws will fit with clearance in the mounting holes. To install this adapter, cut the Bowden tube 30mm above the top of the hot end cover. Remove the two hot end cover screws. Install the adapter using a couple of M3x18 screws. Install the extruder on top — making sure there's clearance between the inside of the extruder and the Bowden tube. You can test this by pushing the nozzle upwards and watching the strain gauge LED lighting up. As long as it turns on and off with little pressure it'll be fine. Put the remaining Bowden tube into the top of the Sherpa Mini. Disengage the original extruder and use the same filament path as before. For an added bonus I suggest you print off the strain gauge washer and the filament sensor from this project (if you want to remove the old extruder) : https://www.thingiverse.com/thing:4837410
With this file you will be able to print CR6-SE Sherpa Mini Direct Drive Extruder Adapter — Updated with your 3D printer. Click on the button and save the file on your computer to work, edit or customize your design. You can also find more 3D designs for printers on CR6-SE Sherpa Mini Direct Drive Extruder Adapter — Updated.