Creality CR 6-SE Direct Drive Upgrade
thingiverse
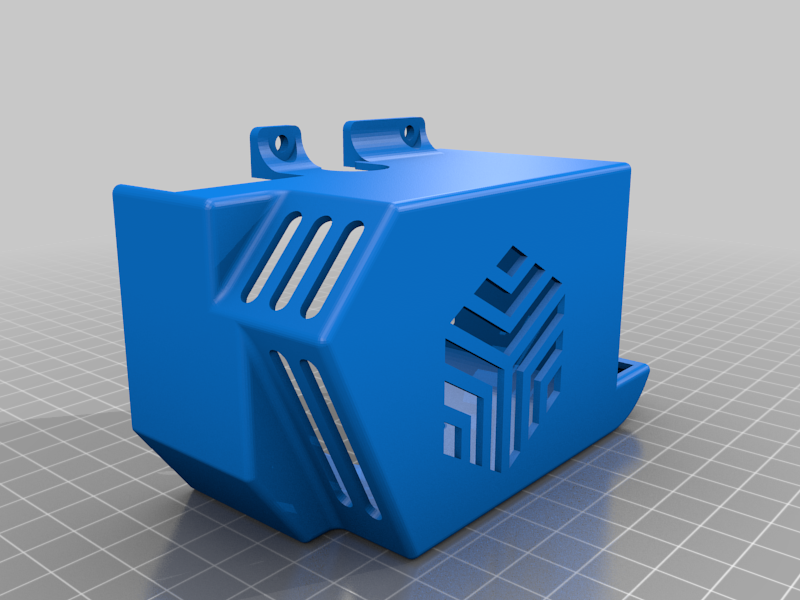
Summary Creality CR6-SE Direct Drive Conversion Heads Up! Firstly, consider this an advanced-intermediate upgrade. Disassembly/assembly of the Hot-end and relocation/re-cabling of the extruder is required. Do not attempt unless you feel comfortable doing these activities or you’re looking to trash you printer. I have a Creality CR6-SE and I use it to build and repair RC Model Planes and other things my brain spits out during my nightmares. I need my printer to be able to use stronger higher temp materials and be able to print delicate single perimeter components for the wings and fuselage. I decided a direct drive upgrade would be a good upgrade to provide better performance and higher accuracy parts. While I was at it I also updated my Hot-end (not required for this mod), designed a Fan Housing for a 5015 Part Fan and added a Cable Clamp for the Extruder Assembly to eliminate excessive cable flexing at the connector on the Hot-End Housing Assembly. After searching the internet I found that although there were some solutions available for the 6SE, many involved buying a new hot-end assembly and extrusion combos and still needed additional parts to complete the conversion. These designs usually had compromises limiting the build volume requiring fooling around with machine settings and firmware and ended up still needing other new or modified parts. The solution should… 1. maintain the original build volume specs 2. maximize use of existing OEM parts and components. Especially the back plate, Hot-end and bed level sensor 3. require NO firmware/machine setting changes 4. use OTS, readily available and inexpensive parts 5. keep the conversion as simple and reliable as possible 6. be possible for most knowledgeable users 7. look good! I also had some “nice to haves” 1. Bigger part fan 2. A cable clamp for the Hot-end Assembly harness I wanted to boost the part fan from the 40x10 to a 50x15 requiring a new housing; however the original fan housing and fan can still be used as is without modification. The new housing model for the 5015 part fan is also included in the provided files. As far as the cable clamp, the original design didn't have one and had a lot of movement and stress where it plugged into the Hot-end Assembly. I had to re-crimp the connector several time because of the constant flexing. This design has a cable clamp as part of the Rear Mounting Bracket. My first attempts were to use a “pancake” style stepper with a simple plastic back plate adapter. What I found is that although it satisfied the build volume limitations, the damn stepper would get so hot it melted the PLA plate and it really couldn’t keep up with the demands the filament extruder required (it skipped a lot)! Going with a lager stepper would require pushing the stepper forward by placing standoffs on the plate limiting the y-axis volume. There was one solution out there that was for a CR-6 that was close and supposed to be usable on an SE, but it didn’t activate the x-axis stop sensor causing all sorts of problems requiring firmware modifications. The final design I came up with pretty much met all the criteria I had established and it performs remarkably well. As far as new (non-OEM) parts, aside from a few additional screws and nuts, the upgrade only requires the following parts: A Dual Gear Extruder from Big Tree Tech that ran less than $15. Let’s face it the original plastic extruder was miserable and required to be terminated with extreme prejudice! https://a.co/d/bUFNrTi A longer Extruder Cable. If you’re moving the extruder you need a longer cable or a spliced in section of wire. I decided to cough up $7 for 1M Hx2.54 4pin to 6pin cable available on Amazon. Note! – Not all extruder harnesses are the same. Depending on the required stepper motor rotation several wires position swaps may be needed. Compare new cable positions to your existing cable. https://a.co/d/7ZkQAai Although it’s not required, but REALLY nice to have is an “All Metal Hot-end”. I picked one up for $30 that directly replaces the existing Creality Hot-end. https://www.amazon.com/gp/product/B09NR2YB6Z/ref=ppx_yo_dt_b_asin_title_o06_s00?ie=UTF8&th=1 Where materials are concerned all the parts that come in contact with the extruder stepper should be PETG or better. The other parts could possibly be PLA but I find that PLA parts tend to warp and sag over time especially when the printer is located in an enclosure. I didn’t use any brass inserts. I made hex pockets in the parts to drop hex nuts into so that there are no screws threading into plastic. HEADS UP!! Alas I’m not perfect :( In order to keep the small section of tubing needed to aligned the extruder with the Hot-end, there is one screw on the stepper motor that it is difficult to get at (the Front Mounting Bracket “shades” it). So the Stepper Motor and Extruder need to mount to the Rear Mounting Bracket before attaching to the rear back plate (see exploded view below). Download the Read Me.dox for a more complet description and pictures of the various parts and assemblies.
With this file you will be able to print Creality CR 6-SE Direct Drive Upgrade with your 3D printer. Click on the button and save the file on your computer to work, edit or customize your design. You can also find more 3D designs for printers on Creality CR 6-SE Direct Drive Upgrade.