Creality CR-X/CR-X Pro Purge Slide
thingiverse
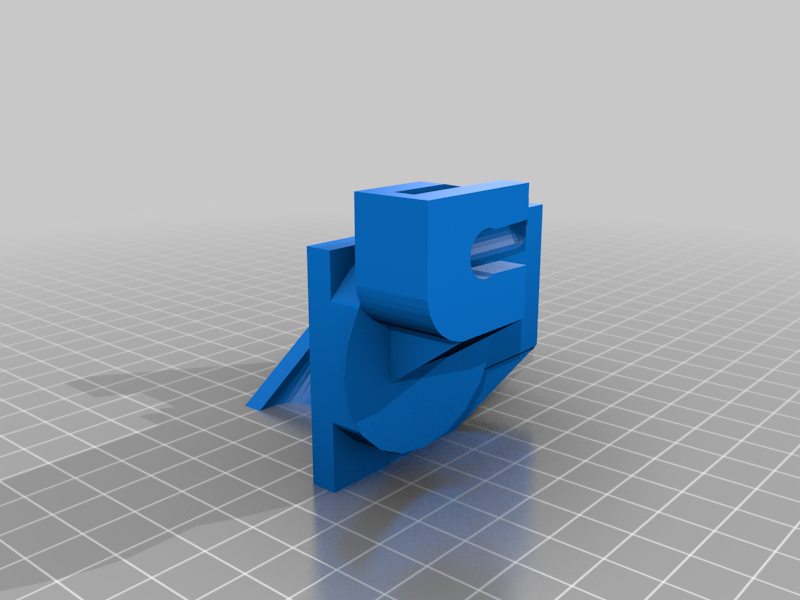
People have been asking for my CR-X Purge Slide and Profile for a while. This design has reduced my purge waste from an average of 200 grams per print down to 40 grams or less. The trick is only purging when a tool change is needed and not every layer like a Purge Block does. On High Contrast filaments, black/white for example, you can increase the purge from 50mm to 60-70mm to ensure a clean sharp transition. While it is not perfect as far as the Simplify3D Profile goes, it is functional. The only problem is that I have had to set the Hot End Temp manually at 215 degrees because S3D shuts off the temp when using the M109 S Wait commands. You can change that to whatever First Layer temp you want to use in the Slicer Profile. I do have the BL Touch installed so you must remove the G29 code in the Starting Script if you do not have Auto Leveling. After your bed auto levels and the first layer is down solidly, you will have to manually lower your hot end temp to what ever temp you want to print your normal layers at. The pictures show you the installation of the Purge Slide as it just slips over the X Gantry Wheel axle on the Right Side Z Axis. Heat the short side of the mount slightly before slipping over the axle in order to avoid breaking it if using PLA or ABS as they are more brittle. This has to be a tight fit or the hot end may push off your Purge Slide! There will be approximately 3mm between the bed and the Purge Slide if installed correctly and it the Silicon Rubber strip will be level to the bed, not the top of the Slide, only the Silicon Strip! Links below to the Silicon Rubber and Teflon Tape I used from Amazon are below. The slot for the Silicon Rubber is exactly 3.1mm so any 3mm thick should work. Enjoy! This may work with Cura, but I don't use Cura and have no idea how to incorporate the Tool Change Script into their Starting Script. So please do not ask me for help as I have no clue! Special thanks to Vincent Fortin for his Purge Bucket, Jason Powell for his Purge Slide and Nick Sanders for his S3D original scripts. This is a redesign/remix of those designs taking what I felt were the best parts of each one along with a couple of mods by me. The Slide Shelf Ledge and the Circular Mount I added for stability, printability, and to facilitate the blob! The Slide Shelf and Teflon Tape allows the blob to slide off easily at the next Tool Change when the nozzle bumps it lose, otherwise the blob has a tendency to slide too early and string all the way to the catch pan causing you to have to empty it sooner. I have have updated my Current Purge Slide FFF Profile from S3D(Simplify3D) along with my original Purge Block Profile In case you need to revert and did not save your previous profiles! Silicon Rubber Link on Amazon: Silicone Sheet, 50A Durometer, Smooth Finish, No Backing, 3 mm Thickness, 2" Width, 36" Length, Red https://www.amazon.com/dp/B00LNE8VD0/ref=cm_sw_r_cp_api_i_WffWEb9C9F4A7 Teflon Tape Link on Amazon: Teflon Tape/PTFE Tape for Vacuum Sealer Machine,Hand and Impulse Sealers (3/4-inch x 33 Feet)-Suitable for FoodSaver, Seal A Meal, Weston, Cabella's and Many More https://www.amazon.com/dp/B07GRY47T4/ref=cm_sw_r_cp_api_i_HgfWEbWV48YJD
With this file you will be able to print Creality CR-X/CR-X Pro Purge Slide with your 3D printer. Click on the button and save the file on your computer to work, edit or customize your design. You can also find more 3D designs for printers on Creality CR-X/CR-X Pro Purge Slide.