Creality Ender 2 - Dual Mgn12H Slider - Bed Linear Rails Conversion
thingiverse
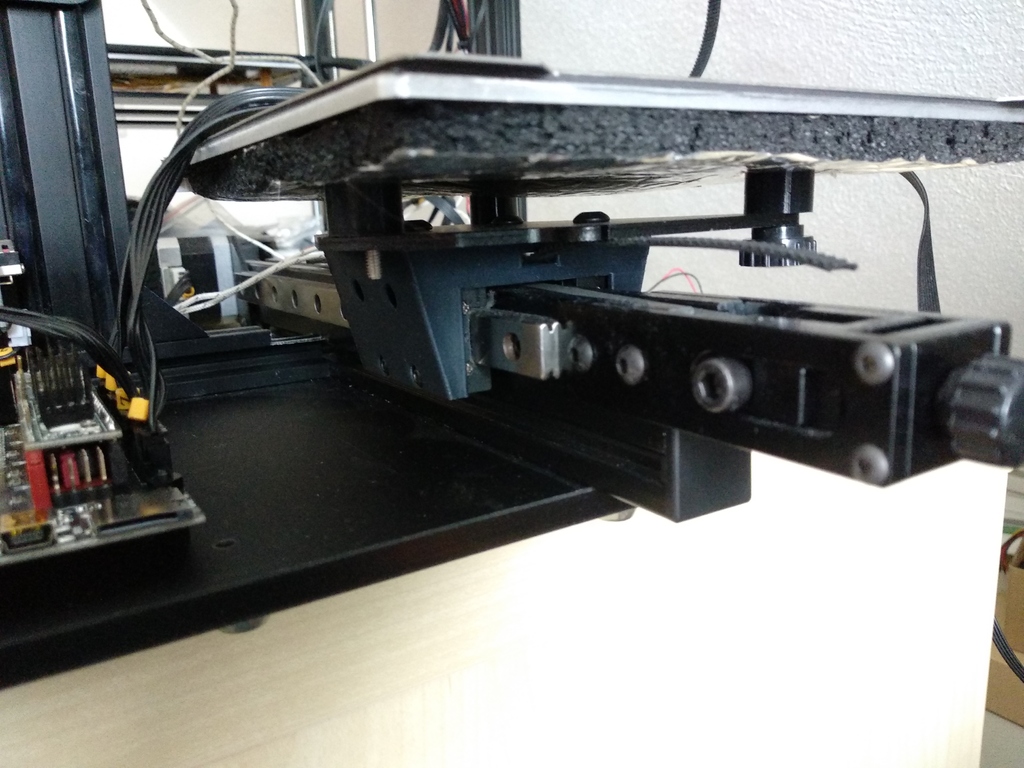
Dear All, For all Enthusiasts Wanting to Convert the Bed Axis into a Dual MGN12H Linear Rail System, I've Designed a Slider That Can Be Mounted with the Original Bed Aluminium Plate. To Get Started: * You Will Need: One of the M3 Screw Inlays and a M3x8mm Screw * One GT2 Belt Clamb Bar * Eight M3x8 Screws * Three M5 Self Securing Nuts and Three M5x8mm Screws * The Axis Prepared with Two MGN12H Blocks on the 20x40 Profile * The Aluminium Profile Between the Bed Axis and the Z Needs to Be Cut by 20mm in Horizontal and 5 mm Vertical (See Sawing/Cuttting Tool) * A Driller for M5 to Link the Bed Axis to the Profile (Old Triangles Do Not Fit Anymore) and a M5x25mm or 30mm Socket Screw Instructions: 1. Disassemble the Ender 2 Base to Get the 20x20x100mm Aluminium Profile Which Holds the Z Profile and the Bed Base 2. Cut with a Metal Saw the Piece of You Can See on One of the Pictures, So That the New Mount and the MGN12H Blocks Can Slide Through 3. Drill a M5 Screw Hole into the Side and a M5 Hole at the Right Position through the 20x40 Profile Used for the Bed 4. Reassemble All Parts (Except the Triangles Between the Base 2020 Profile and the Bed's 2040 Profile (Where You Cut)) 5. Use the M5 and Drop Them in Position (You May Need the M5 Screw to Pull Them In) 6. Use the M3 Inlay (You May Need the M3 Screw to Pull It into Position) and the GT2 Belt and Fix Everything in Position 7. Use the M3 Screws to Fix the Slider on the MGN12H Blocks
With this file you will be able to print Creality Ender 2 - Dual Mgn12H Slider - Bed Linear Rails Conversion with your 3D printer. Click on the button and save the file on your computer to work, edit or customize your design. You can also find more 3D designs for printers on Creality Ender 2 - Dual Mgn12H Slider - Bed Linear Rails Conversion.