Creality Ender-2 Stand
thingiverse
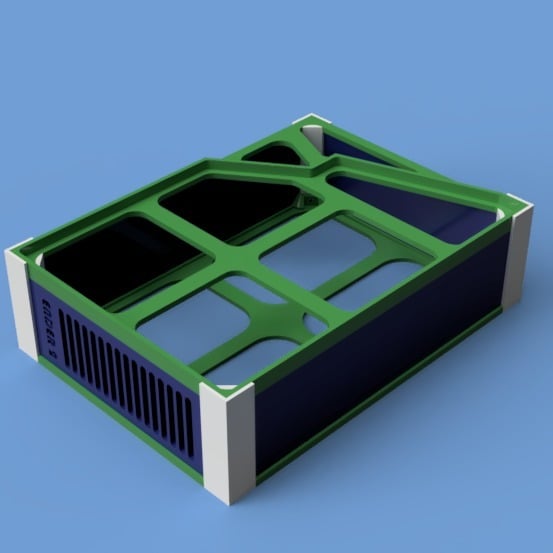
You will need to print s3d_base.stl x 1 s3d_top.stl x 1 s3d_left-right_wall.stl x 2 s3d_corner.stl x 4 s3d_front_with_vent_wall.stl x 1 s3d_front-back_wall.stl x 1 The will produce the case with blank wals except for the front. Adding vents: s3d_left-right_wall.stl s3d_front-back_wall.stl are essentially just blanks and will print as solid walls. I suggest that as a fun exercise, that you put these through Meshmixer or similar and make your own decorative vent holes! I've created additional customized wall panels for mains switch etc. for myself but since these vary depending on where they are sourced from, I will also leave that exercise to others. You will need 4 short M3 screws to screw the base to the uprights. The rest should just hold together by itself. Please note that it is called a STAND for a reason. This is not sutable for carrying/transport. It's purpose it to provide a place to 'hide' the attached PSU that dangles around the printer.
With this file you will be able to print Creality Ender-2 Stand with your 3D printer. Click on the button and save the file on your computer to work, edit or customize your design. You can also find more 3D designs for printers on Creality Ender-2 Stand.