Creality Ender 3 Tread Depth Gauge Mount
thingiverse
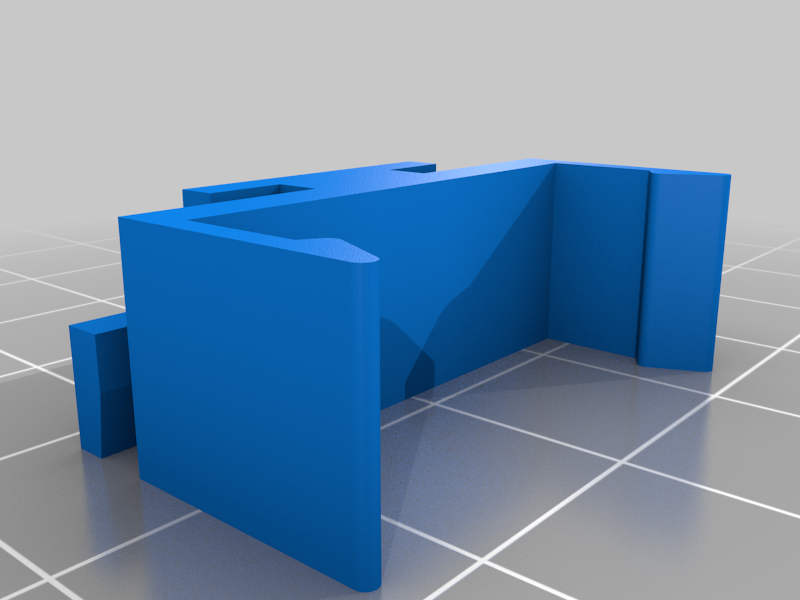
Note: I have a new version that uses less plastic, prints faster, has less restriction for the fan, and is easier to assemble. https://www.thingiverse.com/thing:4642108 Disclaimer: This is an existing idea, however the mount concept is of my own design. A cheap tire tread depth gauge can be used as a highly accurate probe to aid bed leveling. All that is needed is a mount to attach it to the hot-end of the printer (which is where this Thing comes in handy), and a simple mod to the gauge. How to mod the gauge. Peel back the sticker from the rear of the gauge and remove the 4 screws (they are tiny so you will need a jewelers cross-point screwdriver). Then remove the bowed metal sprint that resists the movement of the probe (don't worry it is easy to spot once the back cover is off). Re-assemble the back cover and put back the sticker if you like, or toss it. The probe will now follow the bed as the hot-end is jogged around, due to gravity. Once you have the parts printed you need to assemble it. The clip slots into the holder, cutout side up. The cutouts will lock into bumps to hold it securely in place. You may need some strength to push it in, or even tap it down lightly into place with some tool. Then the tread depth gauge simply clips onto the front. To level your bed, perform an auto home operation then clip the holder over the hot-end cover. It should press fit on and be level and square with the cover. There is a cutout to clear the part cooling fan duct. Jog the hot-end near one of the level adjustment knobs and set the Z-axis height to 0.1mm. Adjust the knob until a sheet of paper between the bed and nozzle has resistance to moving. Raise the Z-axis to 5mm and zero the probe. Jog the hot-end to the other corners and adjust the corresponding knob until the probe reads close to 0. Repeat these steps until no more adjustment is required. Note: Be careful as you jog the hot-end around that the probe tip doesn't hit anything or drop off the side of the bed. I like to measure the thickness of the skirt after I complete a print. It should match the layer height. If it doesn't then calculate the error, attach the probe and zero it, then adjust by the error amount at all 4 corners. After a few goes you should be getting skirts that are within 0.02mm either side of the ideal layer height. If you have problems sticking to the bed then increase the first layer extrusion percentage in the slicer to get a bit more plastic for sticking. However if you don't need that you will be rewarded by prints without elephant foot, which is caused by the bed being too close to the nozzle for the first layer. Note: With a BL-touch you only need to ensure all corners are level with regards to each other, you don't need to set the bed distance from the nozzle. So just zero the probe after attaching it and move around to the other corners and adjust for 0. Use the BL-touch offset to then fine adjust the skirt layer height. The tread depth gauge clip is designed to slot into an 2mm thick, 11mm high and 8mm wide slot. I also have a TwoTrees printer and intend to design a mount for that to use the existing clip.
With this file you will be able to print Creality Ender 3 Tread Depth Gauge Mount with your 3D printer. Click on the button and save the file on your computer to work, edit or customize your design. You can also find more 3D designs for printers on Creality Ender 3 Tread Depth Gauge Mount.