Credit Card Wallet With Ejector
prusaprinters
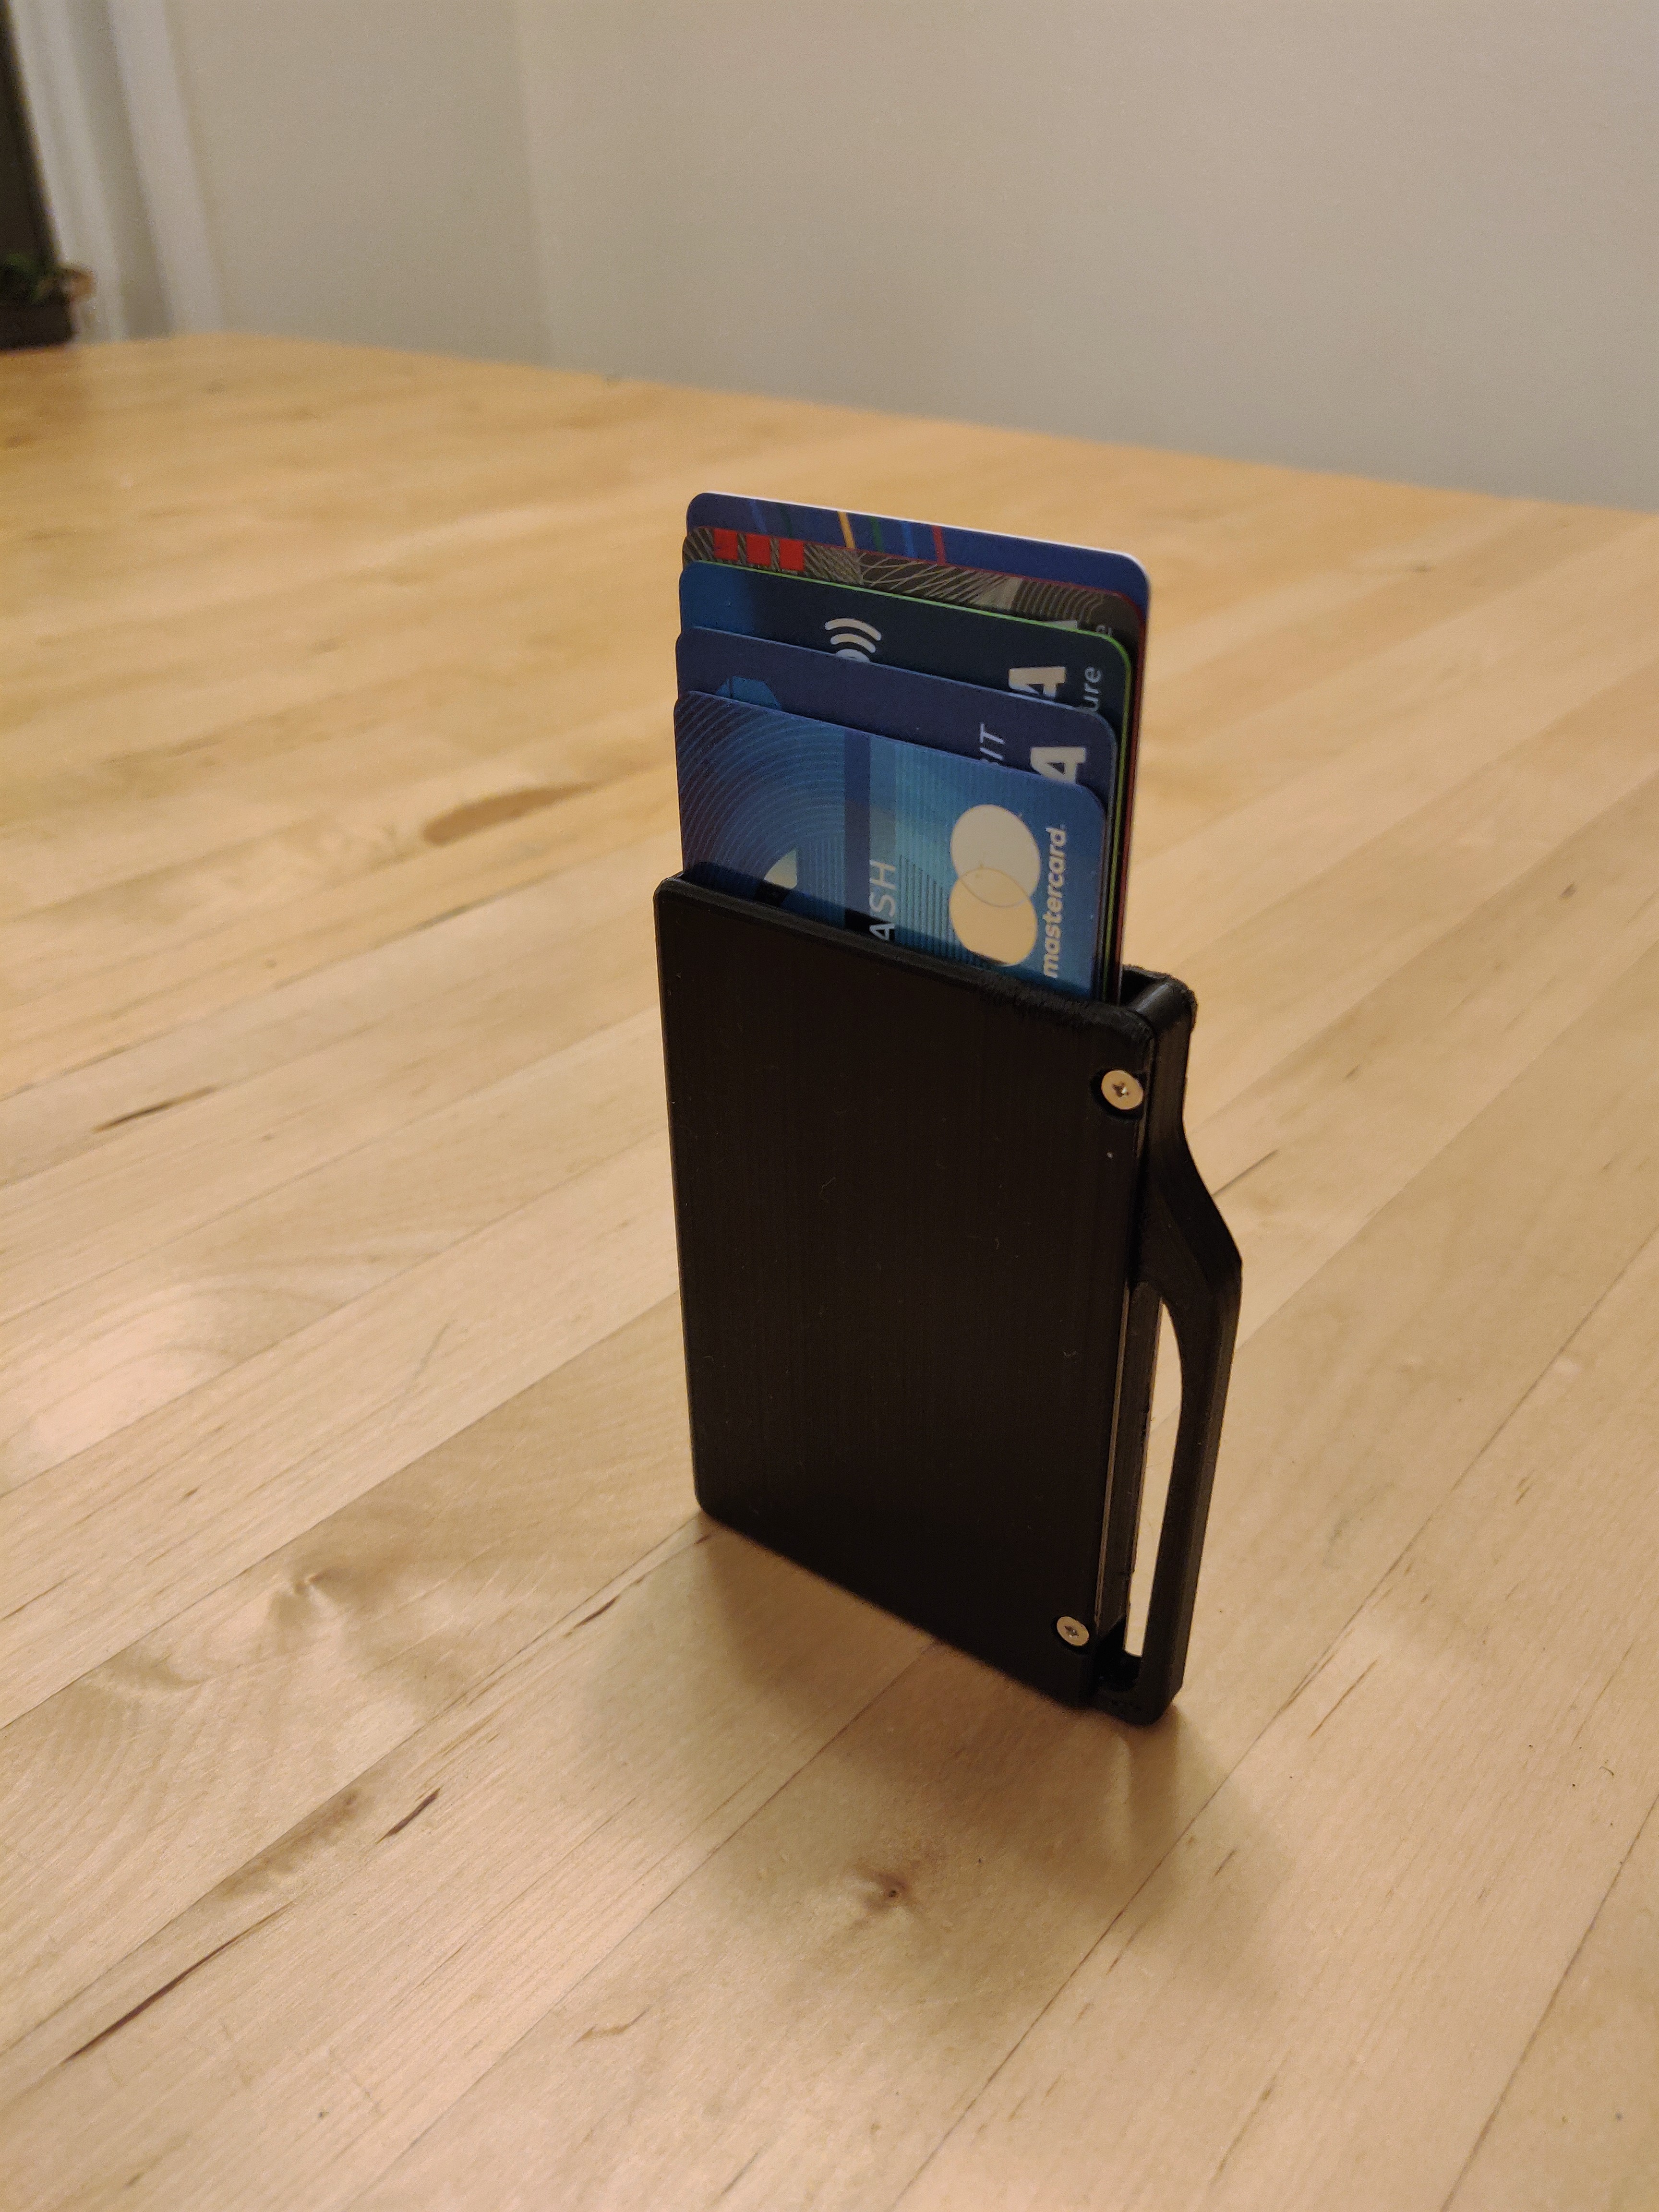
<p><i>Note: This is a prototype and may lack the fit and finish that is desired</i></p><p>I was inspired to start this project when seeing a commercial for a slim credit card wallet. The advertised product had a neat lever that ejected card for quick access. This got me thinking about how I could design a card ejection mechanism that leverages the benefits of 3D printing. </p><p>I had four design requirements. The wallet should:</p><ol><li>Be able hold at least 6 credits cards</li><li>Eject cards in a tiered stack, </li><li>Be smaller than my current wallet </li><li>Be 3D printer friendly. </li></ol><p>To make a design 3D printer friendly, it has to be simple, have minimal individual parts, minimal need for supports, and not required fine tolerances. </p><p>In a conventional ejector mechanism, its likely there is some sort of spring, lever arm, and flipper on a hinge. Hinges present an issue of complexity. A hinge would involve printing several components that require postprocessing to ensure the components can be assembled and operate smoothly. This is where compliant mechanisms shine in the world of 3D printing. I designed a ejector as a compliant mechanism which combines the spring, hinges, and linkages. </p><figure class="image image_resized" style="width:27.59%;"><img src="https://media.prusaprinters.org/media/prints/103506/rich_content/e3eddce8-11ae-4a6f-a461-29445a6043a8/img_20211229_213500.jpg#%7B%22uuid%22%3A%221c0d2a6d-d17a-449f-8eb1-fa7f22e66e7d%22%2C%22w%22%3A2153%2C%22h%22%3A2907%7D"></figure><p>The mechanism does not require any post processing and operates smoothly with no backlash. The lever tapers towards the tip so that the cards are presented at increasing height. The card retention spring is also part of the ejection mechanism.</p><p>The frame holds the ejector with four screws. I originally wanted to make the wallet a monolithic print-in-place part but I couldn't figure out any practical method that wouldn't required arduous support removal. The simplest approach at the time was to use some M2 screw that I had salvaged from a dead laptop. Eventually, I would like design to a fastening system that is purely 3D printed or more conducive to gluing as sourcing specific hardware is tedious. </p><figure class="image image-style-align-center image_resized" style="width:28.1%;"><img src="https://i.imgflip.com/65en41.gif"></figure><h5>Ideas For Future Improvement:</h5><ol><li>Add texture wallet body</li><li>Test fatigue life with various materials</li><li>Eliminate the need for screws </li><li>Adjust the card retention system for smoother operation</li><li>Test felt or tesa tape for card retention</li><li>Adjust lever to be more compact, better spring rate, and more ergonomic</li></ol><h4><strong>Bill of Materials:</strong></h4><ul><li>3D printed wallet frame (any material)</li><li>3D printed leveler mechanism (ABS, PETG, or TPU is preferred. PLA fatigues quickly with use)</li><li>4x M2.0x4.0 screws (alternatively, use a toothpick for positioning and super glue to fasten the lever to the frame)</li></ul><h4><strong>Print Instructions (both components):</strong></h4><ul><li>Body orientation: Print on long edge to avoid overhangs</li><li>Lever orientation: Print on side with greatest surface area to avoid overhangs</li><li>Layer Height: 0.20 mm </li><li>Infill: 100%</li><li>Supports: None</li></ul>
With this file you will be able to print Credit Card Wallet With Ejector with your 3D printer. Click on the button and save the file on your computer to work, edit or customize your design. You can also find more 3D designs for printers on Credit Card Wallet With Ejector.