Crescent tracer
thingiverse
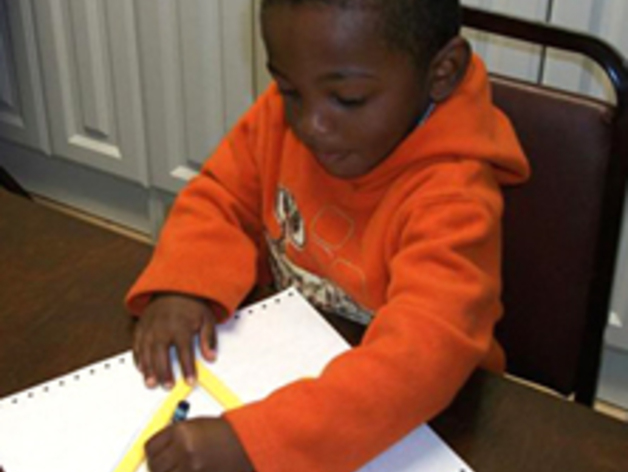
My printable shape thingies can be quickly made with minimal plastic. I designed these shapes to be easy and simple so anyone can resize them as needed.\nPrint Settings\nPrinter:\n CraftBot\n \n Rafts: No\n \n Supports: No\n \n Resolution: Optimum\n \n Infill: 30% Square\n \n Notes:\n I optimized this thing to print quickly in ABS with maximum settings. A skirt with a 0mm offset (also known as a brim) with 2-5 loops is recommended for ABS. Increasing the infill may also be helpful.\nHow I Made This Thing\nI used Autodesk's free program TinkerCAD to create this project. As an AutoCAD user, I wanted to make it easy for educators and learners to replicate my design using a web-based tool like TinkerCAD. It's awesome because it's free, easy to use, and has built-in lessons.\nwww.tinkercad.com\n \n For this project, I started with the geometric shape "round roof" on TinkerCAD. To get the crescent shape, I rotated it on an axis. Then, I adjusted the height to 2mm for a strong but minimal thing. Next, I resized it using Shift+click to 120x120mm so it would be large enough and fit on various printers like MakerBots.\n \n Next, I used alt+click to make another crescent. Then, I re-sized it using shift+click to 110mm and moved it to the center of the original crescent. Using the hide and group features, I had a final product.\nProject: Crescent Tracer\nObjective\n This project helps kids learn shapes by being hands-on. My tracers allow kids to interact with shapes by tracing, cutting, and coloring them.\nAudience\n The intended audience is kids 3+ with adult supervision, although these are good for all ages to keep in their craft materials.\nPreparation\n Teachers wanting to modify the size of their triangles need access to a computer with internet access and a free TinkerCAD account. A computer mouse is recommended over tablets or trackpads because it's easier to use Tinkercad. No previous 3D design experience is needed, but familiarity with Tinkercad would be helpful.\nKids should have crayons/color pencils, safety scissors, and adult supervision at all times.\nStep 1: Adjust Size\n To adjust the size of your object, download it from here and upload it to www.tinkercad.com. Press shift+click on one corner to resize it. Remember to adjust the snap in the bottom right corner for more or less accuracy.\nStep 2: Print!\n Check out the beginning of this project for recommended settings. Let the kid(s) help with this process, but remember that there are hot pieces on a 3D printer.\nStep 3: Trace\n Have your kid(s) hold down the shapes and trace in or outside them, or tape the shapes down.\nStep 4: Cut\n Assist your kid(s) in cutting out the shapes. Safety scissors are advised, and non-straight scissors could add more fun.\nStep 5: Color\n If kids traced inside the thing, they've already colored it all the way in. Use this part of the project to teach them about colors.\nResults\n Kids can use this to learn about shapes, colors, and scissor safety. This will give kids a good head start for their academic careers!
With this file you will be able to print Crescent tracer with your 3D printer. Click on the button and save the file on your computer to work, edit or customize your design. You can also find more 3D designs for printers on Crescent tracer.