Cross Flow Fan Bracket Flashforge Creator Pro PowerSpec Pro
thingiverse
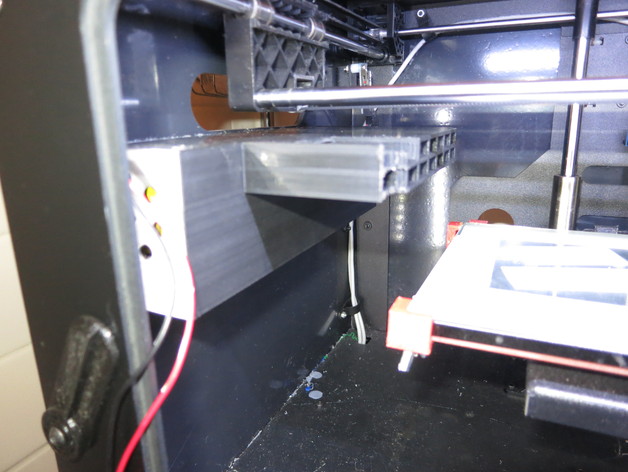
This is a cross-flow fan bracket for a Flashforge Creator Pro, PowerSpec Pro or similar printer. It could also be used with other printers. The fan in use is: http://www.amazon.com/gp/product/B0059BCWGU?redirect=true&ref_=oh_aui_search_detailpage UPDATE 12: The latest version has two notches at each end to accommodate glass bed clips and measures 140mm high, allowing cooler air to be drawn from the bottom of the printer. Also, Mark noted that this fan is a 12V model. I connected it to my printer's 24V supply using an adjustable regulator (http://www.vellemanusa.com/products/view/?country=us&lang=enu&id=350481). The regulator controls power delivery and I use its switched ground output from the extra fan control on the motherboard. However, this set up initially seemed unsatisfactory. It didn't draw as much air as I expected but it seems to provide some relief. UPDATE 3/5/16: To prevent backfeeding in my other head cooler, I added a diode between the fan and printer's +12V supply. Furthermore, since the fan controller could not handle current flow, I chose to bypass it by wiring the fan directly to the +12V power source without any intermediary regulator. The print speed was bumped up multiple times, and then doubled again before achieving optimal performance.
With this file you will be able to print Cross Flow Fan Bracket Flashforge Creator Pro PowerSpec Pro with your 3D printer. Click on the button and save the file on your computer to work, edit or customize your design. You can also find more 3D designs for printers on Cross Flow Fan Bracket Flashforge Creator Pro PowerSpec Pro.