Cross Section of a Right Rectangular Prism
thingiverse
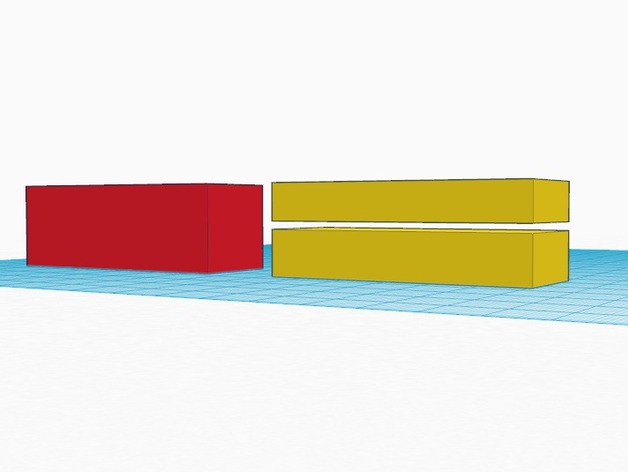
For this lesson, students will master taking the cross sections of right rectangular prisms by learning through hands-on creation. This approach allows them to visualize and grasp the content better than just reading about it. Students will learn to take both parallel and perpendicular cross sections in relation to the base. When designing the right rectangular prisms, I included a before-and-after figure so students can easily see the differences when taking the cross section. A key tip is to create a rectangular hole that is larger than the prism itself; this way, the hole will be visible throughout the entire figure. Once students complete this project, they will understand the visual component of this lesson and how the cross section of a right rectangular prism can change based on whether it's perpendicular or parallel to the base. They'll also have a better grasp of what it means for objects to be parallel or perpendicular to one another. Objectives: - Students will learn how to take the cross section that is parallel to the base of a right rectangular prism. - Students will learn how to take the cross section that is perpendicular to the base of a right rectangular prism. Audiences: - 7th Grade - Ages 11 - 13 Subjects: - Mathematics - Architecture Skills Learned (CCLS): - Describe the two-dimensional figures resulting from slicing three-dimensional objects, such as plane sections of right rectangular prisms and pyramids. Lesson Activity: Step 1: Direct Instruction (15 mins) - Explain what a cross section is and its relationship to parallel and perpendicular lines. - Show students what a right rectangular prism looks like. Step 2: Instructions and Setup (5 mins) - Review the instructions with the students. - Ensure all students have created an account on Tinkercad. - Demonstrate how to create a right rectangular prism on Tinkercad. - Show how to create a cross section (hole) onto the right rectangular prism. - Address any questions about using the program. Step 3: Student Activity (25 mins) - Have students work in pairs to create their own right rectangular prisms. - Circulate through the classroom to ensure students are on task and understand how to use the program. Duration: - This project should take approximately one class period (45 minutes each). - Breakdown: - 15 minutes for direct instruction. - 5 minutes for explaining the activity and showing examples. - 25 minutes for student work with partners. Preparation: - This lesson requires access to a computer lab or Chromebooks. Ensure to reserve a spot in advance! For homework, have students create an account on Tinkercad the day before so they're ready for the project. Rubric and Assessment: - Grade students based on their performance in the following areas: - How well they worked with their partner. - Whether they created a before-and-after 3D figure. - Accuracy of their cross sections, both parallel and perpendicular to the base. - Ability to stay on task.
With this file you will be able to print Cross Section of a Right Rectangular Prism with your 3D printer. Click on the button and save the file on your computer to work, edit or customize your design. You can also find more 3D designs for printers on Cross Section of a Right Rectangular Prism.