Crystal mold for epoxy
thingiverse
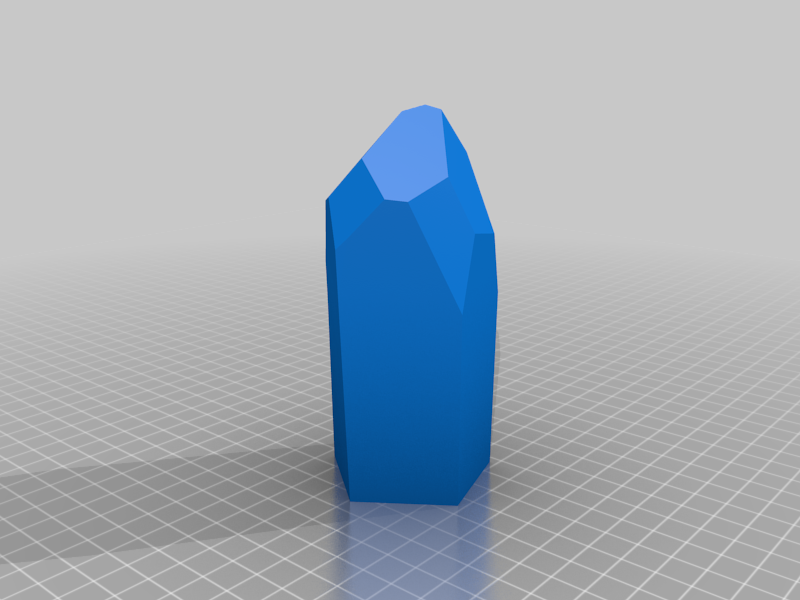
can be printed right side up, or upside down w/support 235C nozzle 90 bed temp 40mm/s travel imported into a slicer it can be adjusted for length / width/ height. simply pour epoxy in it, and let it set. Mold is best released by heating it with a hear gun, and peeling away the ABS. I would recommend ABS due to the potential of thermal runaway with epoxy, although other materials could be used, it is important to mitigate the potential for the epoxy to get too hot. pouring should be done in 2 stages where the model suspended is allowed to cure before adding additional layers of epoxy. Model will require wet sanding with 100 grit to take out layer lines, and let you customize the shape of the crystal as well. I cleaned it with a mild solvent such as denatured alcohol to remove any further dust, acetone will degrade the epoxy, so I do not suggest it. coating with a final layer of epoxy using an acid, or paint brush fills out sanding marks. I used rustoleum 2 part table finishing epoxy - which is difficult to get consistant results with if you dont have a vacuum chamber, but has long potting time. I'm sure there are better products for this application.
With this file you will be able to print Crystal mold for epoxy with your 3D printer. Click on the button and save the file on your computer to work, edit or customize your design. You can also find more 3D designs for printers on Crystal mold for epoxy.