Cube3 Cube 3rd Gen Print Surface Application Jig 203mm Lokbuild
thingiverse
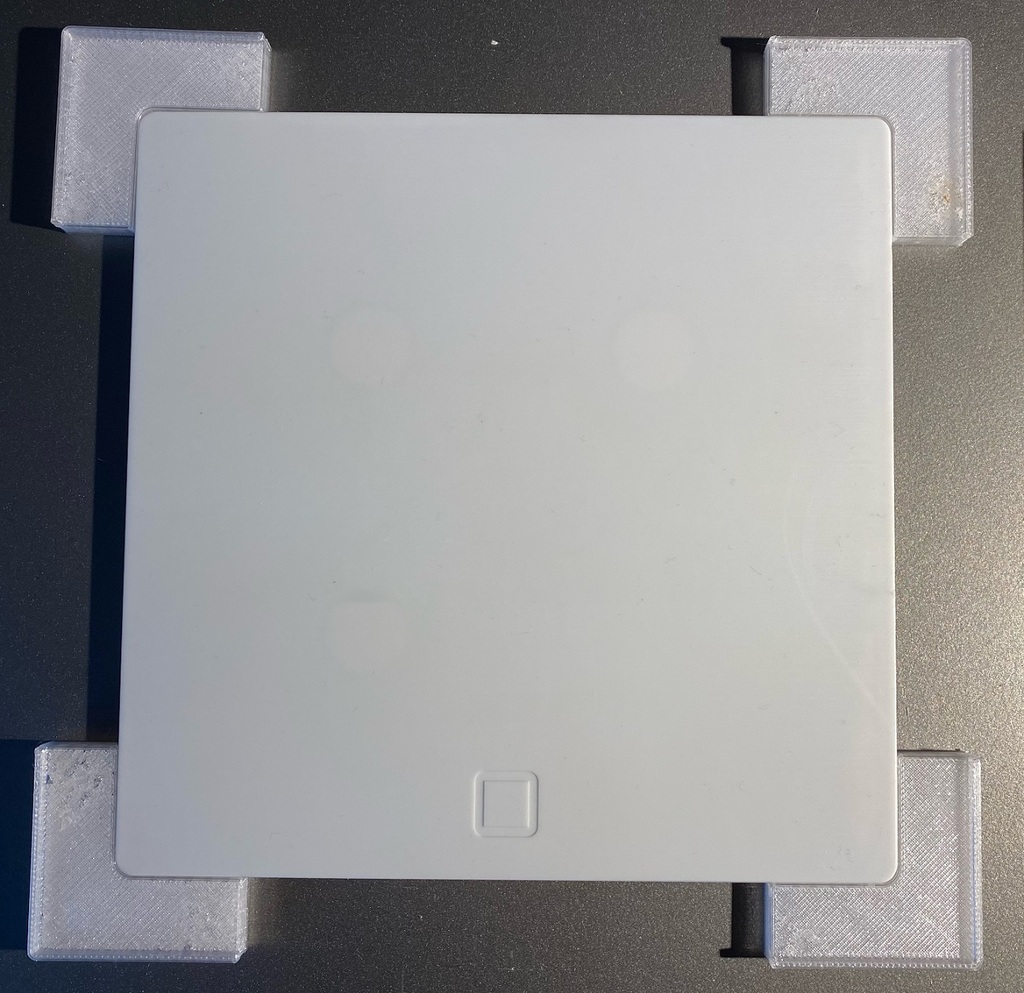
Use this simple jig to ensure your new Lokbuild print surface is installed perfectly to your Cube3 print plate. You'll need to print 4 of these and a 203mmx203mm Lokbuild print surface. Lokbuild is a MUST have for anyone hoping to print ABS with this printer. Lokbuild + Cube glue are very effective! I thin my Cube glue out with water 1:1. Once I apply it, I then set the glue quickly with a blow dryer. I found this item online here, although I originally purchased mine for ~$20 shipped. https://www.printedsolid.com/products/lokbuild?currency=USD&variant=22309066440789&utm_medium=cpc&utm_source=google&utm_campaign=Google%20Shopping Prior to installing the Lokbuild platform, ensure the Cube 3 print plate is clean and free of any major defects. I recommend the following process and will post a YouTube video detailing it. It will be posted to my channel here: https://www.youtube.com/channel/UC7K9lYuDYoev1iG9ZTVY1kg Rule number 1 - NEVER use sandpaper to remove imperfections on your print plate. This causes low spots that get worse every time this is done, eventually making the surface non-repairable without special tools. 1. Clean the plate thoroughly with dish soap and hot water (a light scrubbing with a green scrub pad works well). 2. Use a razor blade - Hold it perpendicular to the bed and with light pressure, drag the blade in a straight line from one edge to the opposite. Now do the same again in the space next to that, overlapping slightly, and continue to the bottom. Rotate the plate 90 degrees and repeat. This removes a surprising amount of material - only continue until you are comfortable that the surface is smooth and free of high spot defects. 3. If there are any substantial gouges to the plate, I recommend filling those with JB Weld Plastic Bonder. Use the razor blade again over any sections with Plastic Bonder - Drag across, clean blade of adhesive and repeat. DO NOT let the Plastic Bonder set without dragging the blade across, sanding those areas down after the adhesive sets will remove the material and force you to repeat the process. 4. Let the Plastic Bonder set for 24 hours. 5. Repeat step 2 but with even less pressure, just to ensure minor imperfections are removed. 6. Clean with alcohol. 7. Use four of the printer jigs to install the new print platform perfectly. 8. Place the print plate face down on a smooth surface and use a blade to cut away excess material - simply press the blade against the side of the plate and let it do the work, making multiple light cuts until through. Done!
With this file you will be able to print Cube3 Cube 3rd Gen Print Surface Application Jig 203mm Lokbuild with your 3D printer. Click on the button and save the file on your computer to work, edit or customize your design. You can also find more 3D designs for printers on Cube3 Cube 3rd Gen Print Surface Application Jig 203mm Lokbuild.