Custom Chocolate Bar Mold
thingiverse
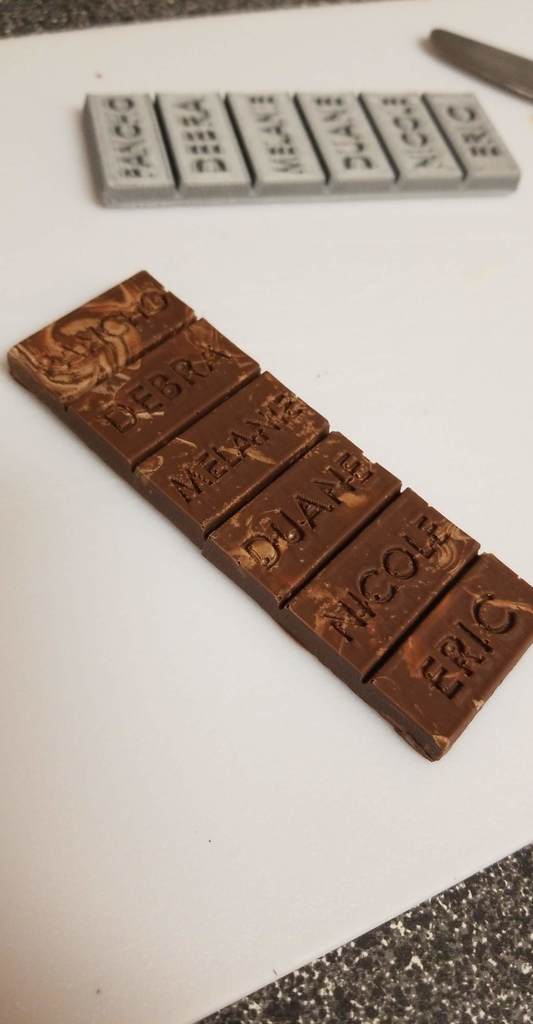
This chocolate bar model can be modified to allow names or images. Both SolidWorks Files and STLs are attached so that the squares of chocolate can be easily edited. Materials: -Cardboard -Clear Packaging or Scotch tape -Hot Glue -Food Safe Silicone (I used SORTA-Clear 37 Clear Silicone Rubber) -Mixing Chocolate Steps: 1. Edit the model using either SolidWorks or 3d Builder to add the detail that you wish to appear on the final bar of chocolate 2. Print the model standing upright for higher detail in the lettering 3. Make a cardboard frame slightly larger than the chocolate bar. attaching it together with hot glue 4. Cover the cardboard frame in scotch tape so that the chocolate doesn't stick 5. Hot glue the 3d print to the bottom of the frame 6. Pour silicone over the 3d print making sure that no bubbles are inside the letters and allow to cure fully 7. Temper your chocolate (I used the seeding method https://www.ecolechocolat.com/en/chocolate-tempering.html) 8. Pour the chocolate into the silicone mold and refrigerate Cleaning: The silicone mold must be cleaned by soaking in hot soapy water in order to remove the cocoa butter from the mold.
With this file you will be able to print Custom Chocolate Bar Mold with your 3D printer. Click on the button and save the file on your computer to work, edit or customize your design. You can also find more 3D designs for printers on Custom Chocolate Bar Mold.
