Custom Closed Belt How To UPDATED
thingiverse
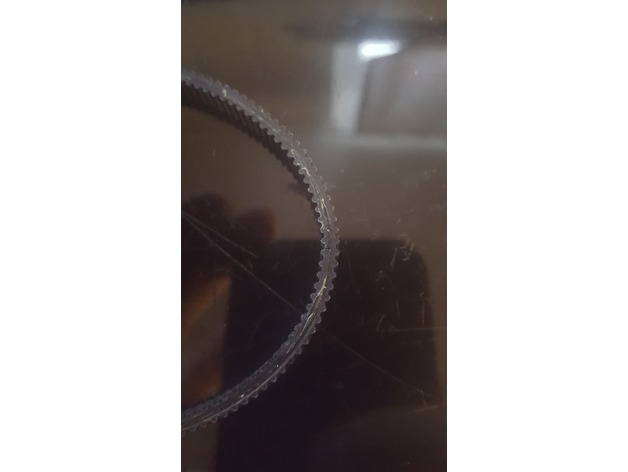
I needed a custom sized GT2 Belt for my printer. Here is how I made one... 1 > Cut Belt to Specific length plus your desired overlap (I used six "belt humps") 2 > Cut belt in half ,laterally, along belt cords to desired overlap (use extremely sharp razor blade) 3 > Remove the front half of the belt on one end, the back half on the other 4 > Apply rubber cement to each end of belt 5 > wait 15 minutes 6 > Press ends together 7 > I'd wait several hours for glue to set up completely. 8 > Use Belt! They are actually pretty strong when done. Enjoy. EDIT - After prolonged use the stress on the thinnest part of the lap joint can stretch causing skips in operation. I found a new system for creating closed loop belts as follows. 1 > cut length of belt to desired size. 2 > cut second length of belt slightly longer than piece cut in step 1 (about 10mm longer). 3 > apply rubber cement to back side of both belt lengths. 4 > wait 10 - 15 minutes. 5 > press pieces together, starting by aligning the end of inside belt to middle of outer belt. (this allows for the most overlap, creating one solid belt, essentially. 6 > Pictures of double belt design has been added to the photos of this process.
With this file you will be able to print Custom Closed Belt How To UPDATED with your 3D printer. Click on the button and save the file on your computer to work, edit or customize your design. You can also find more 3D designs for printers on Custom Closed Belt How To UPDATED.