Custom Transparent Makerbot Thing-O-Matic
thingiverse
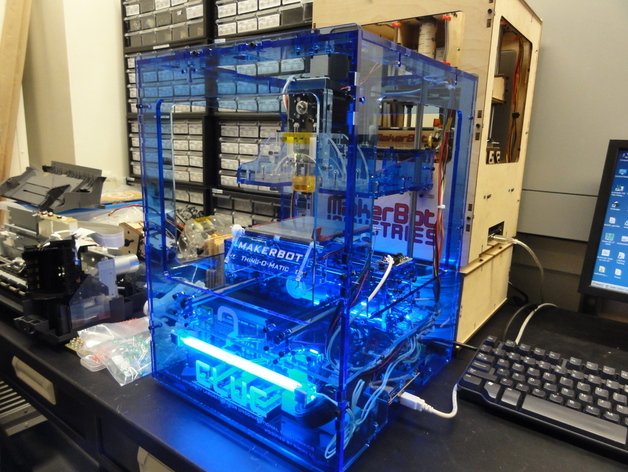
For a unique touch, edit the CAD file to cut custom side panels from 5mm acrylic - the same thickness as the original wooden ones. Be prepared for a tighter fit than wood, requiring gentle persuasion to align correctly. The rigidity of acrylic may also cause some stages, particularly the Z-axis, to move less smoothly. Lubricating the gear shaft can resolve this issue. To add a glow, attach standard Molex cold cathodes from a PC to the ATX power supply; a Y splitter may be necessary for multiple lights. Note that an accidental short may require replacing the power supply with a 500W Antec Earthwatts ATX model.
With this file you will be able to print Custom Transparent Makerbot Thing-O-Matic with your 3D printer. Click on the button and save the file on your computer to work, edit or customize your design. You can also find more 3D designs for printers on Custom Transparent Makerbot Thing-O-Matic.