Custom View-Master Disc
pinshape
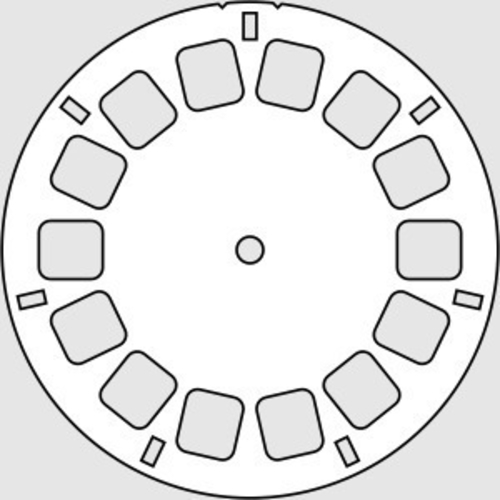
Summary Create your own view-master compatible picture reels! Say, like if you wanted a disc of your wedding photos or your kids at the park... or even your latest Blender 3D model. You can customizer this thing for playing around, but generally speaking the generated files and the process below should give you everything you need. Inspired by: https://www.thingiverse.com/thing:28391 Creating Your Own Disc 1) Print two of the "half_less_film" stl or cut two of the dxf in your paper cutter. NOTES: 1) You can do the dxf and cut it manually with a hobby knife, so the only printer you really need is an inkjet for the photos! 2) If doing the dxf, you may want to print the captions on the cardstock first. 3) Caption is 90 degrees and above the photo-pair it refers to. 2) Create Photos Images are a pair of pictures with the camera shifted horizontally 65mm (approx 2 9/16in) between shots. You can do this with a physical camera, or a virtual camera within a 3D program. 3) Print Photos Using the svg file in a program like inkscape, scale place all photo pairs in their correct slots. Place them below the svg layer and the corners will be clipped nicely. TIPS: 1) Photo pair is exactly 180 to one another, but oriented the SAME DIRECTION. 2) The bottom of each photo should be toward the nearest cog hole. Print this on transparency film (I have not tested this) and cut around the outside edge with scissors or a hobby knife. 4) Assembly Glue transparent film wheel between the wheel halves, being careful not to get any on the viewing area. (I'm guessing cyanoacrylate "super" glue will work.)
With this file you will be able to print Custom View-Master Disc with your 3D printer. Click on the button and save the file on your computer to work, edit or customize your design. You can also find more 3D designs for printers on Custom View-Master Disc.