Customisable MPCNC control pendant
thingiverse
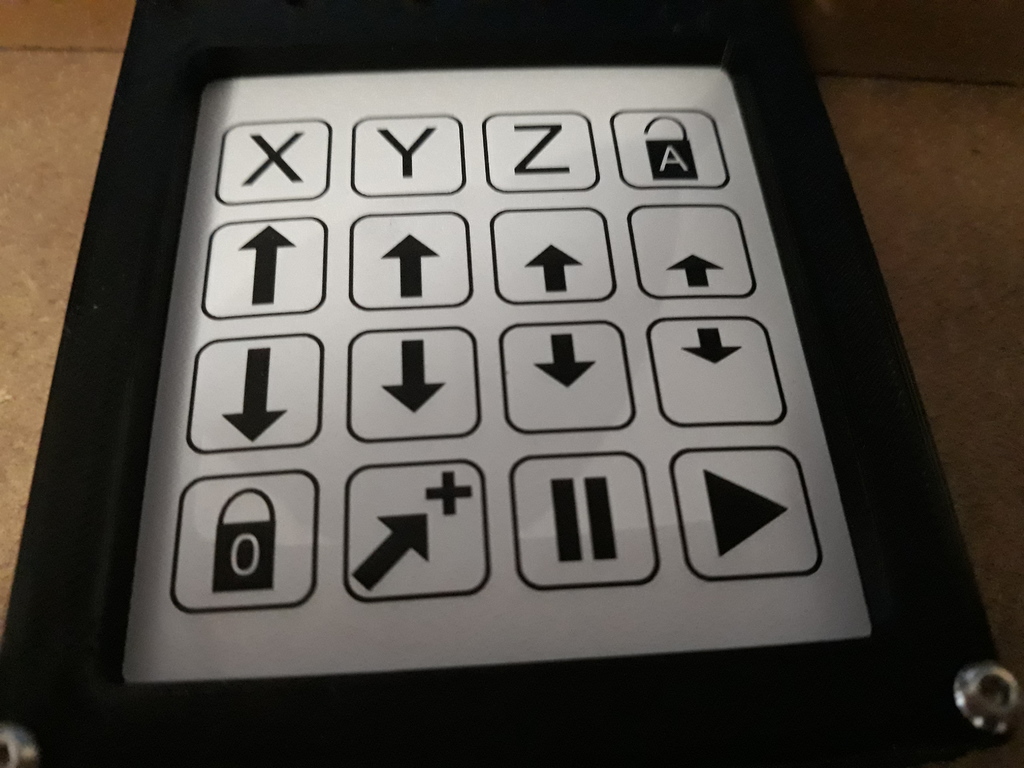
My custom MPCNC control pendant gives credit to Slavulj for coming up with the idea of using a membrane keyboard and an Arduino, as well as for providing the basis of the code. I also thank OT12345 for designing the case. It connects an Arduino Nano directly to RAMPS via ground, 5 volts, and transmit lines (the transmit line from the Nano goes to the receive line on RAMPS), just like it's described in the code for the keypad, with the same wiring used for LEDs that indicate axis movement through 220-ohm resistors. I redesigned the front panel to fit my specific LEDs but only drilled the middle section. I've also designed that part using OpenSCAD and created a new back piece with a slot for the Nano and a USB hole. Update: April 4, 2018 - NewMid.stl now has slightly larger LED holes - adjust the SCAD LEDHoles module if it's still not right for your LEDs. There are three different diameters to play around with! April 4, 2018 - NewBack created. All Nanos have slightly different sizes, so it might be a tight fit or you might need some hot melt glue to get it to work properly. The USB cover may also need a file to fit correctly. You can check out the video showing what each button does here: https://www.youtube.com/watch?v=u64z11IfNQk I only called my CNC machine a printer twice, which is pretty impressive for me! Note that the code is set for 115200 baud and you'll need to make sure this matches your CNC firmware.
With this file you will be able to print Customisable MPCNC control pendant with your 3D printer. Click on the button and save the file on your computer to work, edit or customize your design. You can also find more 3D designs for printers on Customisable MPCNC control pendant.