 thingiverse
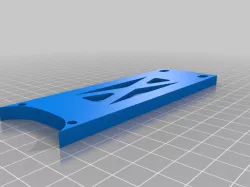
Customizable 19" Rackmount
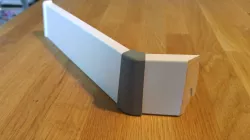
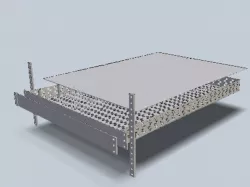
This OpenSCAD library is considered to be a starting point to create your own custom 19" rackmount which can be easily printed.
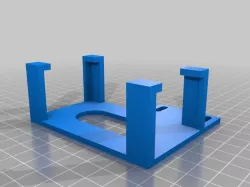
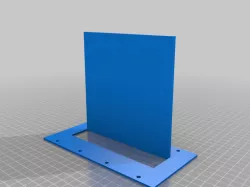
Use the customizer variables or modify the "panel" module in the .scad file to add a cutout in the front that fits to your device(s).
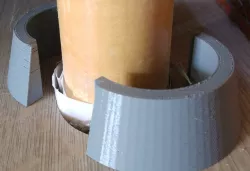
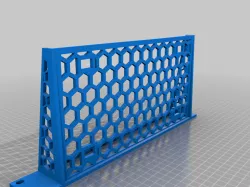
The optional stabilizer (you need two, the second one needs to be mirrored in your slicer software) can be used to enhance stability of the whole rackmount.
I am going to print some prototypes in the next days, so hopefully there will be some real-life pictures soon ;-)
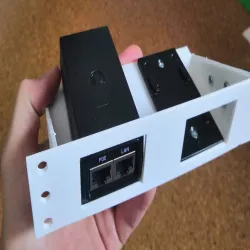
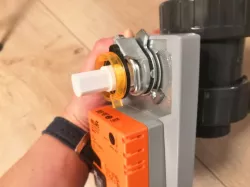
Update: Did my first "production print" to integrate two Ubiquiti PoE injectors into the rack. Worked quite well, though I would suggest to move the "connection holes" further to the front (the holes that connect each of the rackmount segments with each other). When adding pressure from the bottom (which won't happen in a rack...), the segments will move apart and create a gap at the top (especially when using PETG...).
It might help to increase the wall thickness to reduce flexibility of the whole rackmount.
Direct link to the original creator's page
More from drgrandio
Similar Models
 thingiverse
 thingiverse
 thingiverse
 thingiverse
 thingiverse
 grabcad
 thingiverse
 thingiverse
Model Specifications
Frequently Asked Questions
How do I download Customizable 19" Rackmount?
Click the "View on thingiverse" button above to visit the original model page on thingiverse. You can download the STL file directly from the creator's page for free.
What 3D printer can I use for this model?
This STL file is compatible with most FDM 3D printers (Creality Ender 3, Prusa MK3S+, Bambu Lab, etc.) and resin printers (Elegoo, Anycubic). Check the original page for recommended print settings and materials.
Is this 3D model free to download?
Yes, this model is available as a free download on thingiverse. Some creators accept tips or donations.
Can I modify this STL file?
Most STL files can be modified using free software like Blender, TinkerCAD, or Meshmixer. Check the license on the original thingiverse page to see if modifications are permitted by the creator.