Customizable Bag Tag
prusaprinters
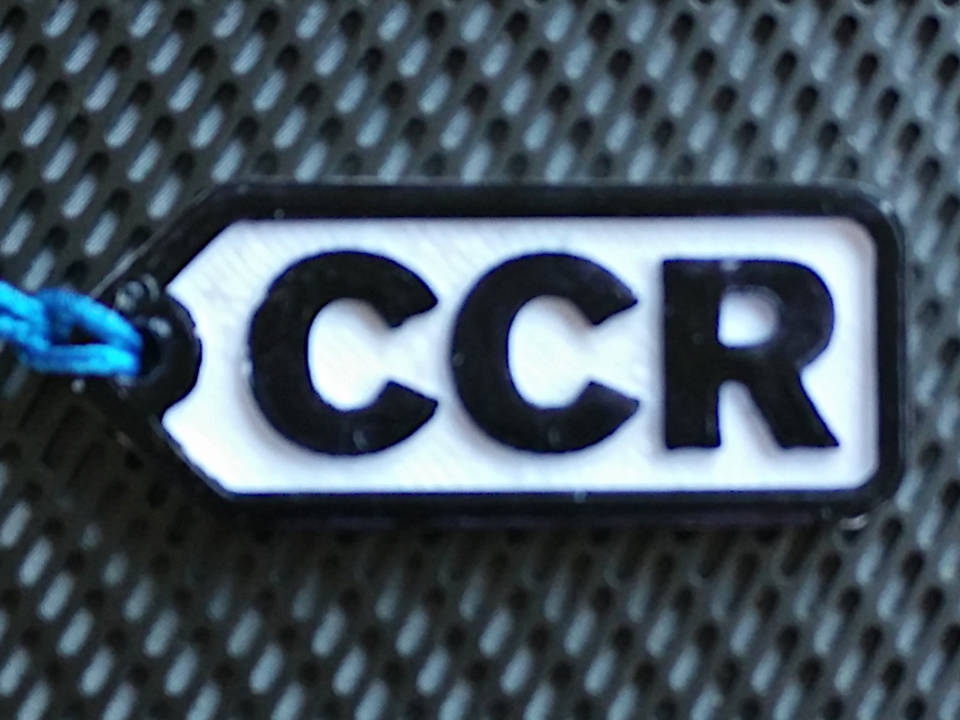
<p>Simple tag with raised initials. Best to use all-caps. It'll still work if you don't but might come out an odd shape.</p> <p>Note that the example picture uses a different font that wasn't available in Customizer. I've used <a href="https://fonts.google.com/specimen/Roboto">Roboto</a> Black in this code.</p> <h3>Print Settings</h3> <p><strong>Printer Brand:</strong></p> <p>Printrbot</p> <p class="detail-setting printer"><strong>Printer: </strong> <div><p>Printrbot Simple Metal</p></div> <p><strong>Rafts:</strong></p> <p>No</p> <p class="detail-setting supports"><strong>Supports: </strong> <div><p>No</p></div> <p><strong>Resolution:</strong></p> <p>0.2 mm</p> <p class="detail-setting infill"><strong>Infill: </strong> <div><p>20 %</p></div> <p><strong>Notes:</strong></p> <p>If you have a multi-filament printer, the backing is 2 mm high and the raised text and outline are 3 mm high.rnrnUse a brim if your printer doesn't have a heated bed.</p> <h3>Post-Printing</h3> <p>If you don't have a multi-filament printer:rnrn1. Print as normalrnrn2. Lightly sand the top surface with fine emery paper/abrasive to key itrnrn3. Add a contrasting colour with a permanent marker. Use a couple of coats, and let it dry in betweenrnrn4. For more permanence, coat the tag with acrylic medium.rnrnA length of micro-cord roughly 5u00d7 the length of the tag makes a simple and strong attachment. Double the cord, knot the free ends together, then pass the loop through the tag's hole and loop the tag back through again.</p> </p></p></p> Category: Coins & Badges
With this file you will be able to print Customizable Bag Tag with your 3D printer. Click on the button and save the file on your computer to work, edit or customize your design. You can also find more 3D designs for printers on Customizable Bag Tag.