Customizable Bike "Trunk" Container Adaptor
pinshape
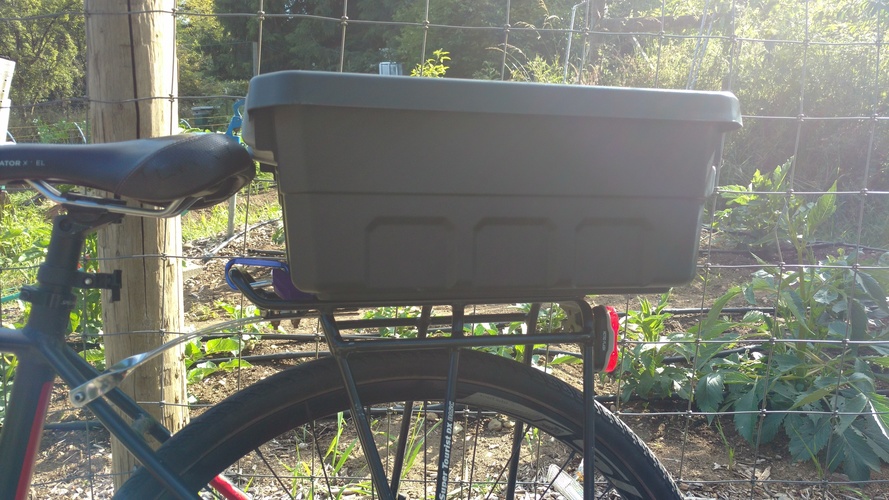
As a Father's Day gift for my bicycle riding dad, I made him a custom designed container to hold a half-flat of strawberries (or whatever else he wants to bring home). It uses a 3D printed adapter pieces to slide into the bike rack behind the rear wheel, and connect to whatever container you want with 1/4" bolts and lock nuts. A carabineer keeps the container from sliding back out the rack. I printed 3 of the "Bike Holder Main" piece with no support material upside down and one of the "Bike Holder End" piece with support (to support countersunk holes). Each parts fits in a 100mm x 65mm x 35mm build envelope so nearly any 3d printer should be able to make this. I used about 20% infill and found that to be plenty strong. I used a Sterilite 4 Gallon Stacker Tote in my example, but nearly any container can be bolted to the adapters. More detailed instructions and assembly for my example are posted below. So if you have a father, or know someone else who likes riding bikes and want to bring more than what fits in your regular bike bag, you might just be able to make his day. Supplies 1. Container – Sterilite 4 Gallon Stacker Tote 18"L x 12.625"W x 7.125"H 2. 1/4” diameter by 1/2” length bolts – between 14 and 22 screws depending on how tight you want them 3. Lock nuts and washers for 1/4” diameter bolts (between 14 and 22 each) 4. Drill, 5/32” drill bit, and wrenches to grip your locknut and bolt head 5. 3/4 ” thick fiber board or plywood – about an 8.5” x 4.25” area 6. A saw to cut wood to size 7. 3 of the 3D printed base pieces and 1 of the 3D printed end piece 8. A carabiner to clip the 3d printed end piece to the bike rack 9. Optional foam or 3d printed organizers keep your contents safe inside the container Assembly Instructions 1. Cut the wood into the 8.5” x 4.25” rectangle – precision is not essential 2. Flip the container upside down, place the wood in the recessed rectangle in the center of the container. Line up your 3d printed parts so the larger counterbored holes are facing towards you. 3. Drill down the 3D printed holes to make 5/32” holes into the wood and the container. 4. Assemble your container with the nuts and bolts.
With this file you will be able to print Customizable Bike "Trunk" Container Adaptor with your 3D printer. Click on the button and save the file on your computer to work, edit or customize your design. You can also find more 3D designs for printers on Customizable Bike "Trunk" Container Adaptor.