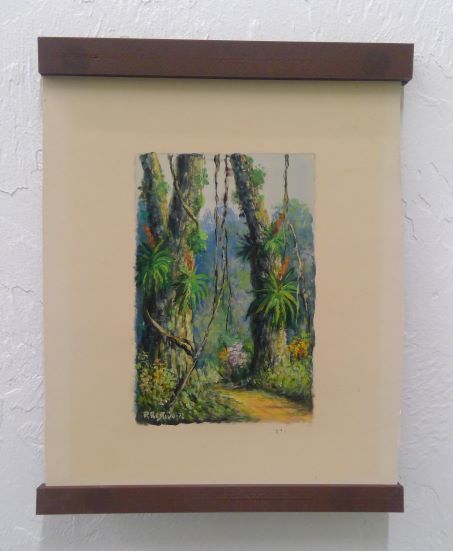
Customizable Hidden-Magnets Poster Hanger
thingiverse
Customizable for - overall width - magnet diameter and thickness (disk / cylinder magnets assumed) - diameter of nail head - thickness of additional material around the magnets "Top" pieces include a way to align the poster in the hanger. After slicing with Cura, use Preview mode to determine the highest layer that leaves the magnet cells open, and enter that in the "Pause [After] Layer Number" extension so you can drop in the magnets. (The extension is misnamed "Pause At Layer Number" -- but it helps to always think of it as "Pause AFTER Layer Number") Important: All magnets go in North-Is-Up EXCEPT in part "TopFrontSouthUp" where the magnets must go in South-Is-Up. Advice on customizing: I was able to easily print width=280 on my Ender-5 220x220mm print bed, by rotating 45 degrees in Cura. For the top of the poster print one TopFrontSouthUp and one TopBackNorthUp. If you need a pair of bars at the bottom, print two of BothBottomNorthUp. Important Slicer notes: 1. No Supports! The only overhangs are over the cavities that you will fill with your magnets. Supports would spoil the print. 2. Use the "Pause At (After) Layer" feature so you know when to place the magnets. 3. For all parts, the side against the print bed will be the most visible, so choose a "Bottom Pattern Initial Layer" that you like. I used "Concentric."
With this file you will be able to print Customizable Hidden-Magnets Poster Hanger with your 3D printer. Click on the button and save the file on your computer to work, edit or customize your design. You can also find more 3D designs for printers on Customizable Hidden-Magnets Poster Hanger.
