Customizable Magnetic Screw Tray/Box (with optional lid)
prusaprinters
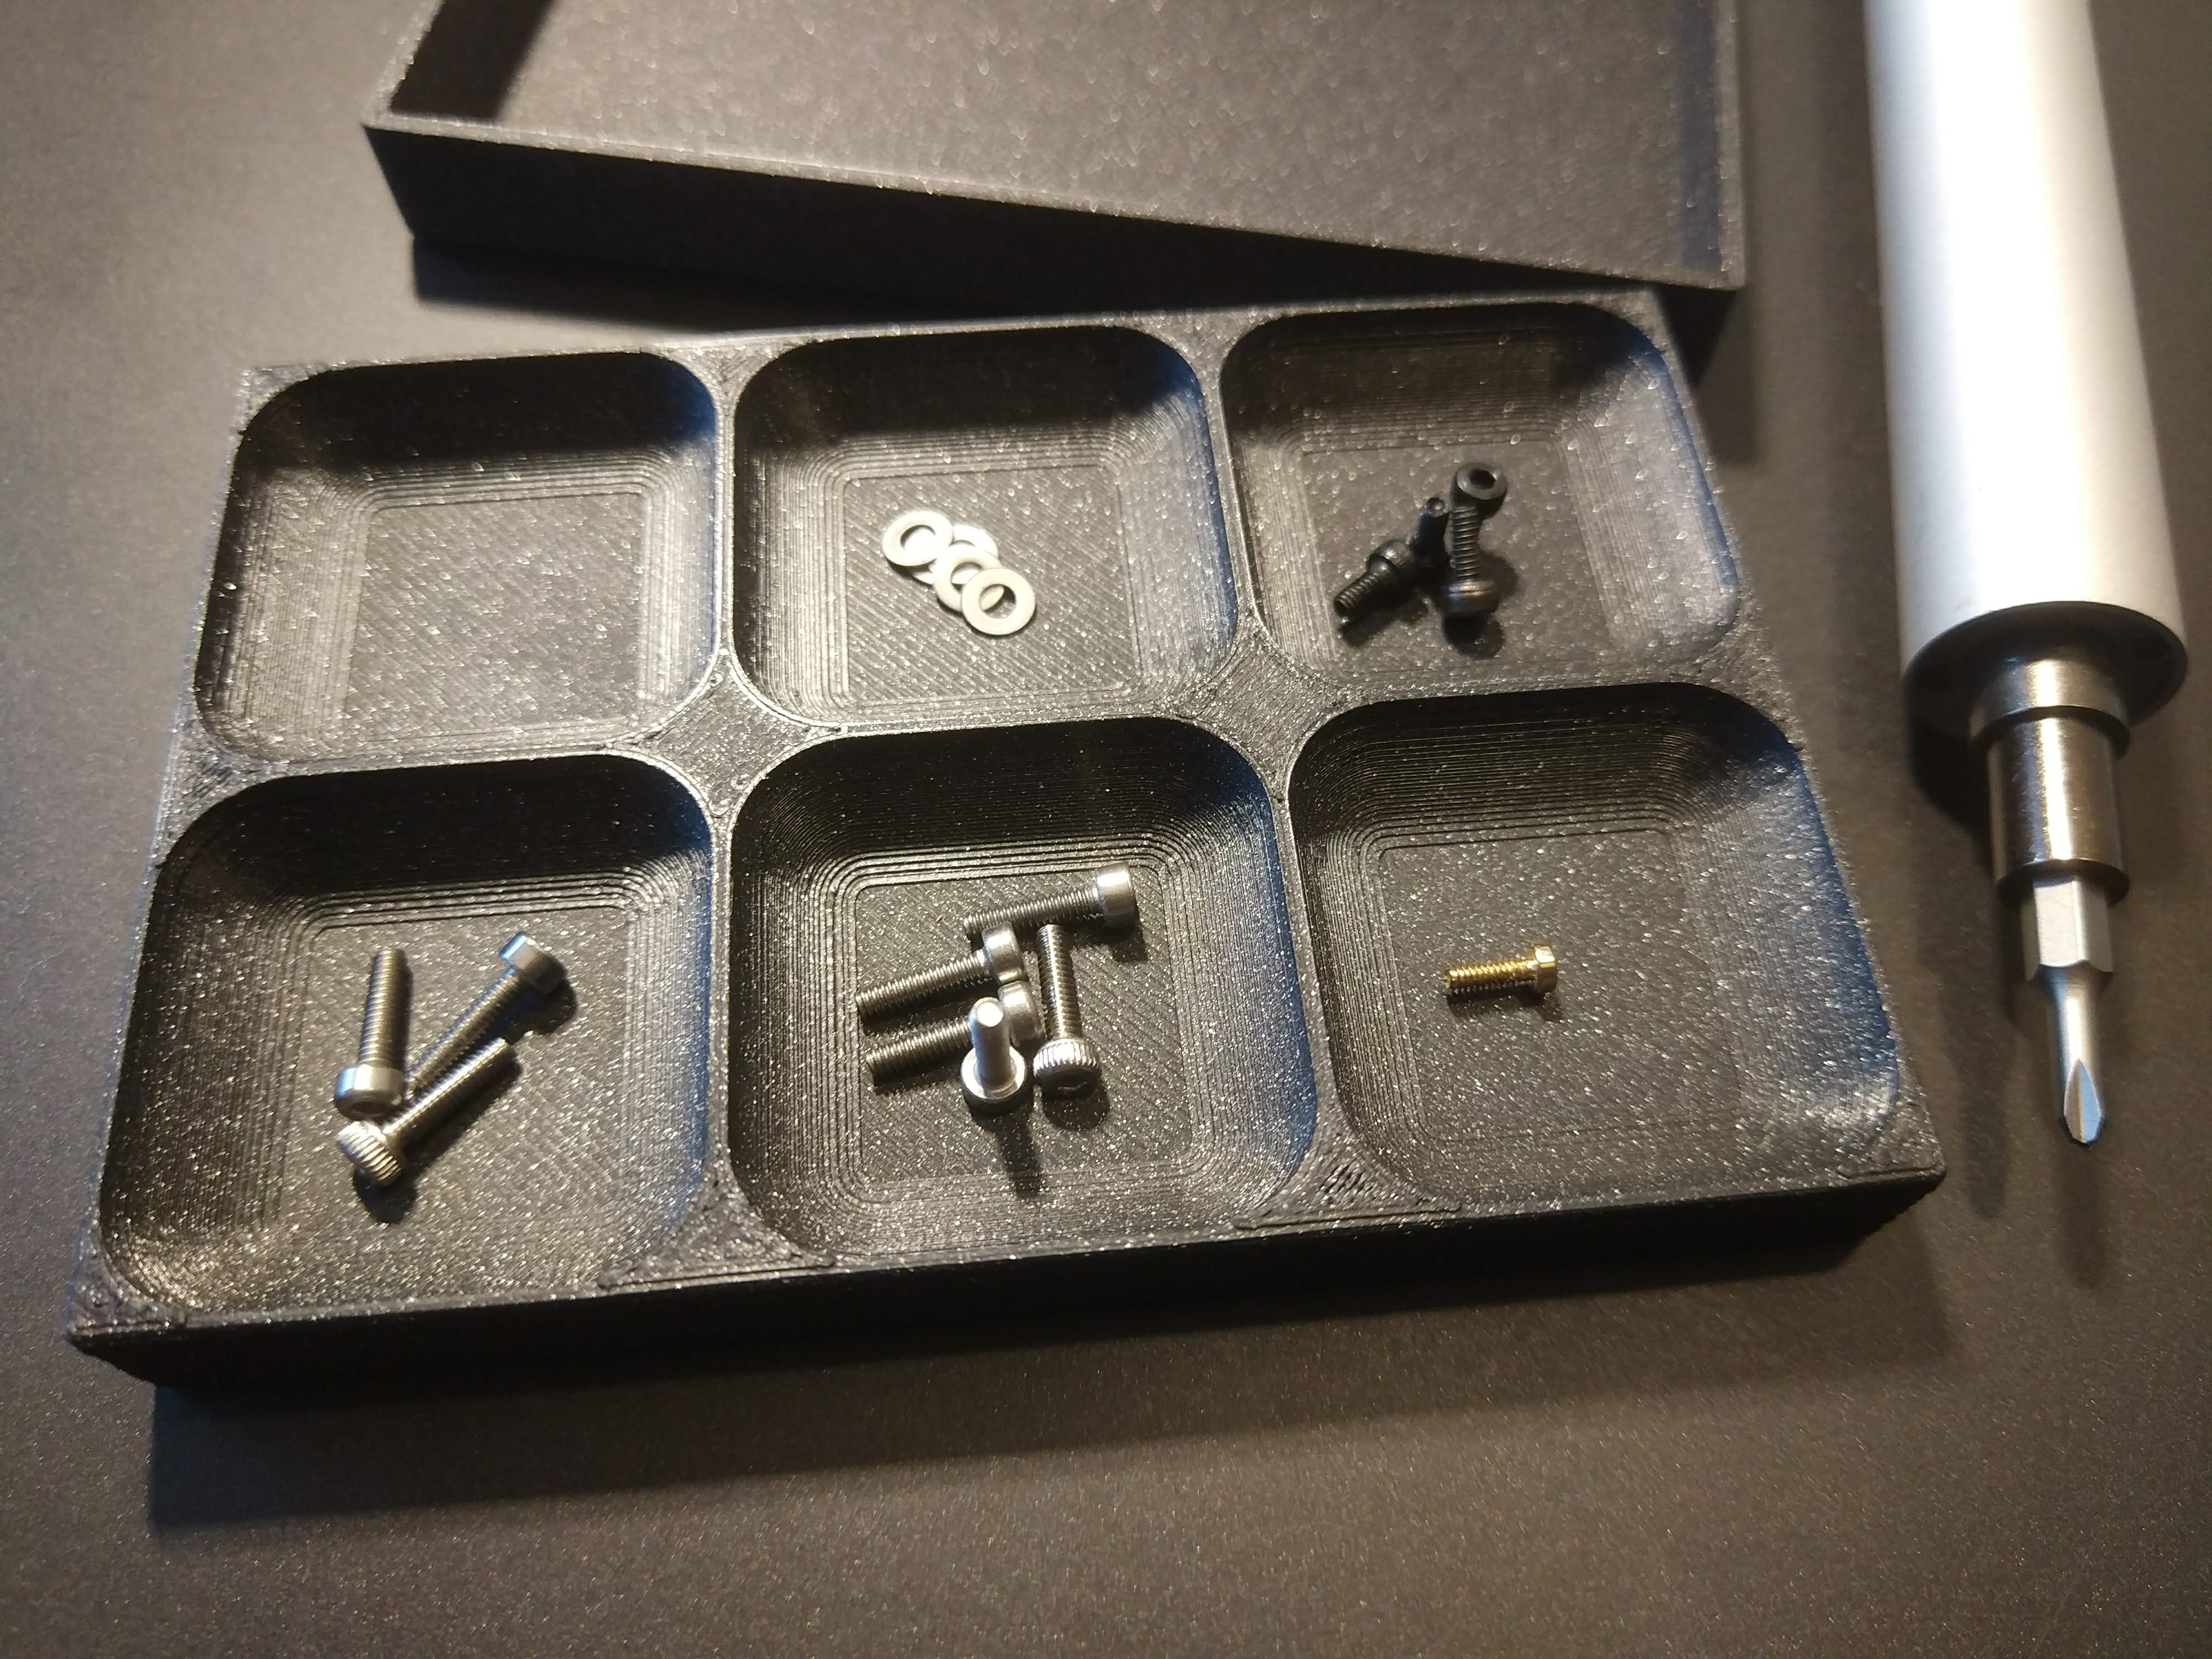
<p>This is a fully customizable magnetic screw tray.</p> <ul> <li>It is designed to use any common round/cylindrical neodymium magnet.</li> <li>Compartment size is fully configurable</li> <li>You can have it separated in as many compartments as you like.</li> <li>You can have 1,2 or 4 magnets per compartments</li> <li>Optionally you can have a lid to better secure the contained screws/nuts</li> <li><p>lots of possibilities to influence the design / rounding.<br/> In case you are interested in more customizables things i created, check out this collection:<br/> <a href="/rainers/collections/rainers-customizable-things">https://www.thingiverse.com/rainers/collections/rainers-customizable-things</a></p> <p>Version History:<br/> 2019-01-08 Version 3.0</p> </li> <li><p>changed the bottom thickness for the Stackable lid to be defined by BottomT parameter instead of LidT to avoid very thick lids where not needed.</p> </li> <li>implemented automatically adjustment of text position for a stackable box.</li> <li><p>fixed a bug where the text horizontal offset for line1 did not get applied<br/> 2019-01-07 Version 2.9</p> </li> <li><p>new options for the Text location on the lid that allows the text to go along the X or Y axis. this allows to orientate the text on the lid better</p> </li> <li><p>fixed some bugs related to slideoverlid generation&magnet position<br/> 2019-01-05 Version 2.7</p> </li> <li><p>Re-implemeted all text handling</p> <ul> <li>a 2nd line of text is now possible<ul> <li>improved positioning and orientation of text</li> <li>regrouped all text parameters</li> </ul> </li> </ul> </li> <li><p>fixed SlideoverLid when used with higher outer Radius<br/> 2019-01-03 Version 2.6a</p> </li> <li><p>new parameter EncloseBottomMagnet. If selected, the bottom magnets will be fully enclosed in the body. This will require you to stop the print just at the right time and insert the magnets before continuing.</p> </li> <li><p>small fix for LidMagnetPosition where incompatible lid magnet holes had been created for the actual lid<br/> 2019-01-03 Version 2.5</p> </li> <li><p>Adjusted LidMagnet Positions &WallT correction for rounded stackable boxes<br/> 2019-01-02 Version 2.4</p> </li> <li><p>Added support to make the box Stackable.</p> <ul> <li>New Parameter "StackableBottom". when checked, the bottom will be made stackable (LidHeight parameter is used to define the height of this section)<ul> <li>New LidType "Stackable" will create a matching cutout on the top of the box. This is the only possible LidType for a box with a stackable bottom </li> <li>a stackable box or one with a stackable lidtype will only be rounded on the outside edges. bottom & top will not be rounded.</li> </ul> </li> </ul> </li> <li><p>Re-implemented & improved most of the Lid and LidMagnet Code</p> </li> <li><p>improved automatic parameter checking & correction. The code will try to automatically adjust various parameters to the required minimal parameter values ( e.g. WallT,LidType,Height,....)<br/> 2018-12-26 Version 2.3a</p> </li> <li><p>you can now increase compartment sizes. for each compartment you can choose to double x,y or both sides. By increasing compartments that are located next to each other you have quite some freedom to create compartments as big as you want.</p> </li> <li>updated the font list to now include all google webfonts (almost 1000 fonts to choose from). you can preview the fonts online for example on this page: <a href="https://ultra.zone/web_fonts">https://ultra.zone/web\_fonts</a></li> <li><p>small bug fix for text on slideover lid (thanks to dagobert_ch for finding it!)<br/> 2018-12-22 Version 2.2</p> </li> <li><p>Text is there! You can now add text to any / all of the box sides. choose from any of the google fonts, choose font style/size</p> </li> <li>vertical & horizontal alignment & offset</li> <li>rotation</li> <li><p>text on top and inside lid<br/> 2018-12-18 Version 2.1</p> </li> <li><p>New parameter LidType can be used to choose between the following Options:</p> <ul> <li>"None":No Lid<ul> <li>"SlideOver": SlideOver-lid that slides over outside walls of the box<br/> This lid Slides over the outside of the upper side of the box.</li> <li>"Notched": Notched-lid that slides over a "notch" w.o. incr. width/length<br/> An additional Nodge/edge will be subtracted from the upper side of the box. The lid will fit over that edge. This does not add to the widh/length of the box<br/> The Lid Magnets can be optionally added to both lid types. (remember that you might have to increase WallT parameter to make enough space for the magnets if they overlap with the inner space of the compartments)</li> </ul> </li> </ul> </li> <li><p>New Options for Parameter LidCutout can be used to decide where the round cutouts on the lid will be created.</p> <ul> <li>No<ul> <li>On X-Axis</li> <li>On Y-Axis</li> <li>On Both Sides</li> </ul> </li> </ul> </li> <li><p>Parameter plausibility checking improved. I'm trying to check the most important parameters and automatically adjust thes to avoid not working parameter combinations. this currently applies to: InnerRadius,OuterRadius and WallThickness. It might be still possible to create a non-working parameter combination, but most pitfalls should already be avoided automatically.</p> </li> <li><p>lots of other internal code enhancements<br/> 2018-12-15 Version 2.0</p> </li> <li><p>Major code rewrite</p> </li> <li><p>lots of smaller improvments/fixes<br/> 2018-12-14 Version 1.3<br/> -improved the shape of the support cylinder for the lid magnets to better blend into the compartment shape</p> <p>2018-12-11 Version 1.2<br/> Magnetic Lids are now possible!</p> </li> <li><p>There are 3 new parameters in the Section "Magnetic Lid"</p> </li> <li>LidMagnet - if set to "Yes", 4 holes to hold the magnets will be placed in both the lid and the box/tray.</li> <li>LidMagnetDia - defines the diameter of the small magnet used to hold the lid to the box</li> <li><p>LidMagnetDepth - defines the height of the magnet (=depth of the hole)<br/> You have to adjust the other parameters for the box/tray in a way to make enough place for the magnet holes. this can be done by adjusting WallT which sets the thickness of the outer walls or by creating round enough compartments so that the magnets can be placed in the outer edges of the box.<br/> If there is not enough space, the cylinder supporting the magnet hole will interfere with the inner area of the compartments.</p> <p>2018-12-09 Version 1.1</p> </li> <li><p>New Parameter "LidCutout" can be used to create round cutouts on the side walls of the lid. when set to "Yes", this makes it a lot easier to remove the lid from the box.<br/> Some tips:</p> </li> <li><p>add some tolerance to your magnet size. for an 8x1.5mm I am actually using 8.2 x 3mm. 3 is maybe a bit much, but due to the bridges hanging a little bit, this can compensate for that, and the magnets will be recessed a bit more in the bottom part.</p> </li> <li>If you plan on printing the optional Lid, make sure you use enough "Height" for the compartments. (needs to be able to contain all the screws inside.<br/> If you like it, please share your makes!</li> </ul> <h3>Print instructions</h3><h3>Category: Tool Holders & Boxes What to Do when the Customizer throws "Script Timeouts" or other errors?</h3> <p>You can download the .scad file and use the "customizer" in openscad.<br/> This will require the latest unstable build of openscad for your operating systems.</p> <ul> <li>install latest nightly build of openscad</li> <li>in the options under "Features" enable the "customizer" feature</li> <li>under View, enable the customizer</li> <li>you might have to reload the scad file in order to see the parameters.</li> <li><p>have fun and remember to leave a like and to share your makes!</p> <h3> Using the google webfonts in openscad on your local PC</h3> <p>In case you are using the scad file on your local PC you can install the Google webfonts to your openscad folder to have the full list of fonts available.<br/> you can download the full set of font from here: <a href="https://github.com/google/fonts/">https://github.com/google/fonts/</a><br/> Then copy everything you find in the included "ofl" folder to you openscad\fonts folder (e.g.C:\Program Files\OpenSCAD\fonts on my PC)<br/> i ended up having e.g. a folder C:\Program Files\OpenSCAD\fonts\exo containing the .ttf files needed.<br/> then restart openscad and reopen the scad file. openscad will rebuild it's font file automatically and it should work</p> </li> </ul>
With this file you will be able to print Customizable Magnetic Screw Tray/Box (with optional lid) with your 3D printer. Click on the button and save the file on your computer to work, edit or customize your design. You can also find more 3D designs for printers on Customizable Magnetic Screw Tray/Box (with optional lid).