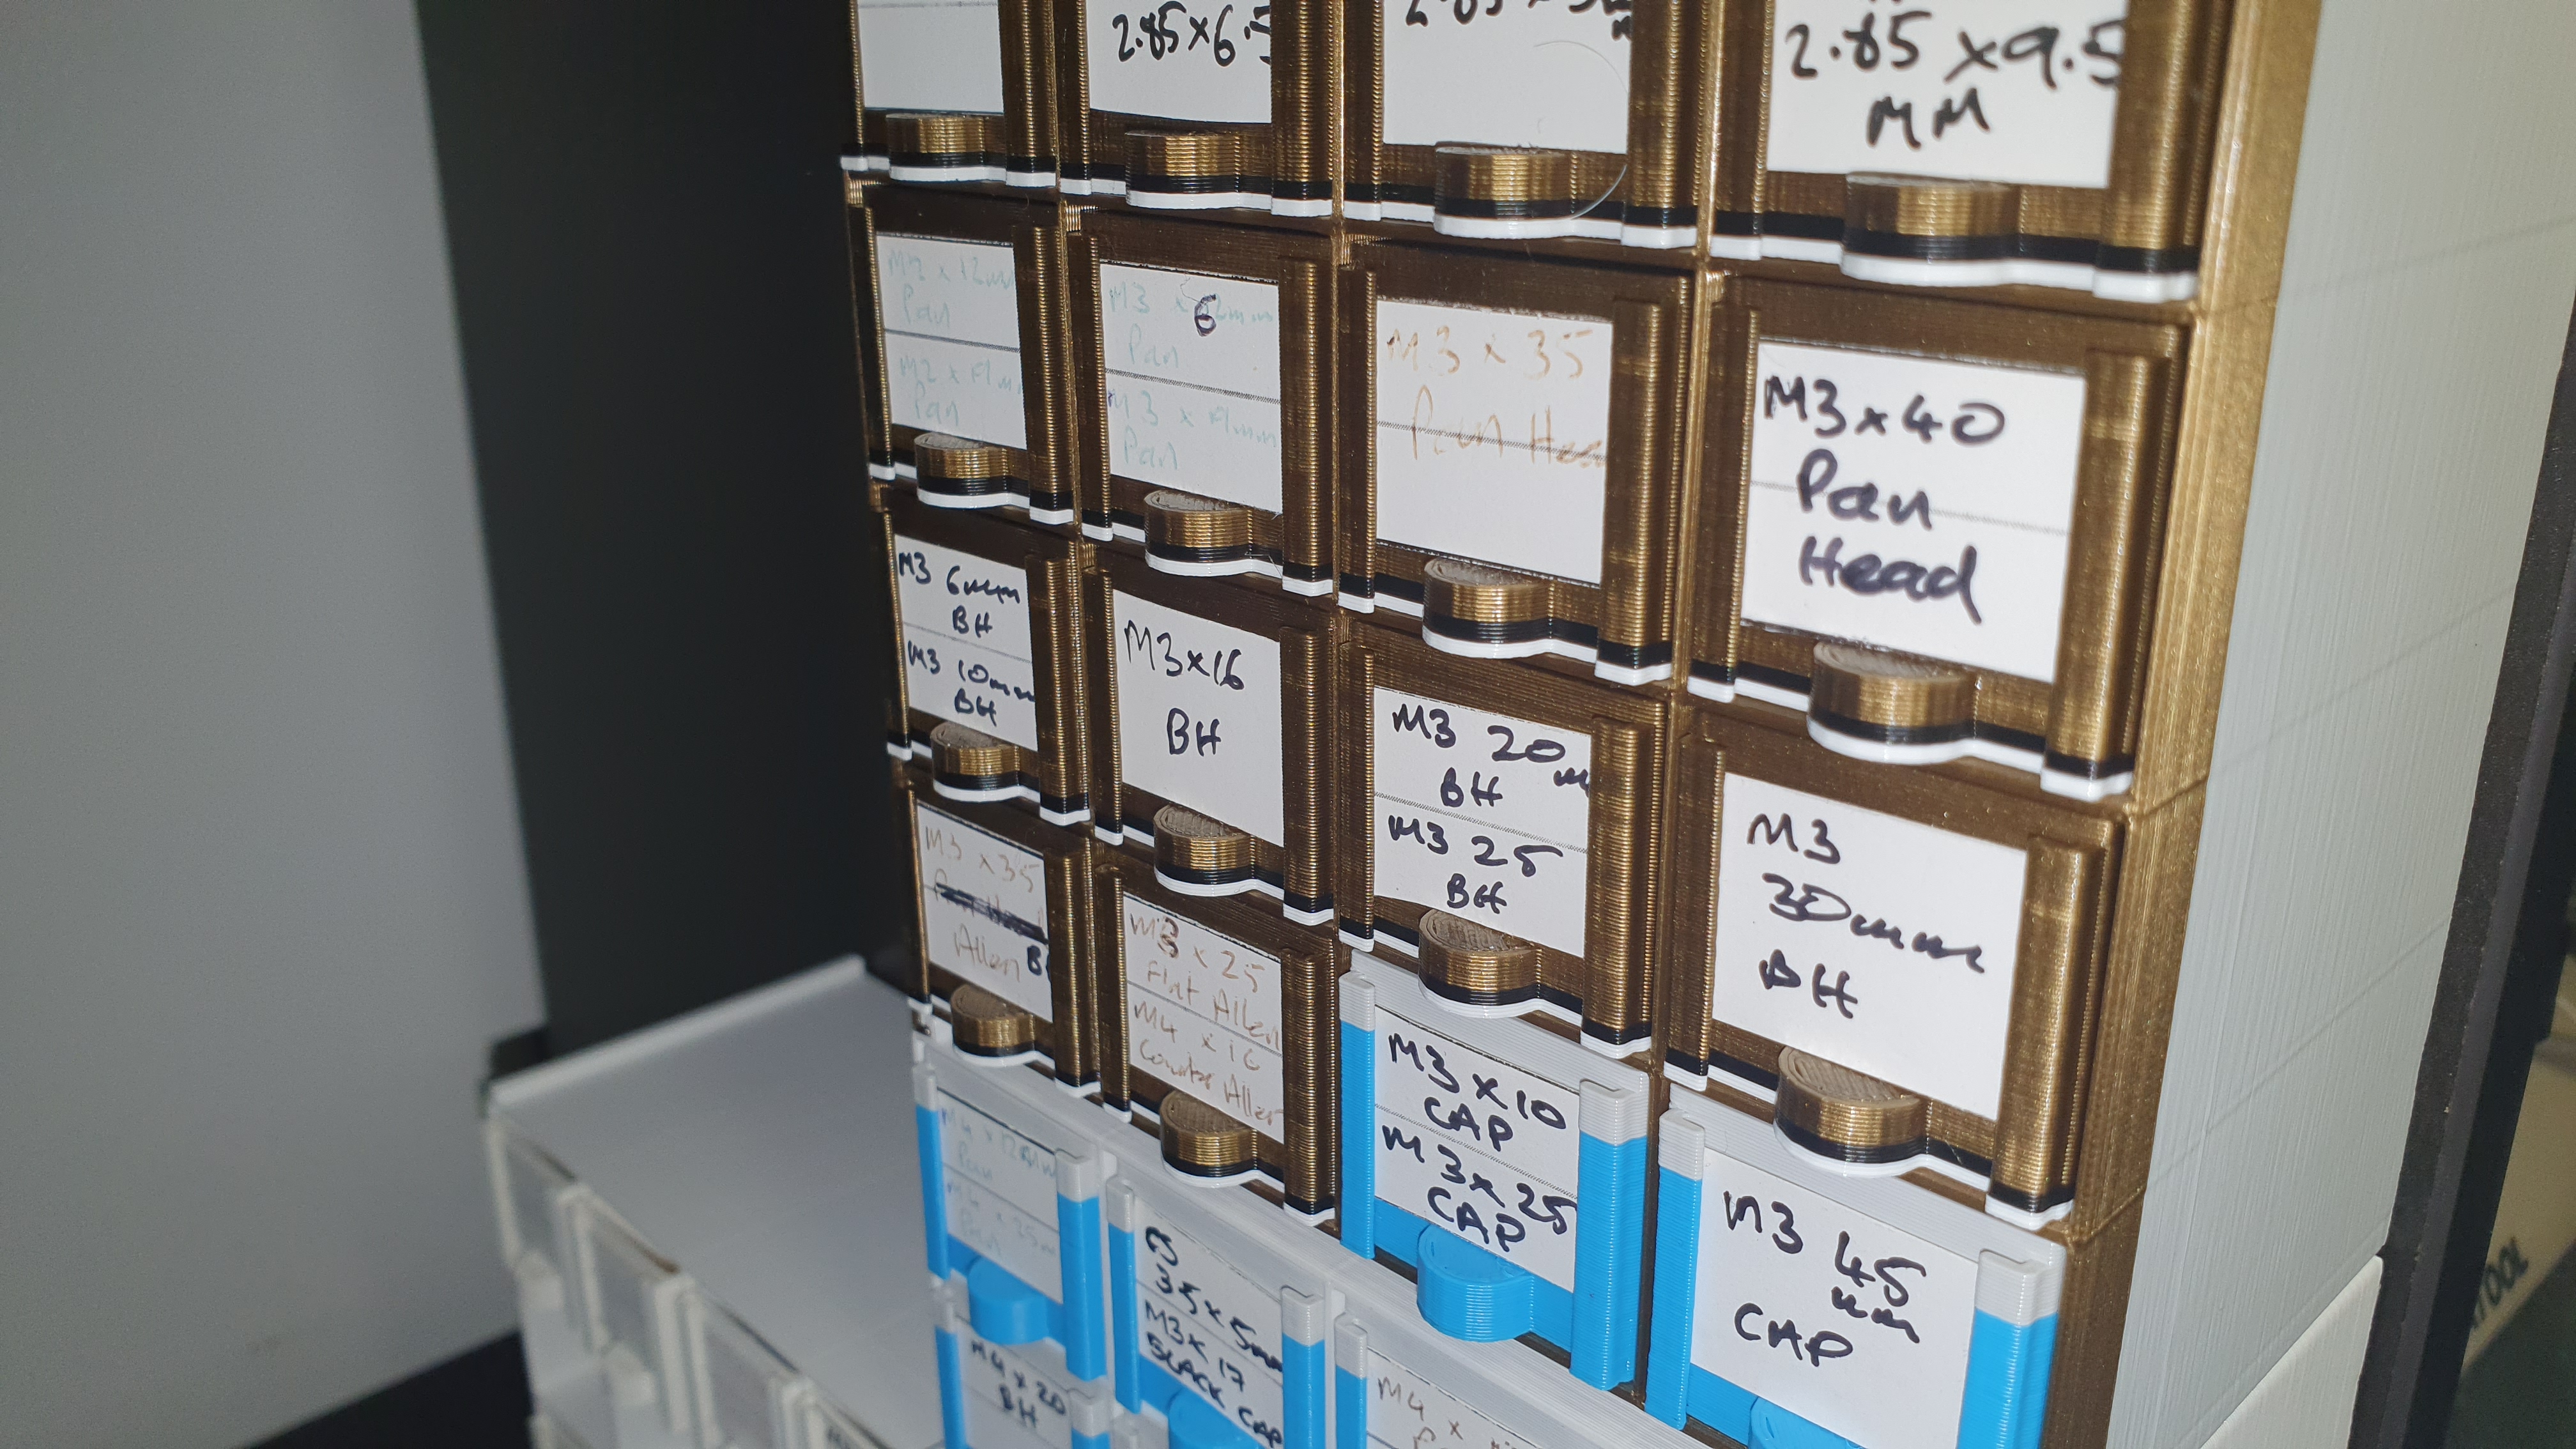
Customizable Mini Storage Drawers - OpenSCAD
prusaprinters
<p>Like many Makers I have lots of little items that need to be stored, preferably with some system that makes them a little easier to find (other than my “go-to” method of “dump them in the drawer”).</p><p>Here I have made a customizable system using OpenSCAD that enables the creation of a storage rack and the drawers to go in them.</p><h3>The Code</h3><h4>The Rack (rack***.scad)</h4><p>If you are using OpenSCAD > 2019.05 then when you open the Rack***.scad file in OpenSCAD on the right will be a set of parameters:</p><figure class="table"><table><thead><tr><th style="background-color:#fa6831;width:150px;">Parameter</th><th style="background-color:#fa6831;">Meaning</th><th style="background-color:#fa6831;">Default</th></tr></thead><tbody><tr><th style="width:150px;"><code>half_row</code></th><td>The number of half height standard width rows (ideal for small items such as resistors or capacitors)</td><td style="text-align:center;width:15%;"><code>1</code></td></tr><tr><th style="width:150px;"><code>standard_row</code></th><td>Number of "standard" size rows. This is the base size for width and height - ideal for smaller nuts, bolts, switches, buttons, IC's</td><td style="text-align:center;width:15%;"><code>1</code></td></tr><tr><th style="width:150px;"><code>double_row</code></th><td>The number of standard height, double width rows - ideal for larger bolts, screws, switches, IC's, small LED/LCD displays</td><td style="text-align:center;width:15%;"><code>1</code></td></tr><tr><th style="width:150px;"><code>quad_row</code></th><td>The number of standard height, quad width rows - ideal for larger items in general</td><td style="text-align:center;width:15%;"><code>1</code></td></tr><tr><th style="width:150px;"><code>ddepth</code></th><td>How deep the drawers are (mm) *this should be no more than your printers Z height.</td><td style="text-align:center;width:15%;"><code>64</code></td></tr><tr><th style="width:150px;"><code>tClip</code></th><td>Add a clip to the top of the rack to attach another rack to</td><td style="text-align:center;width:15%;"><code>true</code></td></tr><tr><th style="width:150px;"><code>bClip</code></th><td>Add a clip to the bottom of the rack to attach another rack to</td><td style="text-align:center;width:15%;"><code>true</code></td></tr><tr><th style="width:150px;"><code>bed</code></th><td>Largest size (x or y) of the print bed (mm)</td><td style="text-align:center;width:15%;"><code>200</code></td></tr><tr><th style="width:150px;"><code>prepPrint</code></th><td>Orientate the rack ready for printing.</td><td style="text-align:center;width:15%;"><code>false</code></td></tr></tbody></table></figure><p>The number of rows can be selected between 0 and 25 in the customizer for each size and you can combine several into one rack. However if the rack size is greater than the <code>bed</code> size then the rack will turn red as a warning (when using the preview render <code>F5</code> - does anyone know how to get OpenSCAD to print output into the Console window so the script could explain the error?).</p><p>If you save the STL and forget to <code>prepPrint</code> don't panic! In PrusaSlicer just use the Place on face tool and select the rear of the rack (the side with the stretchers on to prevent the drawers falling out the back).</p><p> </p><h4>The Drawers (bin***.scad)</h4><p>If you are using OpenSCAD > 2019.05 then when you open the Rack***.scad file in OpenSCAD on the right will be a set of parameters:</p><figure class="table"><table><thead><tr><th style="background-color:#fa6831;width:150px;">Parameter</th><th style="background-color:#fa6831;">Meaning</th><th style="background-color:#fa6831;">Default</th></tr></thead><tbody><tr><th style="width:150px;"><code>box_type</code></th><td>Which sized drawer to produce</td><td style="text-align:center;width:15%;"><code>Standard</code></td></tr><tr><th style="width:150px;"><code>depth</code></th><td>How deep the drawers are needed (mm) *this should be no more than your printers Z height.</td><td style="text-align:center;width:15%;"><code>64</code></td></tr><tr><th style="width:150px;"><code>divider</code></th><td>Add a set of slots to divide the drawer into two</td><td style="text-align:center;width:15%;"><code>Yes</code></td></tr><tr><th style="width:150px;"><code>panel</code></th><td>Render the drawer only, divider panel only or both</td><td style="text-align:center;width:15%;"><code>Box</code></td></tr><tr><th style="width:150px;"><code>wall_thick</code></th><td>How thick are the walls <strong>**** EXPERIMENTAL **** see notes below!!!!</strong></td><td style="text-align:center;width:15%;"><code>1</code></td></tr></tbody></table></figure><p><strong>Note</strong>: <code>wall_thick</code> - this is an experiment and only works with the half height drawer currently. The idea is to parametrically adjust the wall thickness from the hard coded 1mm thickness and currently it only barely, just about, slightly works. However I am not sure how useful this actually is and may remove it in the future. Just leave at <code>1</code> and all should be good!</p><p> </p><h3>Printing<img></h3><h4>Prusa Mk3S</h4><p>I have found that with my Prusa Mk3S that the default 0.3mm Draft print settings work well (with a 0.4mm nozzle). This makes the walls only two perimeters thick with no infill or gap fill to waste plastic or slow the print down (more) - see below.</p><figure class="image image-style-align-center image_resized" style="width:75%;"><img src="https://media.prusaprinters.org/media/prints/110713/rich_content/5164205a-c7e0-4c78-8c4f-ca90c2010699/perimeters.png#%7B%22uuid%22%3A%22c7d3dfe8-fef9-4f62-8abe-19b9756c180d%22%2C%22w%22%3A1623%2C%22h%22%3A1189%7D"></figure><p> </p><h5>Attached STL</h5><p>I've attached an example stl file which shows the 4 sizes of drawers for the rack, this shows the default settings for the rack. Not much use to print from but shows the basics of what you can expect!</p><p> </p><h3>Inserts</h3><p>Two PDF files are attached which can be used to print out labels/inserts for the drawers (A4 sized).</p><p> </p><h4>Updates</h4><p>08-01-2022 ~ Updated label sheets and included Inkscape file that has all in 3 different layers to edit more directly</p>
With this file you will be able to print Customizable Mini Storage Drawers - OpenSCAD with your 3D printer. Click on the button and save the file on your computer to work, edit or customize your design. You can also find more 3D designs for printers on Customizable Mini Storage Drawers - OpenSCAD.
