Customizable Temperature Tower
thingiverse
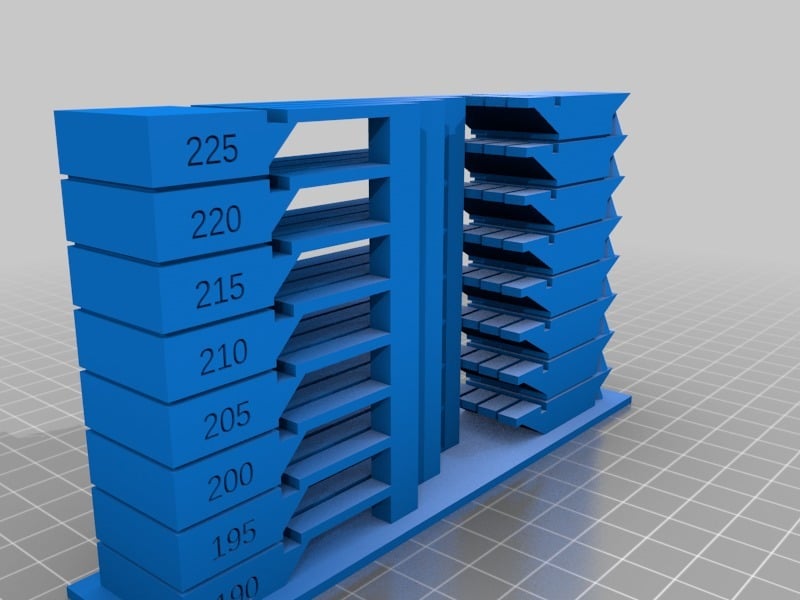
I've been experimenting with a lot of new filaments, and you know what that means - it's time for a precision calibration tower. I found several good towers, especially quirxi's https://www.thingiverse.com/thing:2615842 , but they all seemed to have a few problems: * The temperature markings on the tower sometimes don't line up with the instructions for how to modify the gcode to add the actual temperature changes, producing inaccurate results. For example, many towers have a base, which is nice. But that base can throw off the height calculations. If you modify the gcode to change the temperature at 10mm, 20mm, 30mm, and so on, but the base means that the tower stories actually start at 12mm, 22mm, 32mm, and so on, then the bottom 2mm of most stories is going to get printed with the wrong temperature. * Most towers only have a single bridge printed in each temperature, which isn't always helpful. If the bridge holds up, great; but if it sags, how much shorter would it have needed to be to hold up? * The code of many towers is very compact. That's good. But it's also often uncommented and difficult to follow, with lots of magic numbers being used without explanation. I often wanted to make modifications but couldn't figure out what could be safely changed. So here's my attempt at solving these issues. * It's got what I think is a great mix of features from other towers: bridges, stringing tests, and overhang tests ranging from "common" to "aggressive" and eventually "completely unfair". * It's easy to get the printing temperatures to exactly match the tower. If the stories are 10mm high (the default), then the breaks in the tower are at 10mm, 20mm, and so on. The base doesn't throw off the calculations. (This makes the bottommost story look a little squashed, but so be it.) * Each tower story can have one to four bridges of different lengths. This lets you get a much better sense of how much bridging you can get away with at each temperature. * The tower includes an optional pure-overhang test, to let you see how much completely-unsupported overhang you can get away with at a given temperature. * The code has been completely rewritten. You'll probably find it excessively verbose if you're experienced with OpenSCAD, but you should be able to easily see what's doing what and how to change things. * I've included my error-checking library (https://www.thingiverse.com/thing:2918930), so you'll see understandable error messages in the preview window if you customize a parameter to something that's out of range. **IMPORTANT**: The STL file you generate won't have any magic instructions that actually alter the temperature of your printer. It's almost certainly for the best that STL can't actually do this. You will need to modify the generated gcode - either through your slicer/printer control software, or through a separate command-line utility - to add temperature control commands to the relevant layers. There are all sorts of "vary temperature by height" plugins and scripts out there that can do this. But unfortunately, many of them do the wrong thing - they vary the temperature based on the layer count (for example, "5 degrees every 35 layers"), which means that the temperatures won't be correct unless your print's layer thickness matches whatever the author of the plugin/script had in mind. The VaryTempWithHeight.py script I've included here will work with current versions of Ultimaker Cura, and will do the right thing by inserting temperature changes based on the height being printed at rather than based on the layer count. Here's how you can use it: * Run Cura. * Choose Help -> Show Configuration Folder. * Install VaryTempWithHeight.py in the "scripts" folder in the configuration folder. * Restart Cura and load the temperature tower STL file. * Choose Extensions -> Post-Processing -> Modify Gcode. * In the post-processing dialog that appears, choose Add a Script, then Vary Temp With Height. * Set the configuration options to match the tower. * Click Close to close the dialog. * To make sure that it's working correctly before printing, save the generated Gcode to disk as a .gcode file (uncompressed gcode), open the .gcode file in a text editor, and verify that the generated gcode contains several ";TYPE:CUSTOM" M104 instructions that look like this: (This example sets the temperature to 195 degrees.) ;LAYER:65 ;TYPE:CUSTOM M104 S195
With this file you will be able to print Customizable Temperature Tower with your 3D printer. Click on the button and save the file on your computer to work, edit or customize your design. You can also find more 3D designs for printers on Customizable Temperature Tower.