Customized Makerfarm i3 X-Carriage
thingiverse
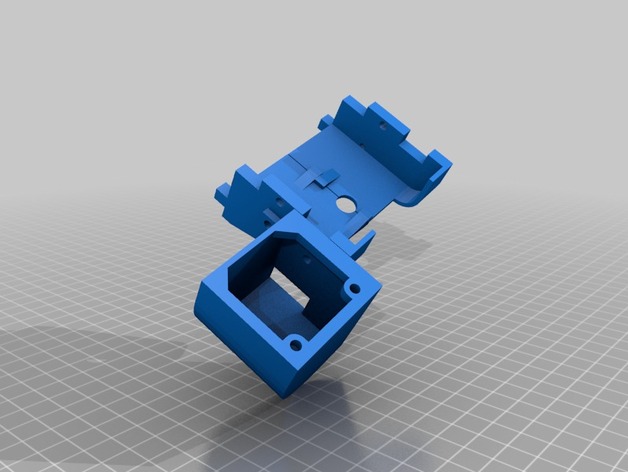
These customized pieces for the x-carriage allows for 2 fans to be used while printing. One fan cools the Magma hot end and the other cools the print. The air from the fan used to cool the Magma hot end is directed up and away from the print area. I find using two fans allows for a greater degree of control. The hot end fan is always on, but the print fan's power is controlled by the RAMPS board. Edit: Added the SketchUp file. Any STL files exported from SketchUp I normally run through netfabb to fix any problems. There should only be minor ones with the components. Instructions Requires: 2 - 3/4in #6 bolts 2 - 1/2in #6 bolt 4 - #6 nuts Assembly is difficult. I recommend attaching the fan to the duct first (2, 3/4in bolts) and then attaching the duct to the left side of the x-carriage (2, 1/2in bolts). Now put the new x-carriage pieces on the printer. Finally, screw the 2nd fan to the extruder. I have the extruder fan connected to the main power(always on) and the print fan connected to a port which is controlled by the printer.
With this file you will be able to print Customized Makerfarm i3 X-Carriage with your 3D printer. Click on the button and save the file on your computer to work, edit or customize your design. You can also find more 3D designs for printers on Customized Makerfarm i3 X-Carriage.