Cycle Counter for Pumps - Arduino
thingiverse
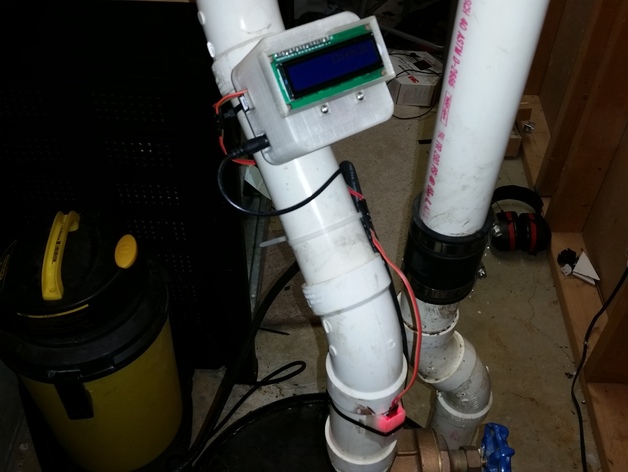
This gadget uses a vibration sensor and keeps track of how many times the pump gets activated. I built it to measure when my basement's water pump turns on. If you've ever had your basement flood because of a malfunctioning pump, you'll see why this project is so valuable! The LCD screen constantly displays a running total and shows the last time it recorded a reading. I could have used an amperage sensor as the input trigger but didn't want to hook up a high-amperage circuit hidden in my basement using an $2 device. Instead, I decided to use a microphone to "listen" for when the pump comes on but couldn't get reliable results so I opted for a vibration sensor instead! There's a simple parts list and instructions below - please feel free to comment and ask questions. In the future, I'm planning to expand its capabilities to log data and display it online. Printing Settings Rafts: None Supports: No Resolution: 0.4mm Infill: 50% using two perimeters Notes: You won't need any supports when printing this design as it works well with PLA on my Printrbot Metal Simple.
With this file you will be able to print Cycle Counter for Pumps - Arduino with your 3D printer. Click on the button and save the file on your computer to work, edit or customize your design. You can also find more 3D designs for printers on Cycle Counter for Pumps - Arduino.