Cyclonic Dust Collector
thingiverse
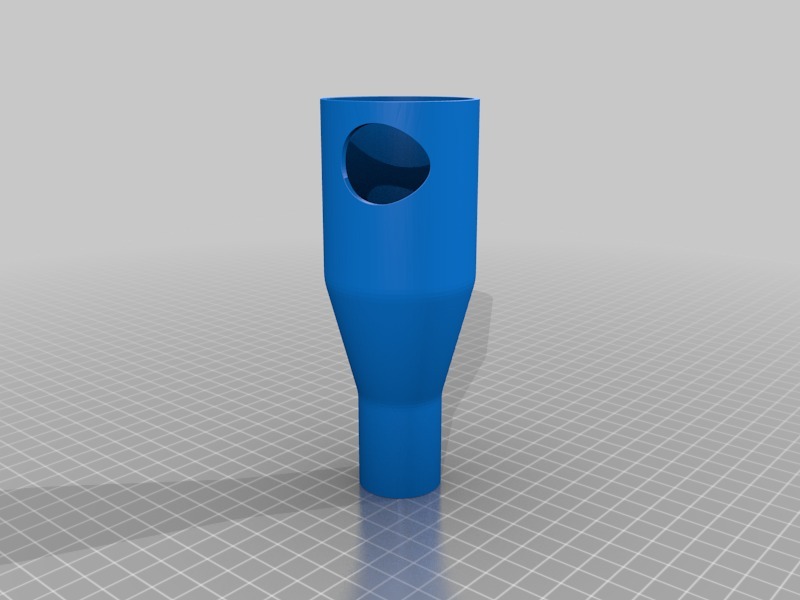
[IMPORTANT]: [Some vacuum cleaners overheat pretty seriously if they work continuously for several minutes. This could be dangerous for the machine, and even for you or your apartment/workshop. Make sure you know your vacuum cleaner limits before using this. If you want to keep it on for the whole machining cycle I'd recommend you going for an industrial vacuum cleaner or using a centrifugal compressor sucking NEARLY clean air from the top part of the cyclone. Consider that % of particles separated by the cyclone, i.e. efficienty, decreases with smaller particle sizes]. CYCLONIC DUST COLLECTOR I want to do some light milling with my CoreXY printer (check out my profile for more info) and I don't want sawdust all around the apartment. I learned about cyclonic separators a few years ago, during my early university years, so I really wanted to try it myself. This one is supposed to fit a small bottle of wine, though I can make almost any thread as long as you give me diameter(s) and thread pitch. The upper part (outlet) is where the vacuum cleaner sucks pressure from, and it's meant for a 34x29mm (OD x ID) vacuum cleaner tube. The smaller taper is the inlet, where the cyclone takes sawdust from. The inlet is meant for 19x15mm (OD x ID) PVC hose. I used a hose clamp to secure the connection. Once the bottle is full you can unthread it and toss the sawdust away. Keep it vertical all the time. Or even better, clamped to the machine frame. Consider tipping my channel if you want to keep my projects running. PRINTING TIPS: -Rotate inlet 3º and print it vertically, upside down, ie outermost part of it should lay on the build plate (I'd like to change axes orientation if I find how). -Outlet should be printed as it is, with a small ring of supports so it fits tight and nice once supports are removed. -Cyclone should be printed upside down, and you can add supports to the whole where inlet will be glued (I did just in case). -Use a 0.4mm nozzle and 0.20mm layer (walls are 2mm thick) -Use 4 top and bottom layers -Use 3 perimeters -Use at least 25% infill -Glue inlet and cyclone with CA glue. You should get a slight tilt angle (those 3º). Seal the joint with either more CA glue (I used CA gel) or some polyester or Tamiya putty. -Don't glue the lid to the cyclone, some dirt will build up on the inside walls over time and of course you want to be able to clean it.
With this file you will be able to print Cyclonic Dust Collector with your 3D printer. Click on the button and save the file on your computer to work, edit or customize your design. You can also find more 3D designs for printers on Cyclonic Dust Collector.