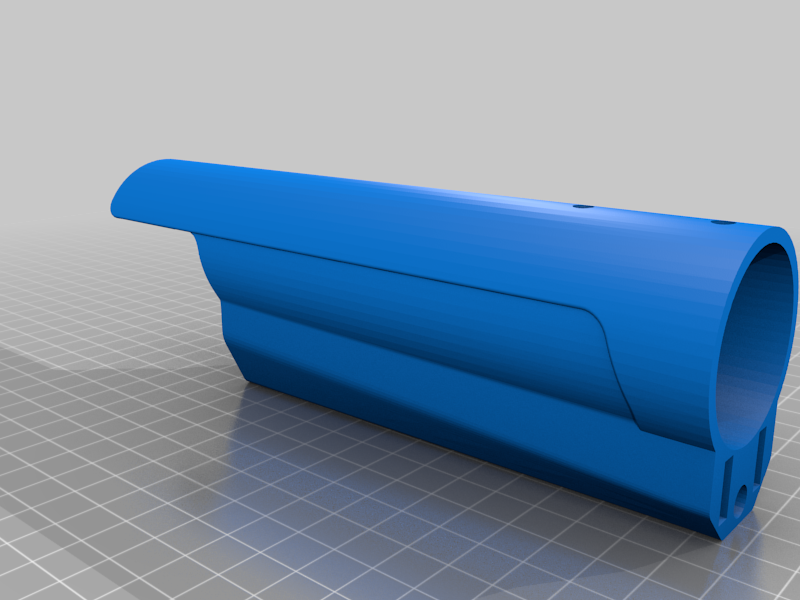
Cynthia Closed Bolt mod
thingiverse
This is a remix of the Sillybutts Cynthia Bolt action nerf blaster as seen here https://github.com/Sillybutts/Cynthia. The original design is excellent and a lot of fun to use but, some reviewers and users noticed a few minor issues. One being that the bolt was able to swing from one side of the blaster to the other freely during operation. Another review pointed out that the ram core deflected to the side when priming and they felt that it might come in contact with the magwell back. Finally, several reviews questioned the rigidity of the blaster at its center where the two halves of the blaster meet in the magwell area. This is my attempt to address these issues while keeping all of the original design aesthetics. I am by no means an advanced user of Fusion360 but, I have printed and used these parts on my blaster with no issues. This mod requires M3 heat set inserts. When setting the inserts in be careful not to go to deep or the inserts will come in contact with the plunger tube during priming. You need to use the short inserts because the PT covers have a thickness of around 3mm. I have included modified PT covers for those who have not printed a Cynthia or do not want to modify their existing Cynthia. It is however possible to use the back rail as a guide for drilling holes in your existing 3d printed pieces. Follow the same print orientation and settings in the original Cynthia documentation for the Back PT cover and Dart Guide. The Front PT cover needs to be oriented so that the "keyhole" for the magwell back is facing down towards the print surface with supports enabled. The back rail can be printed horizontally but, I had difficulty removing supports when printing in this orientation. Eventually, I found it easier to print the back rail standing up with a larger brim. Whatever orientation for the back rail you choose, Its important that the underside of the back rail is clean to prevent any issues during installation. Its fairly easy to destroy the plunger tube if the screws used to attach the back rail are to long, I recommend having several sizes of M3 cap head screws when attaching the back rail. However, I found the following sizes worked for me. Using either M3x8 or M3x10 for the two holes in the dart guide that attach the front and back rails. One M3x12 or M3x14 for the next hole that goes through the back rail, Front PT cover and Magwell back. The next three holes that secure the back rail to the Front PT and Back PT covers are ones to be cautious of. I found that M3x5 or M3x6 worked well here. The last hole in the back rail should be either an M3x5 or M3x4. Before releasing the files I printed a set for my blaster and had a friend print the parts for his blaster and assemble them successfully. Please let me know if you find any major issues and I will do my best to resolve them. Good luck and happy foam flinging!
With this file you will be able to print Cynthia Closed Bolt mod with your 3D printer. Click on the button and save the file on your computer to work, edit or customize your design. You can also find more 3D designs for printers on Cynthia Closed Bolt mod.
