D Pad Upgrade for Razer Tartarus V1
thingiverse
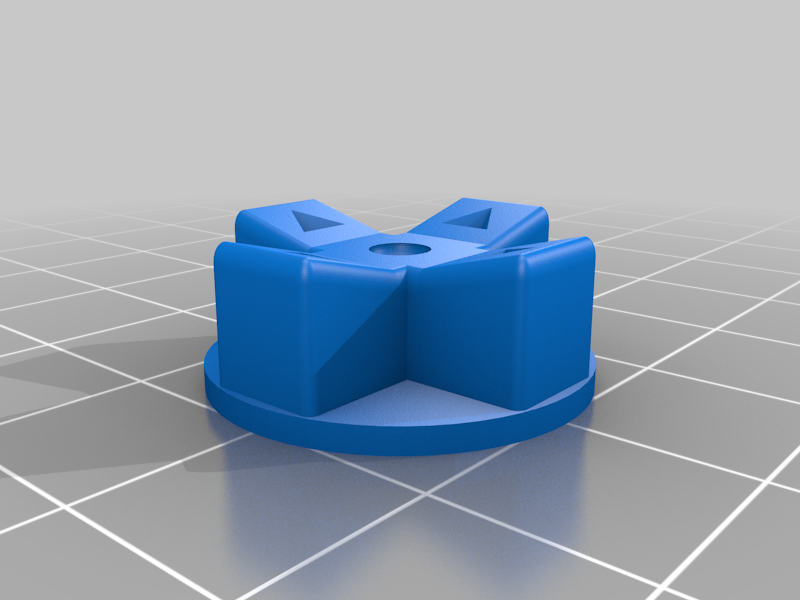
## Introduction I slightly edited another user's excellent D pad model into a replacement for the Razer Tartarus V1 Joystick. This was my first time prototyping my own thing and I figured that it worked well enough so I did not improve it. We're pretty much upcycling your Tartarus V1 into a Tartarus V2 for a few cents of filament. ## Compatability No idea if this works for Orbweaver. Tartatarus V2 and Pro have a dpad under the thumbstick already. This is confirmed working for Razer Tartarus V1 only. ## Suggested improvements 1. Make the Dpad taller to accept a TPU dust cover 1. use subtraction tool to cut a TPU dust cover (there is a cutout for up to dust cover __OR__ Make the Circle at the bottom of the dpad at least 25mm to keep dust from entering. 25mm is the size of the stock joystick's dust cover and it keeps the hole covered for the entire possible range of movement. __AND__ Create a spacer to cover the distance between the dpad and switch. The printed version doesn't grip the shaft on which the thumbstick was mounted as well as the original part and may slide a little over time. If you follow this design exactly then you have 2-3mm to spare. ## Installation instruction (crude) __Warning__ These instructions were made based on my experience and are not guaranteed to work well or at all. 1. Take out all the screws on the bottom, including those that are under the grippy pads 1. Unplug the wire connections as you encounter them. 1. Take the thumb section of the Tartarus apart, separating it from the main body. 1. Unplug and unscrew the board for the thumbstick, noting that it is attached and cannot be disconn4ected from the thumb button switch 1. Carefully pull out the spacebar lever. Both the snap in socket and the fulcrum bar of the thumb bar can bend a little bit with no long term harm but don't overdo this. 1. Remove the thumbstick board with the thumb button board 1. Pull off thumbstick. This may require some force. Be careful not to damage the switches underneath the thumb stick and the spacebar lever switch on the opposite side. 1. Removing the thumbstick reveals a long white cuboid. This is attached to the 4 direction switches. 1. Put the cuboid into the square hole in the d pad. It may require some force. Again, be mindful of the switch on the opposite side. I gently tapped mine in with a mallet. 1. Fit the thumbstick board back into the Tartarus, checking for good fit. The top of the screw holes should be flush with the board. 1. Plug the thumbstick board back in, replace it. 1. Screw thumbstick board back in 1. Screw thumb button board back in 1. Replace the spacebar level. You will likely need to bend it a little and use a pointy thing to guide it into the snap in slot 1. Function check that the thumb button, new dpad and spacebar lever all click when pressed. 1. Reassemble ## Other notes 1. There isn't really enough going on in the joystick side for me to seriously worry about dust. 1. Tearing this down is pretty intuitive. 1. There are at least 2 body piece connections that are permanently snapped and NOT screws. I just cut through these with a small wire cutter and they are not missed. 1. There are only 2 or 3 distinct screws involved in the teardown.
With this file you will be able to print D Pad Upgrade for Razer Tartarus V1 with your 3D printer. Click on the button and save the file on your computer to work, edit or customize your design. You can also find more 3D designs for printers on D Pad Upgrade for Razer Tartarus V1.