dacb scara arm - customizer version
thingiverse
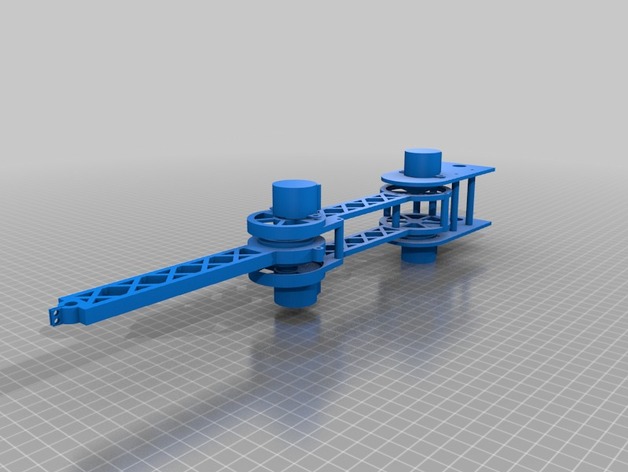
It appears that this text is a comprehensive guide to using the 28BYJ-48 stepper motor with a Raspberry Pi. Here's a summary of the key points: **Motor Specifications** * Torque: 34.3 mN.m * Friction torque: 600-1200 gf.cm * Pull-in torque: 300 gf.cm * Insulation grade: A (but possibly not really) * Number of coils: 4 **Powering the Motor** * The motor draws 360 mA when using two half-windings at all times. * To be safe, provide at least 400mA for each stepper motor. **Raspberry Pi Power Supply** * With a normal 1-amp power supply (1000 mA - 700 mA), the max current that can be sourced from the GPIO 5V pins is 300 mA. * With a 2-amp USB power supply, the 5V GPIO pin should be able to safely supply 1000 mA, enough to power two stepper motors (~400 mA each). **Stepper Motor Control** * The motor uses a ULN2003APG chip on its driver board. * There are guides and tutorials available for controlling the motor with a Raspberry Pi: + Graham Wideman's J8BYJ-48 overview + Adafruit's Raspberry Pi Lesson 10. Stepping Motors + ScrapToPower's How to connect Stepper motors to a Raspberry Pi w/ code example **Software** * If you want to use @dacb's software, you need to configure the GPIO pins in the source code. * Other software resources are available. Overall, this guide provides detailed information on using the 28BYJ-48 stepper motor with a Raspberry Pi, including specifications, power supply requirements, and control methods.
With this file you will be able to print dacb scara arm - customizer version with your 3D printer. Click on the button and save the file on your computer to work, edit or customize your design. You can also find more 3D designs for printers on dacb scara arm - customizer version.