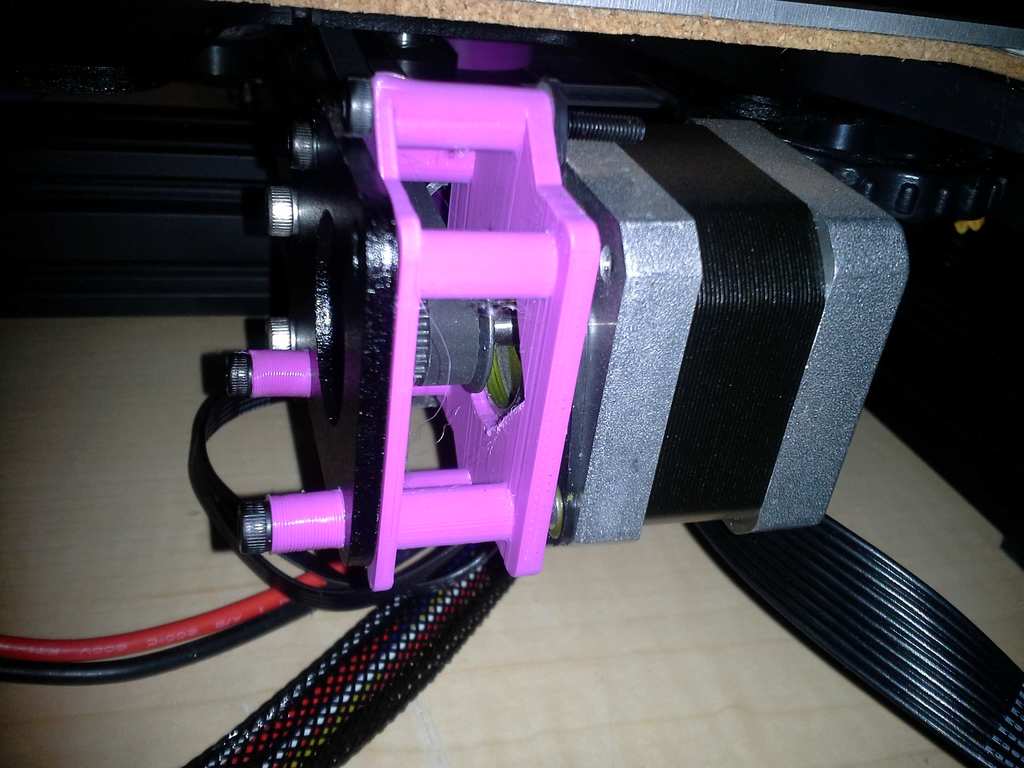
Damper mounts for Ender 3 X and y axis using stock press-fit stepper motors
thingiverse
This is a detailed guide on creating an alternative Y-axis mount for the Ender 3 3D printer using a custom-designed bracket and pulley system. The guide includes step-by-step instructions, photos, and links to other relevant resources. Here's a summary of the guide: 1. Introduction: The author discusses the issue with the original Y-axis mount on the Ender 3, which uses press-fit stepper pulleys that can cause problems. 2. Solution Overview: The author designed an alternative Y-axis mount using a custom bracket and pulley system to address the issues with the original mount. 3. Designing the Bracket: The author describes how they designed the bracket using Tinkercad, including the dimensions and features of the design. 4. Printing the Bracket: The author provides instructions on printing the bracket using a 3D printer, including settings and tips for achieving good quality prints. 5. Assembling the Mount: The author explains how to attach the mount piece to the bracket, being careful to feed the belt in and around the pulley. 6. Alternative Solutions: The author lists other alternative Y-axis mounts available on Thingiverse that they considered but did not use due to various reasons. 7. Discussion and Links: The author shares links to relevant discussions on Reddit about installing stepper dampers on newer Ender 3 models, as well as some interesting resources. The guide is well-structured and easy to follow, with clear instructions and photos to illustrate each step. The author also provides useful tips and recommendations for printing the bracket and assembling the mount. Here are some potential improvements to the guide: * Consider adding more detailed photos or diagrams to help illustrate complex steps, such as attaching the mount piece to the bracket. * Provide more information on the design decisions behind the custom bracket and pulley system, including any trade-offs or compromises made. * Consider adding a section on troubleshooting common issues that may arise when assembling the mount. * Provide links to other relevant resources, such as YouTube tutorials or online forums, for readers who want to learn more about 3D printing and assembly.
With this file you will be able to print Damper mounts for Ender 3 X and y axis using stock press-fit stepper motors with your 3D printer. Click on the button and save the file on your computer to work, edit or customize your design. You can also find more 3D designs for printers on Damper mounts for Ender 3 X and y axis using stock press-fit stepper motors.