Dangerous Prototypes Bus Pirate 4 Case

Dangerous Prototypes Bus Pirate 4 Case

thingiverse

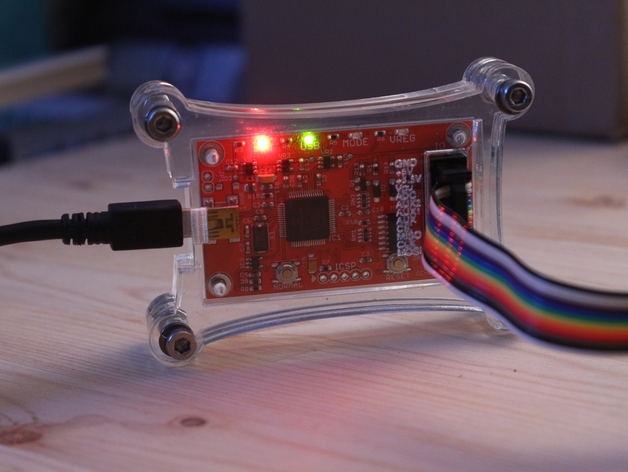
Laser cut! This makes the Bus Pirate feel really heavy. That's a good thing, it feels like a tool, now. Not a toy. There are labels for all of the signal lines, and there are holes that match up with the BP4's (non-standard) PCB hole positions. This prevents rattles. The whole unit just feels solid now, it's awesome. Instructions Cut all of the outlines and outer holes (black lines). 6mm acrylic. Transparent or translucent is a must to make the text visible. Etch the text and inner holes (red lines). Etch about halfway into the material. The outer holes are sized for M4 bolts. Top and bottom layers get flipped so that the etched portion is on the inside, against the BusPirate PCB. For the inner holes, the idea is to hold the PCB in place and prevent rattles or weird stresses on the USB port. I used some small machine screws, and some big pliers to cut chunks of the threaded portion to slot into the PCB holes and get held by the etched out area. Eventually an updated version that allows for access to the buttons might become a thing. Normally I'd supply a DXF, but InkScape doesn't handle the text properly. I used the old old copy of Corel Draw that is installed on the laser cutter computer to convert it, and I don't have that file anymore.

Download Model from thingiverse

With this file you will be able to print Dangerous Prototypes Bus Pirate 4 Case with your 3D printer. Click on the button and save the file on your computer to work, edit or customize your design. You can also find more 3D designs for printers on Dangerous Prototypes Bus Pirate 4 Case.