dart-o-matic dart launcher
thingiverse
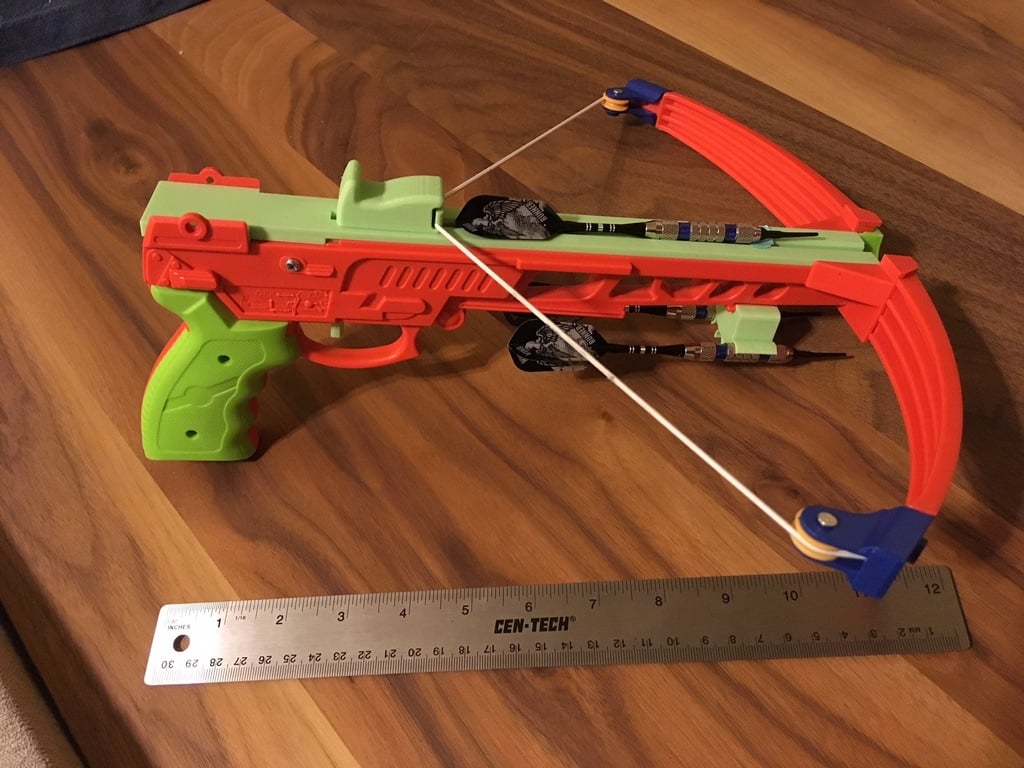
This converts a child's toy crossbow into a soft-tipped dart launcher that's perfect for fun and safe target practice with friends and family. I designed it as a gag gift for my brother-in-law's dart club, and now they can enjoy high-quality dart games without any risk of injury. To create this unique dart launcher, I replaced a few key parts on a kids' plastic crossbow, transforming it into a proper dart gun that can fire regulation plastic-tipped darts up to 8 feet or more with ease. This innovative design is based on a popular toy crossbow found on Amazon, available here: http://amzn.com/B07DMQGZB7. The included darts are just as impressive, pictured here and available for purchase on Amazon at: http://amzn.com/B003K0LWR2. I printed this design using my Creality Ender 3 with Amazon brand green PLA and the default 2 mm draft profile in Cura. The top plate is quite long at 285 mm, but it fit perfectly on my printer when rotated 45 degrees on the bed and the skirt was turned off. If you have trouble fitting it on your printer, simply remove the last 35 mm or so from the piece, as the back end is only there to fill in a hole in the base of the handle. To make this dart launcher shoot even farther, ensure that all parts are properly aligned and smooth down any rough edges. You can also remove one of the blue and yellow end caps on the crossbow and tighten up the elastic cord, which I shortened by about 30 mm to improve performance. Finally, cut off the front piece with a crosshair to allow for smoother dart passage. Assembly is easy using the parts that came with the original toy crossbow. Simply screw in the single screw at the front of the top plate and two screws on the sides at the back to hold it together. The metal pin that holds the trigger onto the top plate goes into the back set of holes, but be sure to use a piece of tape to keep it from falling out during assembly. This project was designed using an education license version of Fusion 360, and I invested more time than expected to get it just right. But it was worth it – I learned so much and had a blast making it! Edit: To accommodate smaller printers, I added a shortened version of the top plate that you can print with ease. Edit: Now with a Laser! I designed a laser pointer holder that clips onto the dart holder, allowing for precise adjustments in elevation. While accuracy isn't perfect due to limited side-to-side adjustment, it's still a fun and impressive feature. You can find the laser pointer used here on Amazon at: http://amzn.com/B07BPT1NMT
With this file you will be able to print dart-o-matic dart launcher with your 3D printer. Click on the button and save the file on your computer to work, edit or customize your design. You can also find more 3D designs for printers on dart-o-matic dart launcher.